INTRODUCTION :
Cutter Machine Gauge Plate:-
When talking about a cutter machine gauge for wood cutting, there are a few different factors to consider.
- Blade size: The size of the blade on the cutter machine will determine the maximum thickness of the wood it can cut. Most cutter machine will have specifications that indicate the maximum blade size and cutting capacity in terms of wood thickness.
- Motor power: The power of the cutter machine will also impact its ability to cut through different wood gauges. A higher-power cutter machine can handle thicker wood more easily.
- Cutter machine depth adjustment: Most of the cutter machine has adjustable cutting depths, allowing you to control how deep the blade cuts into the wood. This feature can be useful when cutting wood of different thicknesses.
- Safety features: Safety should always be a priority when working with any cutter machine. Look for features like blade guards and emergency stop buttons to protect against accidents.
Ultimately, the cutter machine gauge for wood cutting will depend on the specific machine you are using and its capabilities. Always consult the manufacturer’s guidelines and specifications to ensure you are using the machine within its recommended limits. To make this cutter machine gauge plate I have used a 110mm cutter machine, aluminum L-sections channel, sheet metal, 3mm MDF sheet, screws, bolts and nuts, handle, Etc.
Parts Used :
110mm Cutter machine
2 Nos. aluminum L-section channel 1 inch sizes (21 inches length)
2 Nos. aluminum L-section channel 1 inch sizes (12 inches length)
Sheet metal (4 inches*10 inches)
MDF sheet (4 inches*7 inches)
Handle
20mm diameter round bar (To make knobs)
Screws, bolts and nuts
How to make :
Start by measuring the dimensions of the cutter machine’s base to attach the gauge plate. This will help determine the size of the gauge plate you need to make.
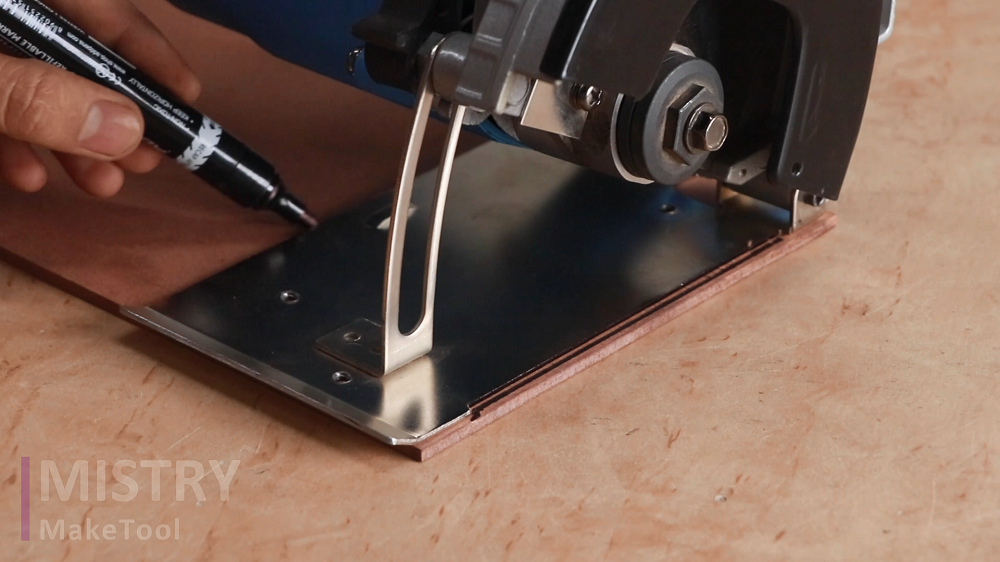
Using marker or pencil marks the desired dimension on the MDF sheet. Double check the measurements to ensure accuracy. Then cut the MDF sheet in the desired dimensions. I have used 4 inches*7 inches MDF sheet.
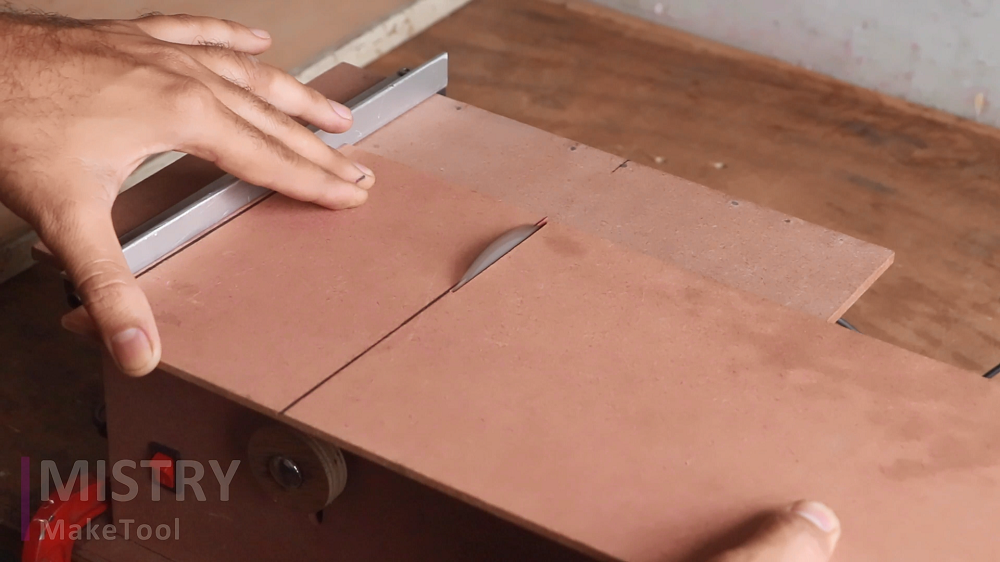
Put on safety goggles, and securely clamp the sheet metal to a workbench or sturdy surface. This will help keep the sheet metal stable while cutting. Then cut the sheet metal in the dimension of 4 inches* 10 inches using angle grinder.

Mount these both the MDF sheet and Sheet metal to the cutter machine by using screws and nuts, as shown in the image.

Next step is to make slots on both the 2 Nos. aluminum L-section channel 1 inch sizes (21 inches length). To make slots I have used an angle grinder attachment, as shown in the image.
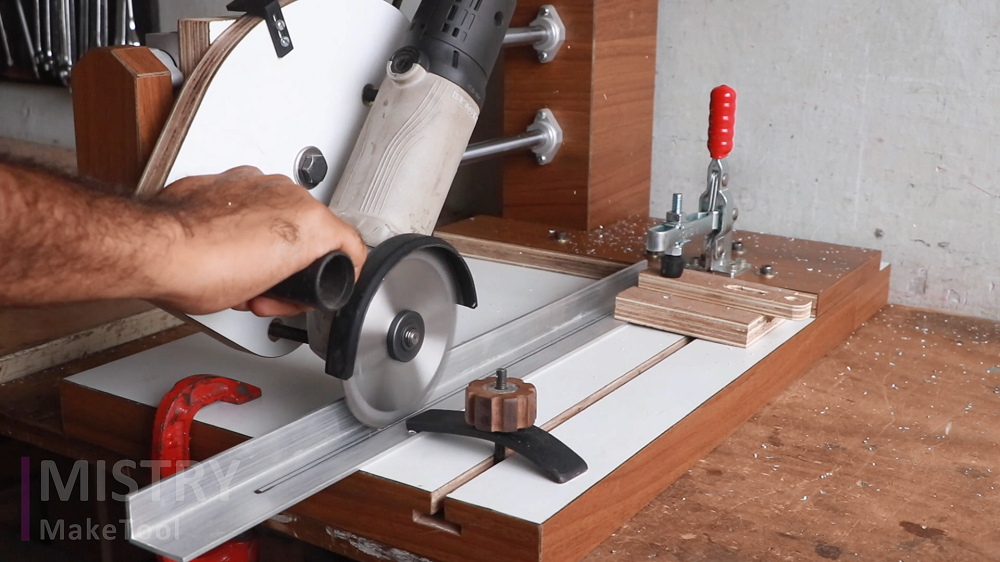
Using an angle grinder attachment carefully cut along the marked lines to make slot on the aluminum L-section channel. Once the cutting is complete, remove any burrs or rough edges from the channel using sandpaper or a file. Smooth out the edges to avoid any potential injuries during handling and also the 6mm bolt can easily move in the slot.

Attach all the aluminum L-section parts and mount it on the cutter machine by using bolts and nuts. Test the gauge plate and ensure that it aligns properly and securely sits in the desired position. Adjust or trim the plate if necessary.

I have used 6mm counter sunk allenky bolts and metal knobs to secure and fix the position of the gauge. To make metal knobs, I have used 20mm metal round bar, as shown in the image.
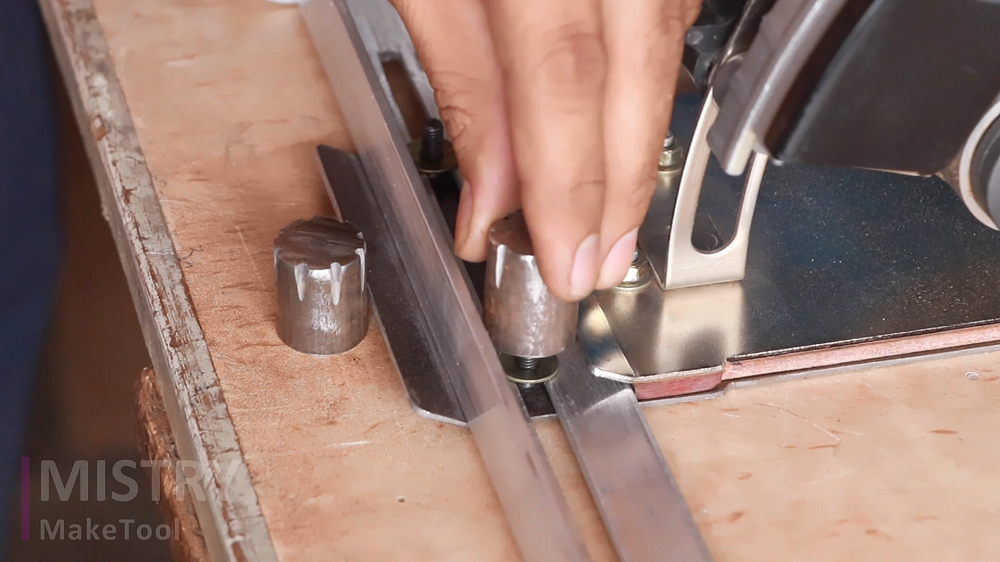
At the last attach handle. Check the alignment properly and the movement of the gauge is free or not.
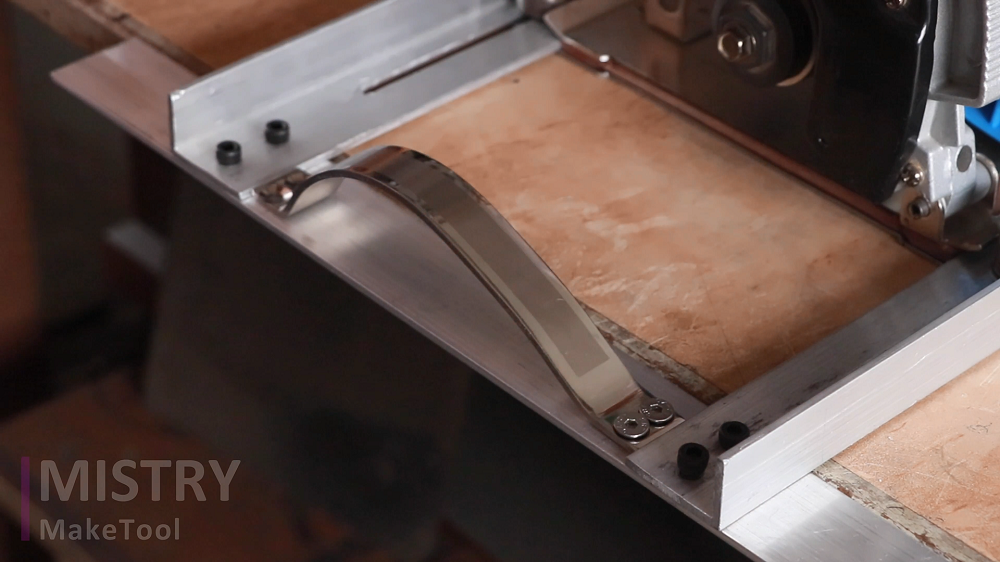
Remember to always take safety precautions, such as wearing safety goggles, when working with cutter machine. Double check your measurements and follow the instructions provided by manufacturer of your cutter machine for any specific requirements.


