INTRODUCTION :
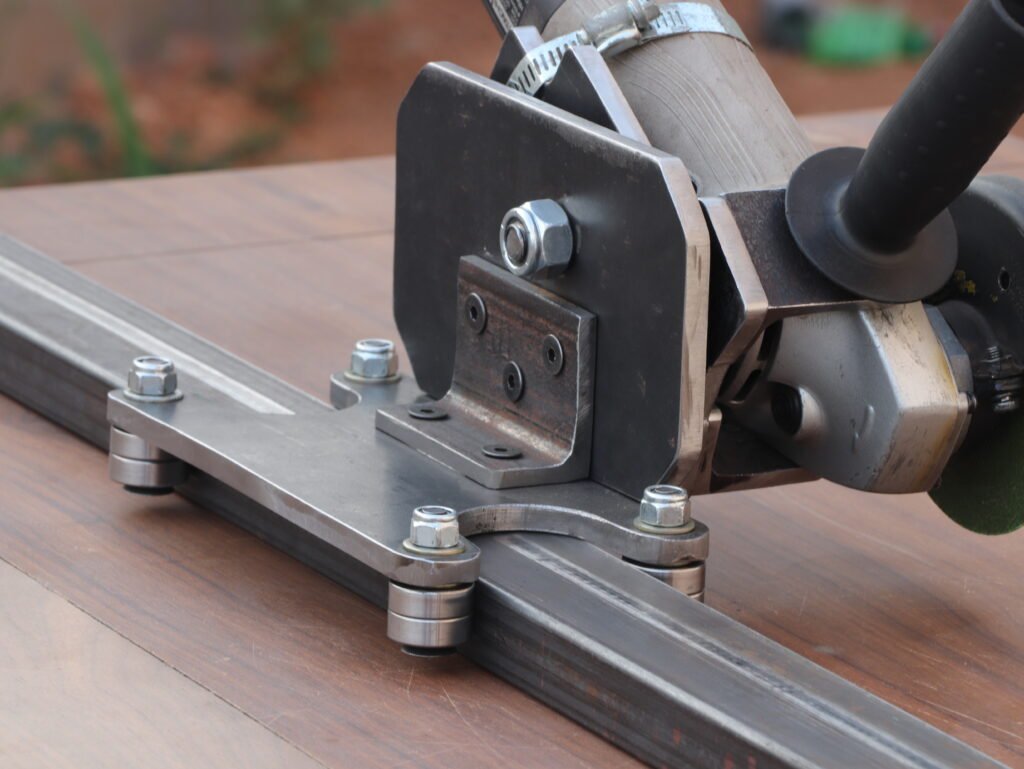
Tired of inaccurate and time-consuming metal cutting? A sliding angle grinder cutting jig is the perfect solution. This simple yet effective tool allows for precise and efficient cuts on sheet metal, metal angles, and plates. In this post, we’ll walk you through the steps of building your own jig using readily available materials.
Parts Used :
- 2 Inch metal L-angle (3 inch length)
- 2 Nos. 2 Inch metal L-angle (1.5 inch length)
- 8mm metal plate (8 inch*4 inch) for base plate
- 8mm metal plate (7 inch*4 inch)
- 8mm metal plate (6 inch*4 inch) angle grinder mount plate
- 5 foot rectangle pipe ¾ inch*2 inch
- 8 Nos. 628 no. bearings
- ½ inch bolt and lock nut
- 4 Nos. 10mm countersunk allenky bolts and lock nuts to attach bearings
- 5 Nos. 6mm countersunk allenky bolts
- 4 Nos. 4mm countersunk allenky bolts
- Angle grinder
- Cutting disc
Tools Needed:
- Drill
- Tap and die set
- Welding machine (optional)
How to make :
- Design the Jig:
- Sketch out a basic design of the jig, considering the size and shape of the metal pieces you’ll be cutting.
- Determine the length of the sliding track and the placement of the angle grinder mount.
2. Cut and shape the required parts:
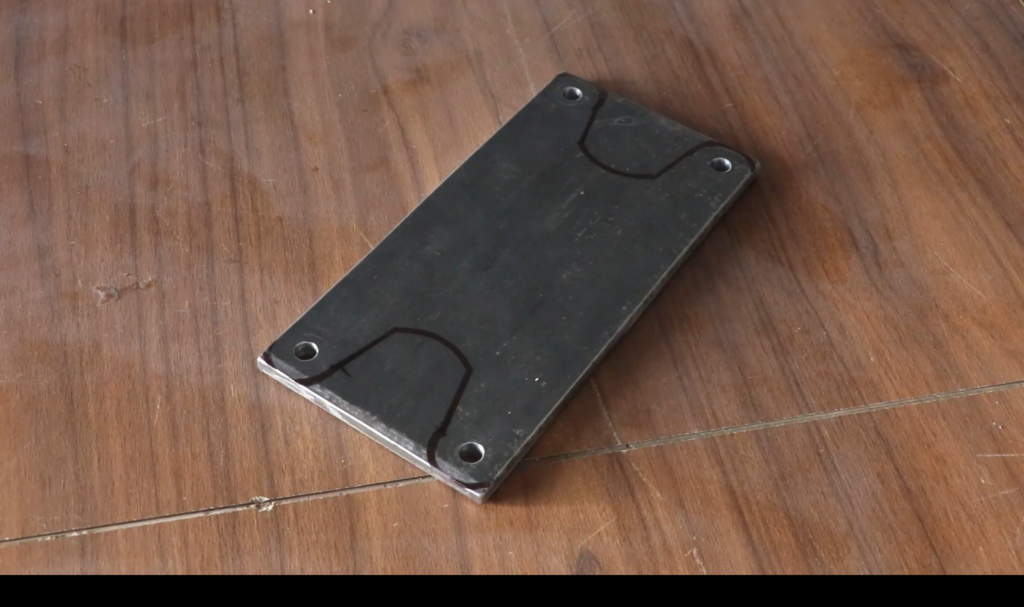
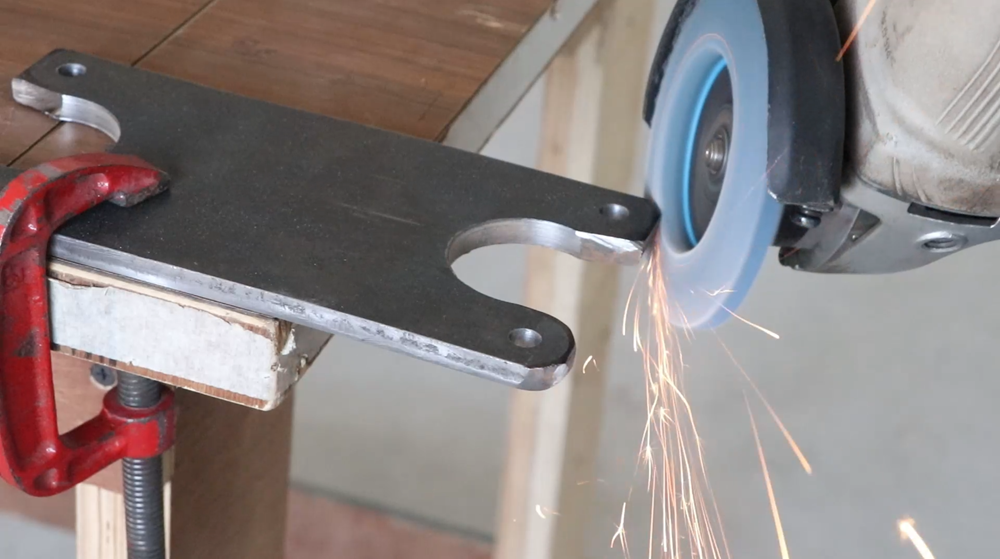
- Cut the metal L-angle and plate according to your design.
- I show all the parts dimensions in above section.
3. Assemble the cutting parts :-
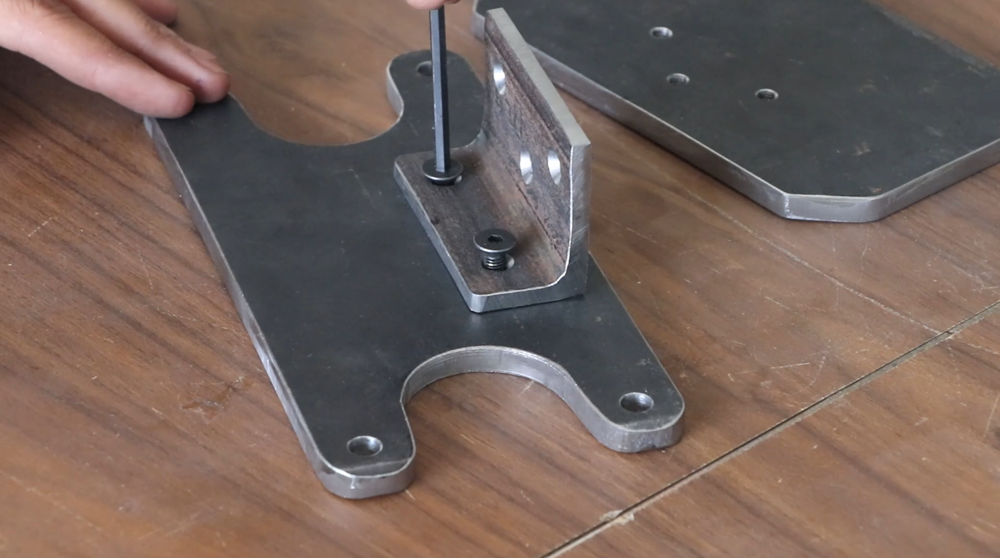
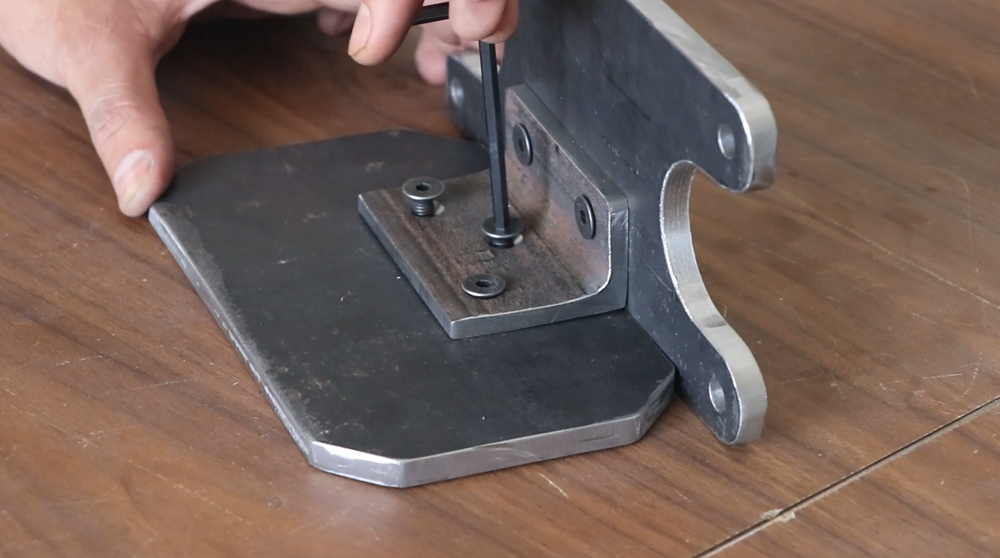
- Next step is to assemble all the cutting parts. Attach the base plate with the vertical plate with the help of 2 Inch metal L-angle (3 inch length) and 5 Nos. 6mm countersunk allenky bolts.



4. Install the Bearings:
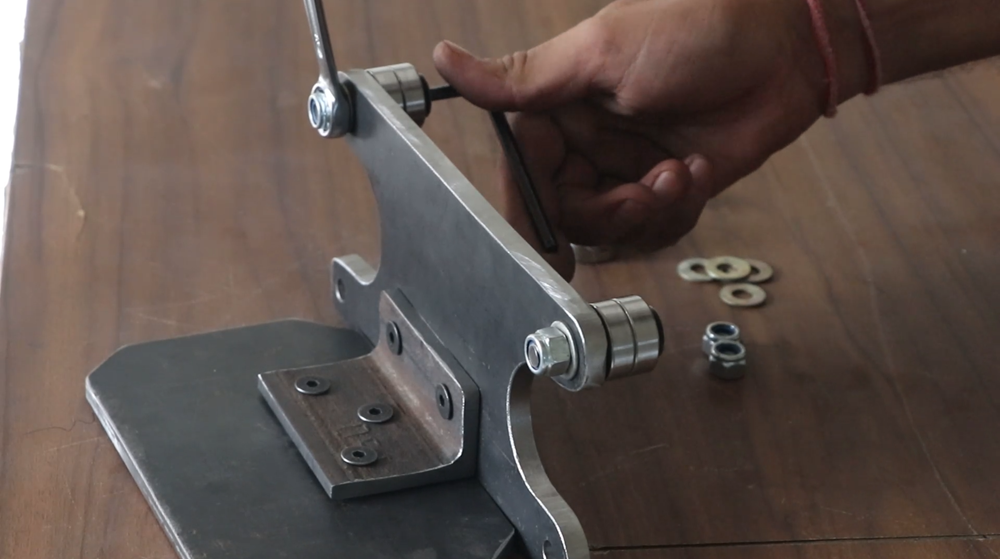
- Drill holes in the base plate for 10mm bolt to attach the bearings.
- Attach the all the 8 Nos. 628 number bearings below the plate. 2 bearings attached on each four holes with the 4 Nos. 10mm countersunk allenky bolts and lock nuts.

5. Attach the Angle Grinder Mount:
- Design and cut the mount plate for your angle grinder.
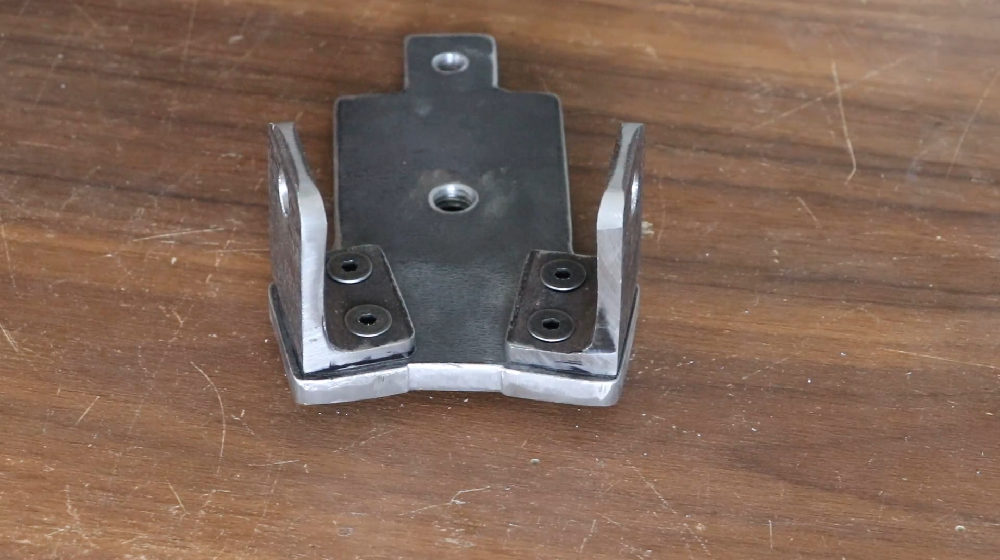
- Attach the angle grinder on this plate with help of 2 Nos. 2 Inch metal L-angle (1.5 inch length) and 4 Nos. 4mm countersunk allenky bolts.
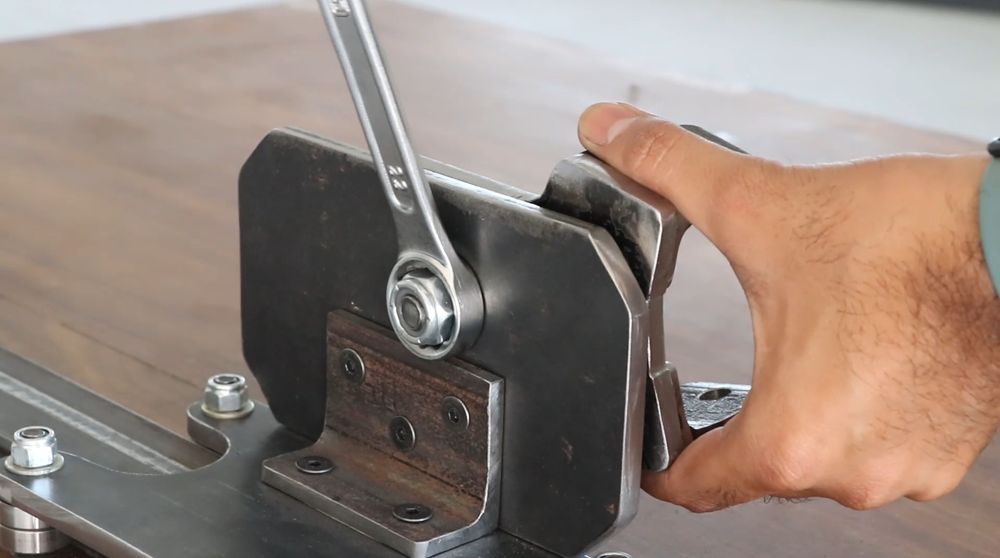
- Attach this angle grinder mount with the vertical plate, as shown in the image.
Advertisement


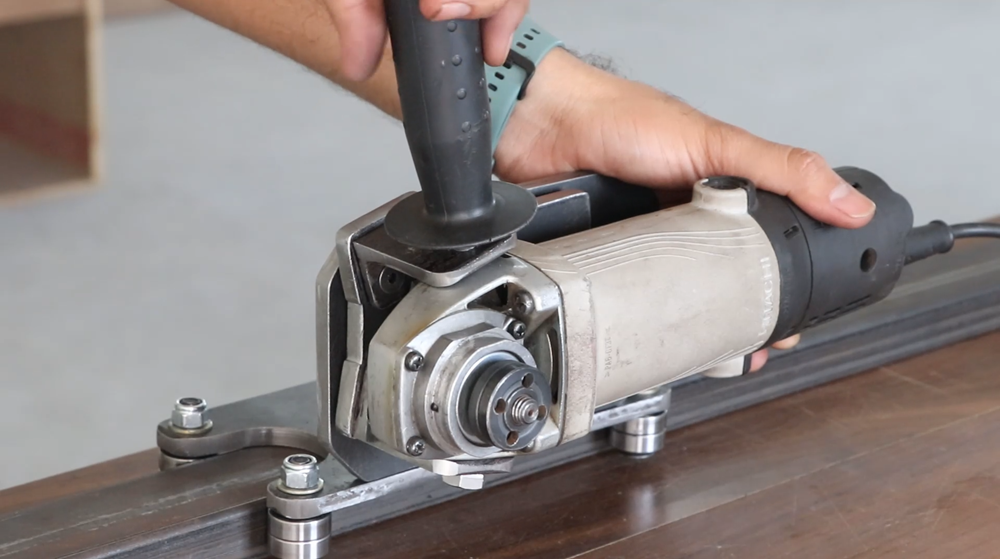

6. Rectangle pipe track for Sliding Mechanism:
- I have used 5 foot ¾ inch*2 inch rectangle metal pipe to track and secure the stand for accurate movement of the angle grinder.
- Ensure the angle grinder slides smooth on this track for best cut.
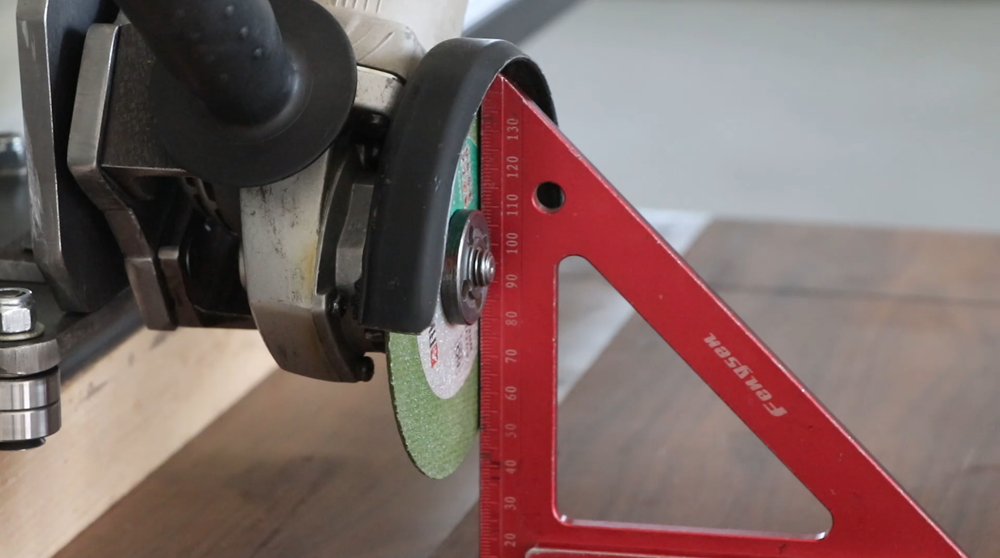

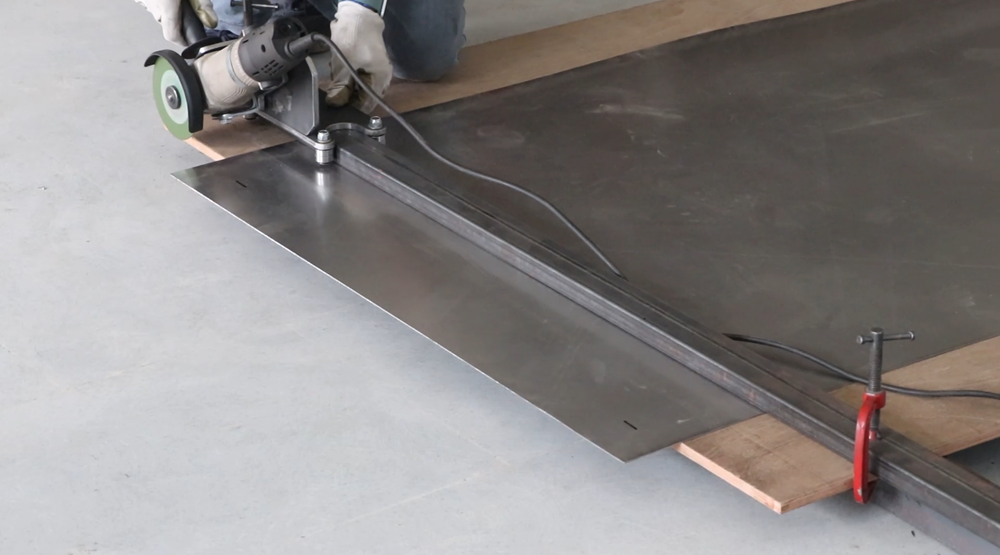

By following these steps, you can build a reliable and efficient sliding angle grinder cutting jig. This tool will significantly improve your metalworking skills and help you achieve professional-quality results.
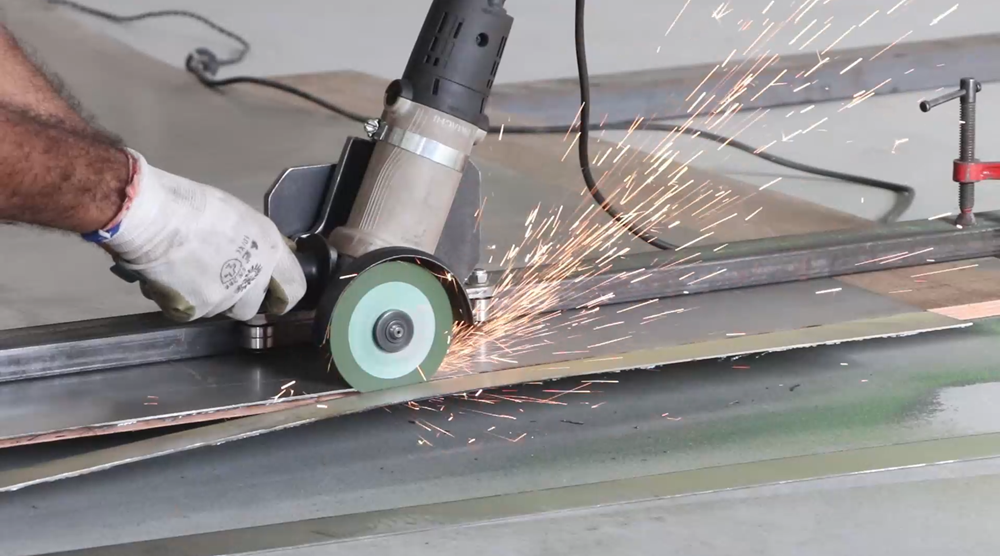

Using the Jig:
- Secure the Metal Piece:
- Clamp the metal piece you want to cut to a workbench or use a vise to hold it securely.
Advertisement - Adjust the Angle Grinder:
- Position the angle grinder on the sliding track and adjust its angle as needed.
- Make the Cut:
- Slowly and steadily guide the angle grinder along the track, applying gentle pressure.
- Wear appropriate safety gear, including safety goggles, ear protection, and gloves.
Tips for Better Results:
- Use a high-quality cutting disc for precise and clean cuts.
- Ensure the sliding mechanism is smooth and free of obstructions.
- Practice with scrap metal before cutting valuable pieces.
- Regularly inspect the jig for wear and tear and make necessary repairs.
By taking these tips into account, you can further optimize your DIY sliding angle grinder cutting jig and elevate your metalworking projects.
