
INTRODUCTION :
There are many types of drying racks available in the market, stationary outdoor racks, smaller, folding portable racks, and wall-mounted drying racks. A drying rack is similar in usage and function to a clothes line, and used as an alternative to the powered clothes dryer.
A clothes line is any type of rope, cord that has been stretched between two points, outside or indoors, above the level of the ground base. Clothing that has recently been washed is hung along the line to dry. Clothing lines are attached either from a post or a wall, and are frequently located on balconies, or in back garden. Longer washing lines often have props holding up sections in the middle due to the weight of the usually wet clothing.
Several types of devices are available for indoor drying. A drying rack can help save space in an apartment, or clothes lines can be strung in the basement during the winter. Small loads can simply be draped over furniture or a shower curtain pole. The drying time indoors will typically be longer than outdoor drying because of the lack of direct solar radiation and the convective assistance of the natural wind. Here I make a foldable drying rack that is used for both indoor and outdoor drying.
Parts Used (for one pair of drying rack) :
- 2 Nos. metal pieces (4”*4.5”) 6 mm thickness
- 4 Nos. 1.5” L-section channels (2.5” length)
- 2 Nos. square pipes (12” length)
- 4 Nos. 5/16” allenky bolts (2” length)
- 8 Nos. 5/16” allenky bolts (1/2” length)
- Rope
- Screws
How to make :
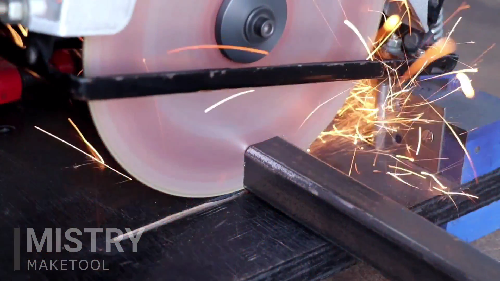
First step is cut the all required parts in its proper dimension. All dimensions are shown above in “parts used” section. So, First of all cut the 6mm thick metal pieces of 4”*4.5” size.
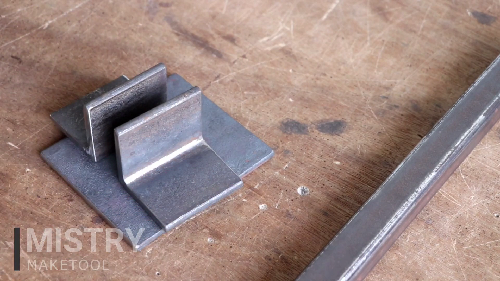
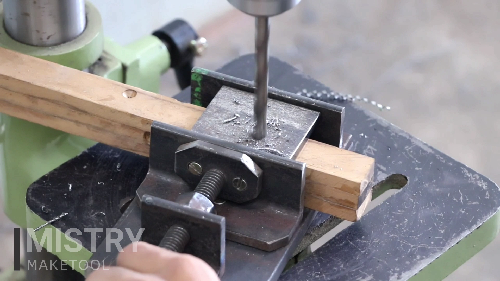
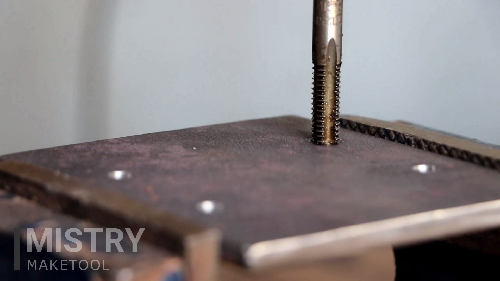
Then after, drill holes on metal piece and make a thread of 5/16” size in these holes and attach the L-section channels on the metal piece by using 5/16” allenky bolts of ½” length as shown in the image. Cut the extra parts of L-section channel.
Third step is attaching the square pipe using of 2.5” long 5/16” allenky bolt. Now the square pipe is moved up and down along with the axis (hinges type movement). And also for support of 12” long square pipe, I have used another 2.5” long 5/16” allenky bolt as shown in the image.

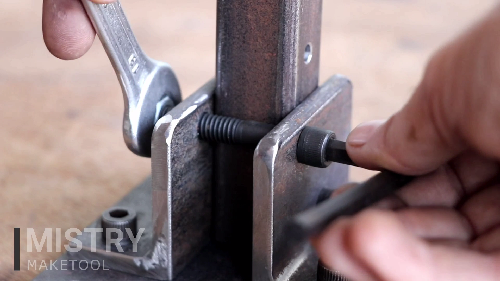
Now the both racks are mounted on the wall and pass the rope through the holes on the square pipe of the racks. The homemade foldable clothes drying rack is ready to use.

Advantages :
- Less cost.
- Less fabric wear and tear.
- Laundry items do not shrink.
- Laundry items stay softer to the touch (mechanical clothes dryers tend to remove short, soft, fine fibers), and may be less wrinkled
- Laundry items often do not need ironing if line dried in a breeze.
- Avoids the potential of airborne lint and reduced air quality.

super cool idea. and good to have a clothesline
We need this, so pls mention the price
Bahut badia hai , agar bana bnaya mil jaye to kitne ka doge
Good idea.i also want to buy one like this.how much it would cost
Thanks so much for making this video