INTRODUCTION :
CIRCULAR SAW SLIDING GUIDE JIG :-
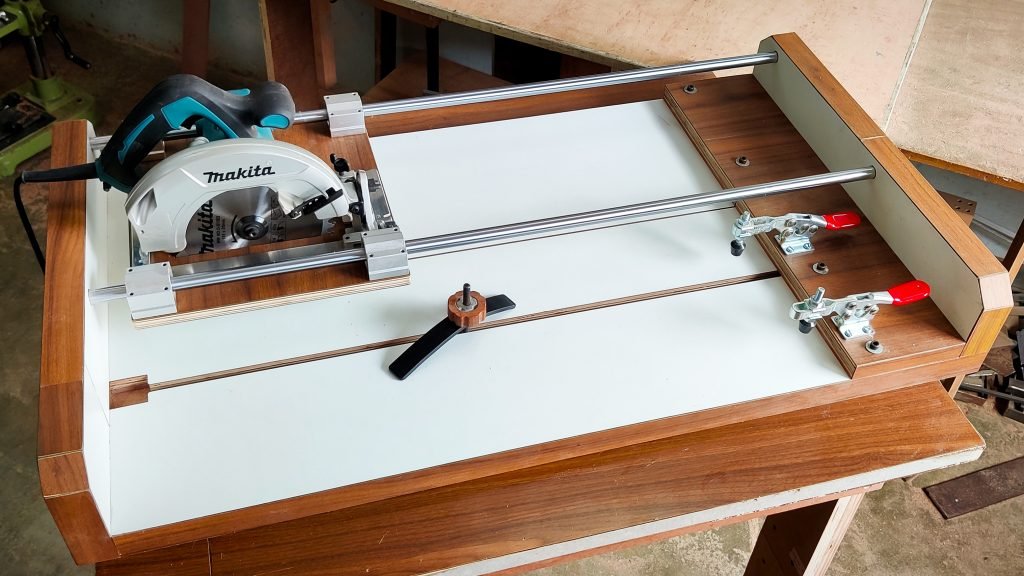
A circular saw sliding guide jig is one of the most useful woodworking jigs for your workshop. This circular saw crosscut sliding jig guide will not only help you with straight cuts but crosscuts as well. Learn how to make a circular saw guide DIY with step by step tutorial and video. This simple cutting jig is perfect for making accurate crosscuts and precise miter cuts with your circular saw.
Although it is easier with a circular saw machine to make a straight cut and cross-cut as opposed to a jigsaw, a circular saw machine will not be able to make a perfectly straight cut by itself. If you are using a circular saw machine freehand then most probably the blade will wander away from the cutline and you will end up with a crooked cut. You have a few options for how to achieve an accurate and straight cut with a circular saw machine. You can either use a fence or a crosscut jig.
A circular saw crosscut jig helps us to make precise crosscuts and miter cuts. It acts like a fence or cutting guide for our circular saw machine. The base plate of the saw blade rides against the fence of the crosscut jig. The fence forces the saw to make cuts exactly where we want them.
This is a fine circular saw jig and quite useful to have in the shop. If you are building a small workshop or if you are just planning to make an upgrade for your circular saw I would recommend building it. It doesn’t cost much but will help you so much with your projects.
Circular saw tracks and guides work great for cutting plywood sheets, and typically you would turn to a miter saw for accurate and quick cutting of smaller stock and trim. But if you don’t have a miter saw available, you can make a circular saw crosscut jig that will guide your circular saw in a straight line for making quick and accurate cuts. This homemade circular saw crosscut jig will add a precision cutting tool to your workshop at very little cost.
Parts Used :
2 Nos. steel smooth rods 16mm diameter (100cm length)
4 Nos. Linear motion bearings SC16UU (16mm)
19mm plywood 100cm*56cm for base
6mm MDF sheet 92.5cm*16cm for base
6mm MDF sheet 92.5cm*36.5cm for base
12mm plywood 92.5cm*17cm for base
12mm plywood 92.5cm*38cm for base
4 Nos. plywood sheets 56cm*12cm for base (side wall)
12mm plywood sheet 32cm*29cm for circular saw base
Makita circular saw
2 Nos. toggle clamps
19mm plywood sheet and 6mm MDF sheet 56cm*14cm for toggle clamp
4 Nos. 6mm allenky bolts (6cm length) with T Nuts
19 Nos. 6mm countersunk bolts and 3 fly nuts
Laminate sheets
8mm bolt (9cm length) for workpiece support (workpiece holder)
6mm thickness metal piece 2.5cm*17cm (workpiece holder)
5mm thickness metal piece 4cm*3.4cm (workpiece holder
Wooden knob with 8mm nut (workpiece holder)
Screws and washers
Glue and nails
How to make :
First, you have to measure the dimension of the base plate of the circular saw. According to that, cut the base part for the circular saw. In my case, I have used 12mm plywood 32cm*29cm to make a circular saw base.

Attach the four 16mm linear motion bearing SC16UU on the four corners of the 12mm plywood sheet 32cm*29cm by using screws.

Attach circular saw on this plywood sheet 32cm*29cm base by using screws and flynuts.


The next step is to make the base of the crosscut jig. I have used a total of 3 layers of sheets to make the base. The lower layer is a 19mm plywood sheet, the middle layer is a 6mm MDF sheet, and the upper layer is a 12mm plywood sheet.

The lower layer is the 19mm plywood sheet 100cm*56cm. Middle layer is the 6mm MDF sheet of 92.5cm*16cm and 92.5cm*36.5cm. In the middle layer, I have used two parts of the MDF sheets to make the gap of 3.5cm, as shown in the image. This gap is used to make the mechanism to hold the workpiece.
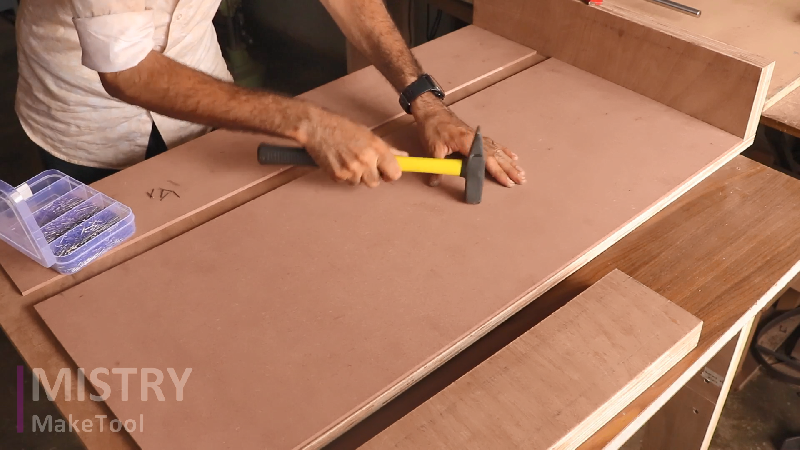
And the upper layer is a 12mm plywood sheet of 92.5cm*17cm and 92.5cm*38cm. In the upper layer also, I have used two parts of plywood sheets to make a gap of 1cm, as shown in the image. All these layers are attached by glue, nails, and screws.
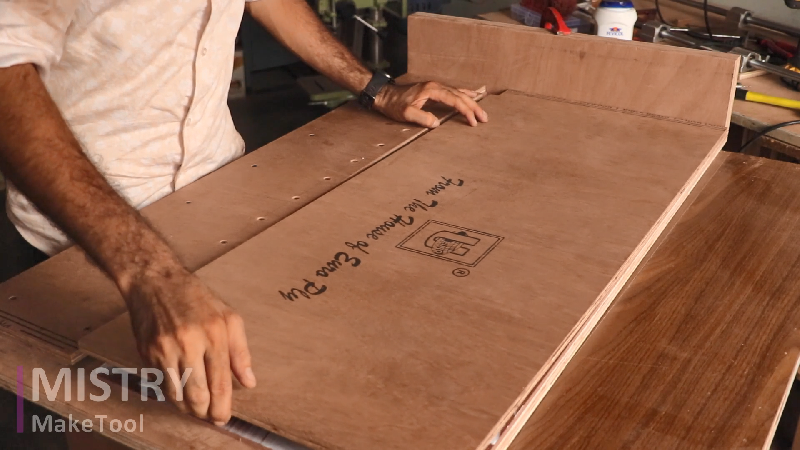
The next step is to make the sidewall of the jig. I have used 4 Nos. plywood sheets 56cm*12cm to make the sidewalls.
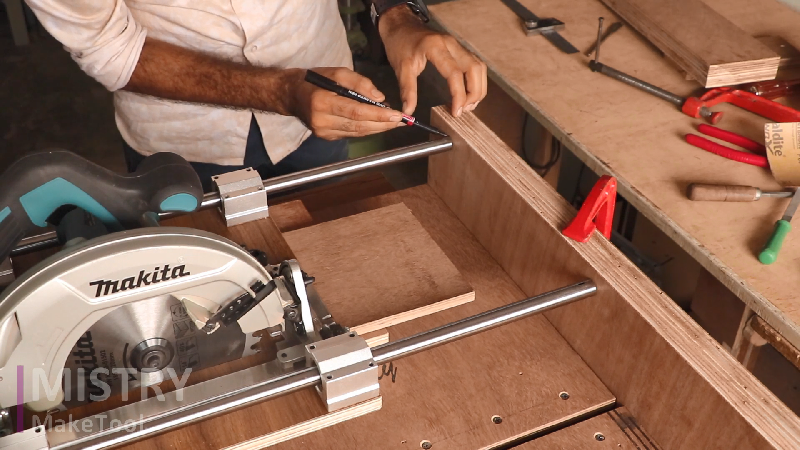
Drill 16mm holes for the smooth rod on the plywood sheets. Attach two sheets on one side and two sheets on the other side using glue and screws.


Attach the laminate sheets to all the plywood parts.

Attach the 16mm smooth rod and the circular saw base parts with the jig base part. Make sure that the 16mm smooth rods are properly positioned and fitted in the 16mm hole. Smooth rods are attached by screws for proper safety.

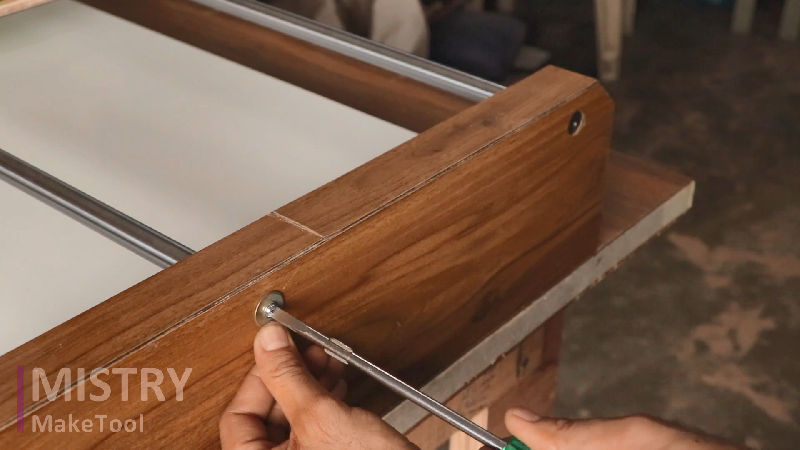
The next step is to attach the 19mm plywood sheet and 6mm MDF sheet 56cm*14cm by using 4 Nos. 6mm allenky bolts and T Nuts.

Attach two toggle clamps to it. These toggle clamps are used to hold the workpiece.

The last step is to make the mechanism to hold the workpiece. To make this I have used an 8mm bolt (9cm length), 6mm thickness metal piece 2.5cm*17cm, 5mm thickness metal piece 4cm*3.4cm, and a wooden knob with an 8mm nut.
Drill an 8mm hole on a metal piece of 4cm*3.4cm and fix the 8mm bolt in the hole by using instant glue like feviquick.
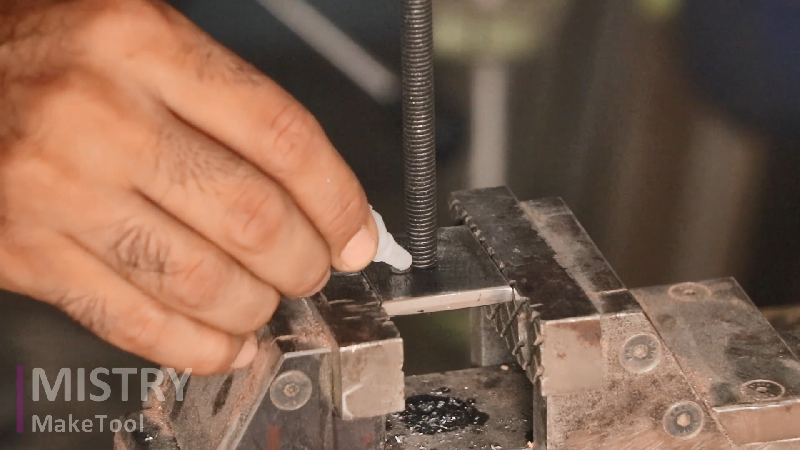
This piece of metal is slides in the gap between of the base plywood sheets. Now attach the 6mm thickness metal piece 2.5cm*17cm and wooden knob on it. This mechanism is slid so it is very useful to hold the workpiece in any direction.

This circular saw sliding guide jig is working great with my Makita circular saw.
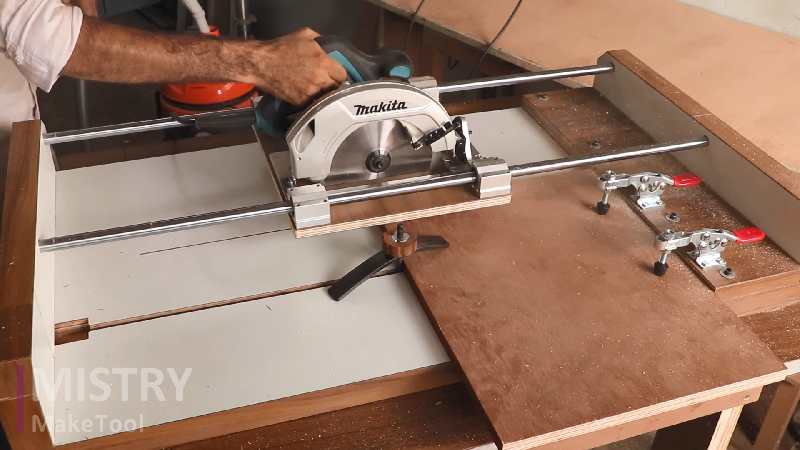
This is a fine circular saw jig and quite useful to have in the shop. If you are building a small workshop or if you are just planning to make an upgrade for your circular saw I would recommend building it.

