INTRODUCTION :
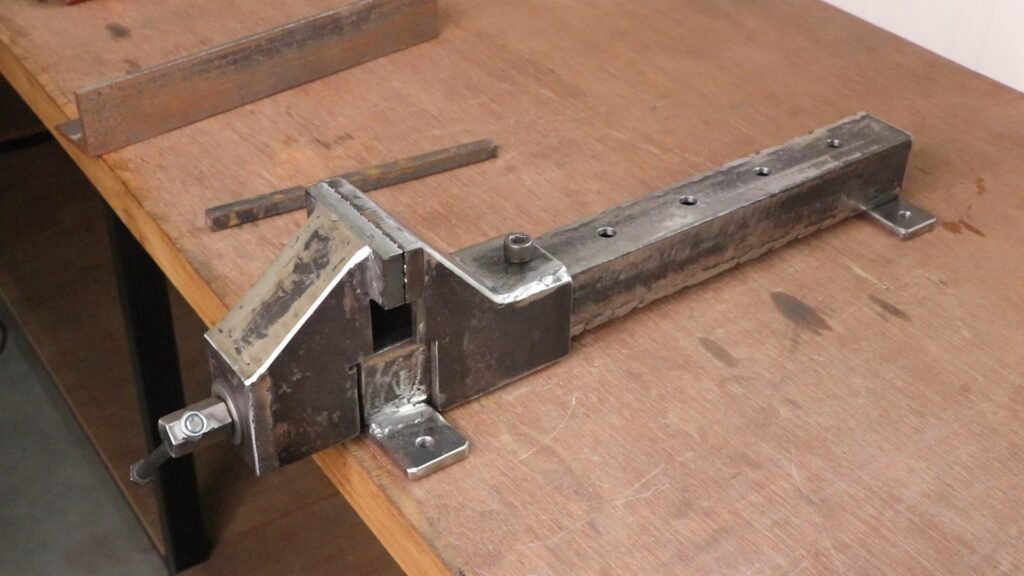
A long metal bench vise is a versatile tool commonly used in workshops, garages, and other industrial settings. It consists of two jaws, one fixed and the other movable, that can be adjusted to hold objects securely in place. The key distinguishing feature of a long metal bench vise is its extended length, often significantly longer than standard bench vises. This longer design provides more clamping capacity, allowing users to work on larger or bulkier materials.
Common Uses of Long Metal Bench Vises:
- Machining: Holding workpieces in place for various machining operations like drilling, sawing, and filing.
- Assembly: Clamping components together during assembly or repair processes.
- Welding: Securing metal pieces for welding.
- Fabrication: Holding materials for bending, shaping, or forming.
- Automotive Repair: Clamping parts for repair or replacement.
Advantages of Long Metal Bench Vises:
- Increased Clamping Capacity: The extended length allows for holding larger and bulkier objects.
- Versatility: Suitable for a wide range of applications in various industries.
- Durability: Constructed from sturdy materials to withstand heavy use.
- Precision: The screw mechanism enables precise adjustments for accurate clamping.
Parts Used :
- 2 Nos. 2-Inch Metal L-angles (16 Inch length)
- 1.5 Inch Square pipe (9.5 Inch length)
- Metal bars 6mm thickness (For jaws)
- Metal bars 11mm thickness (For jaws grip)
- 12mm Bolt with nuts (10 Inch length)
- 8mm half thread Bolt with locknut (5.5 inch length) For handle
- Nuts and bolts (various sizes)
- Spring and washer
- Cotter pin
Materials Needed:
- Welding equipment
- Measuring tools (tape measure, ruler)
- Cutting tools (saw, grinder)
- Wire brush
- Drill machine
How to make :
- Design and Planning:
Determine the desired length and height of the bench vise.
Sketch out a basic design, considering the placement of the L-angles, square pipe, and metal bars.
2. Cut and Prepare Materials:
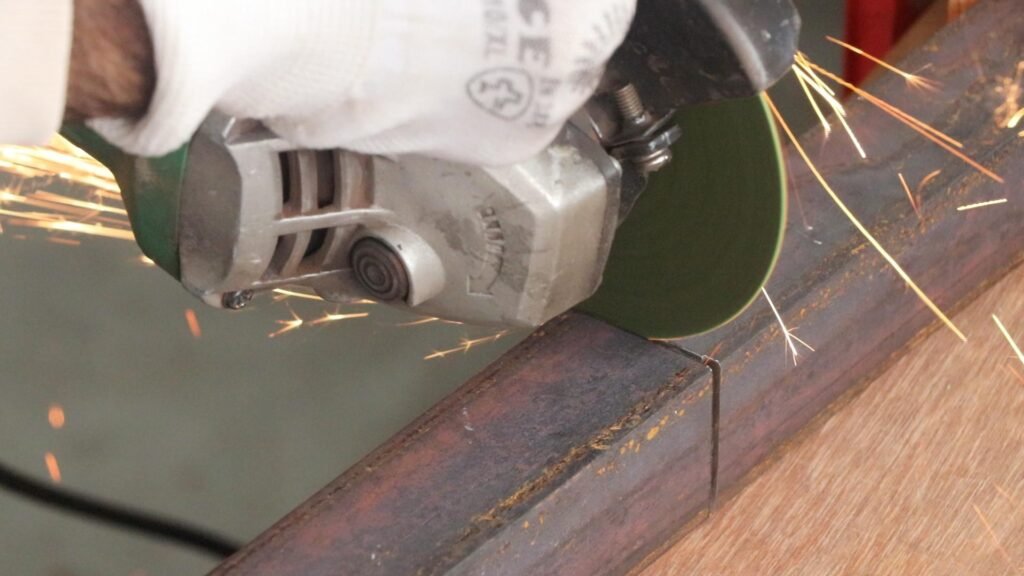
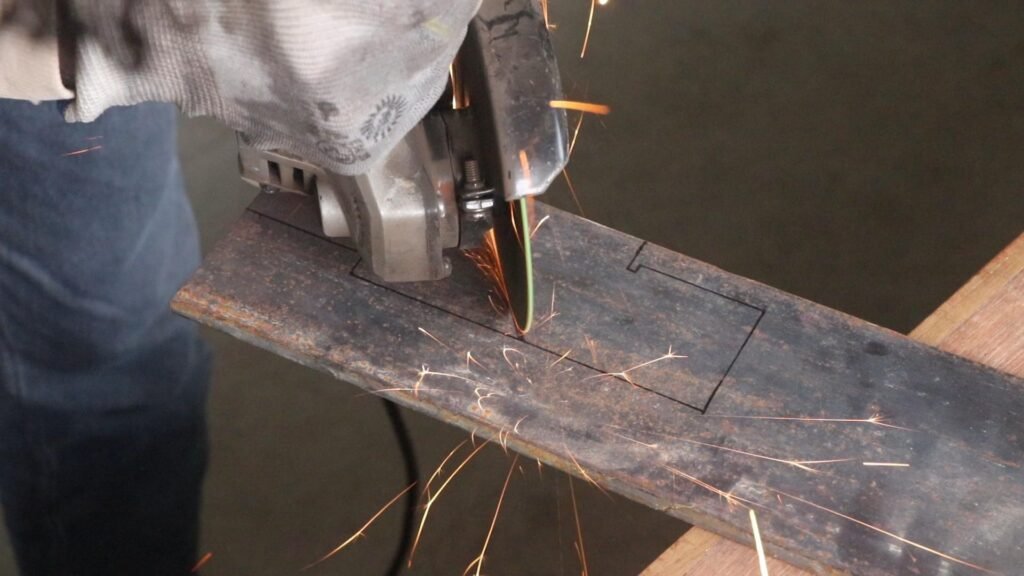
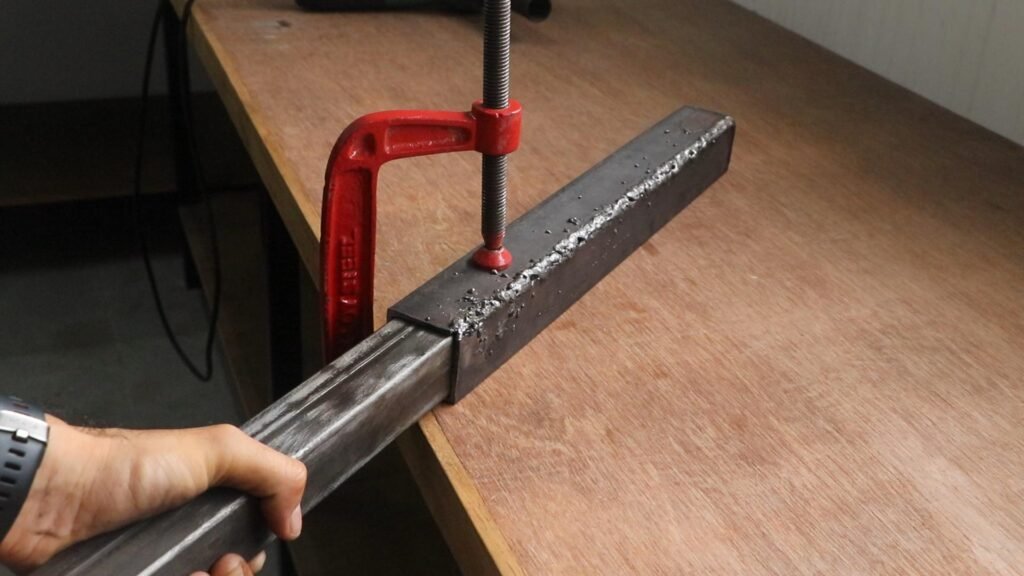
Cut the L-angles, square pipe, and metal bars according to design measurements. I have used 2 Nos. 2 inch L-angle and 16 inch length and 9.5 inch long square pipe to make the sliding assembly.
Also cut the metal bar to make the jaws of the bench vise in the design, as shown in the image.
Sand or grind the edges to remove any sharp points or burrs.
3. Assemble the Base:
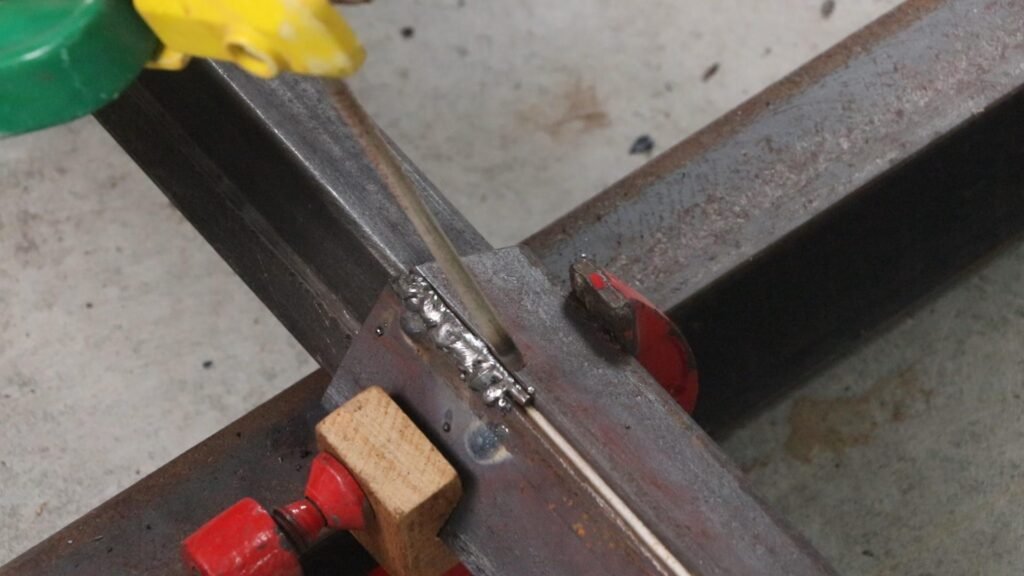
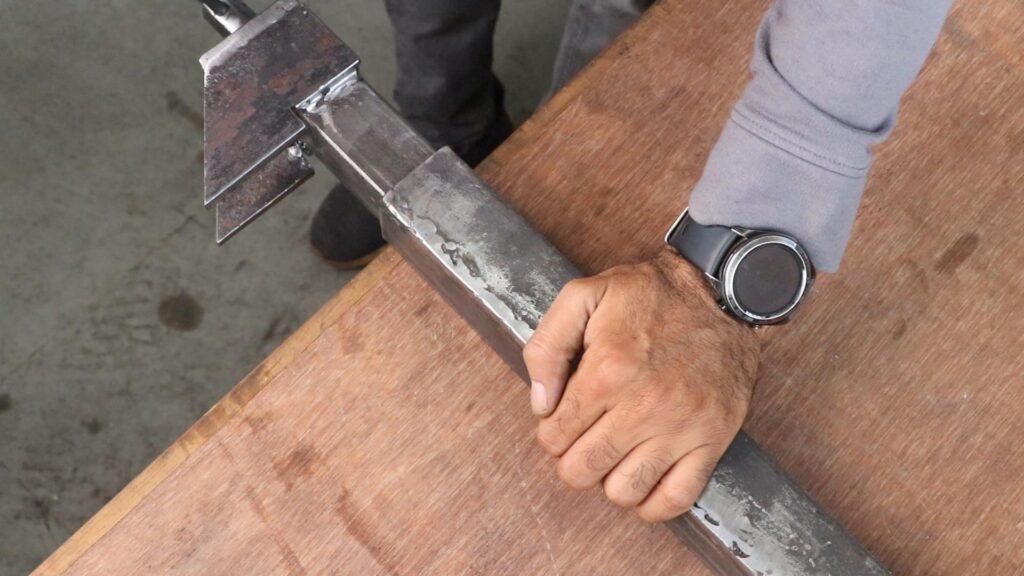
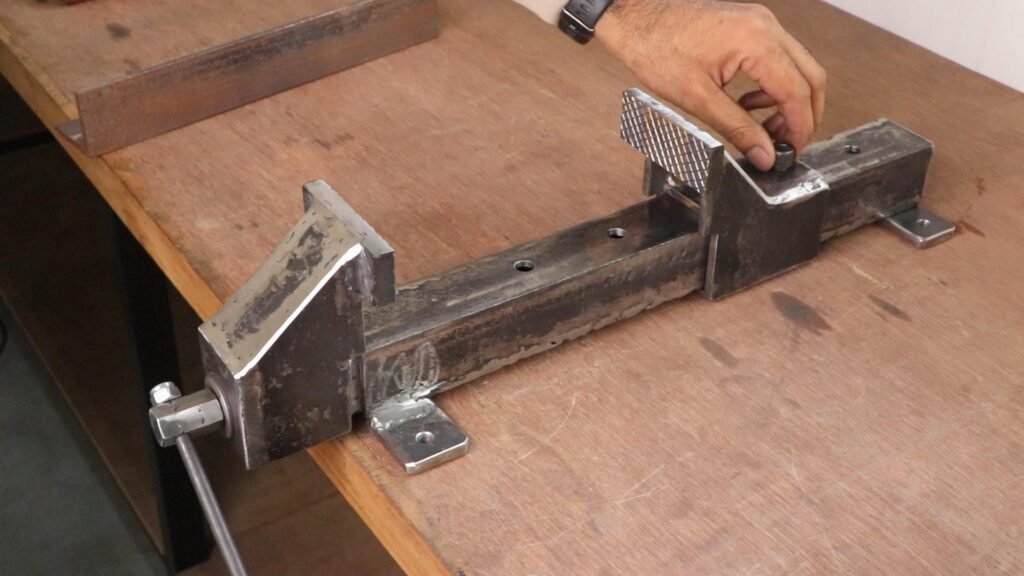
Attach two L-angles to the square pipe, creating a sturdy base for the vise. I have welded the both L-angles accurately to move the square pipe in this part.
4. Create the moving screw Jaw:
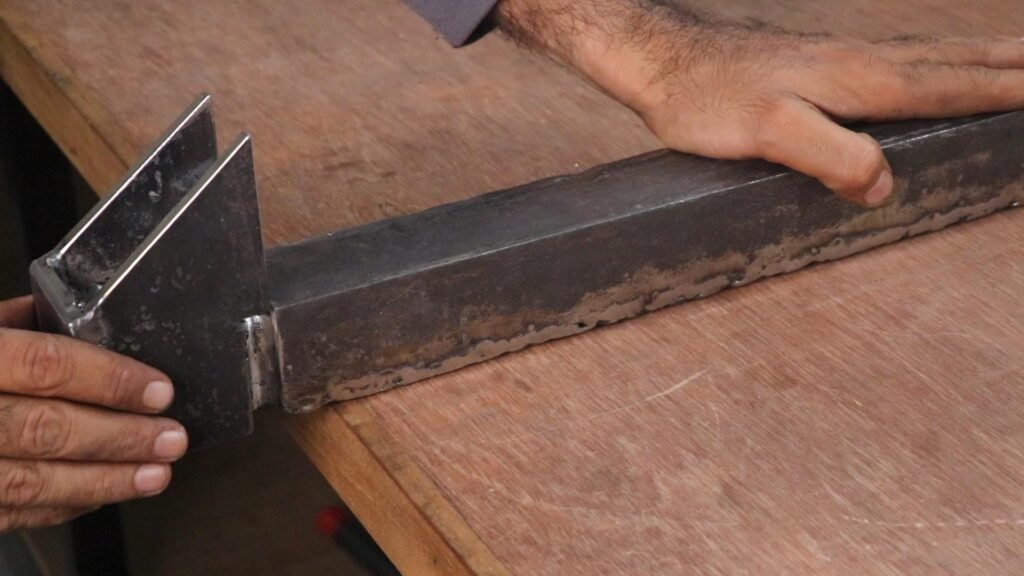
Attach the metal bar with the square pipe using welding machine. This bar will serve as the moving jaw.
Ensure the bar can slide smoothly along the square pipe.
5. Attach the adjustable fixed Jaw:
Attach another metal bar to the opposite with L-angle on the base. This will be the adjustable fixed jaw. The position of this jaw is also adjustable at different space according to the hole in the L-angle part.
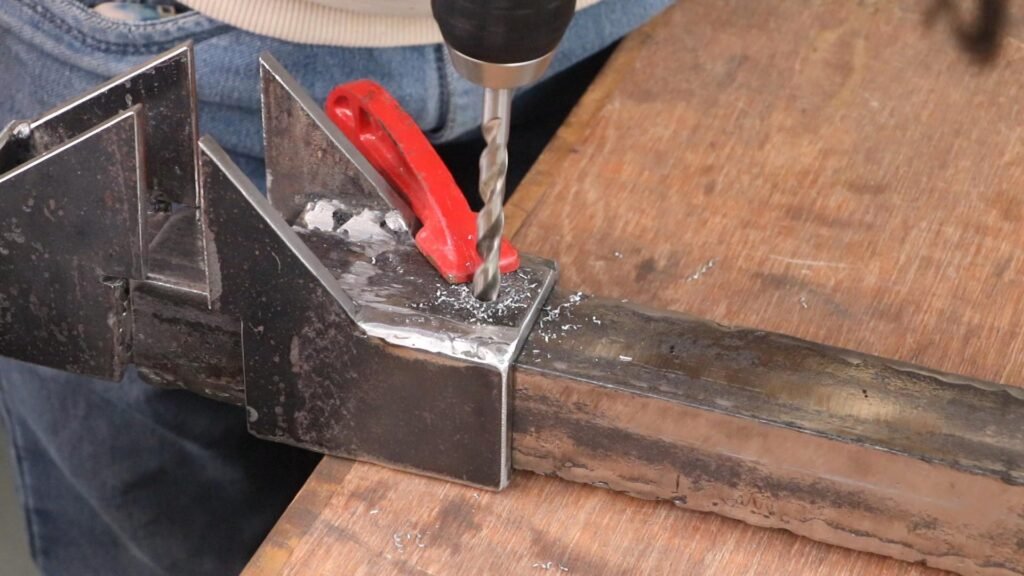
Make sure the fixed jaw is positioned opposite the moving jaw.
6. Add a Screw Mechanism:
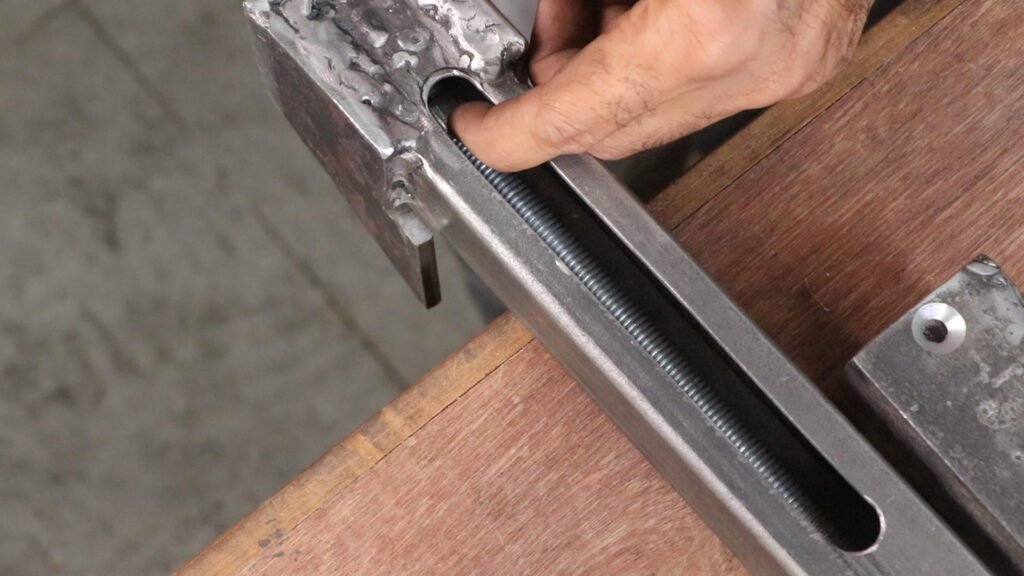
Drill a hole through the moving jaw. Insert a threaded rod (or a long bolt) through the holes. I have used a 12mm Bolt with nuts (10 Inch length).
Attach the nuts at the end of the threaded rod.
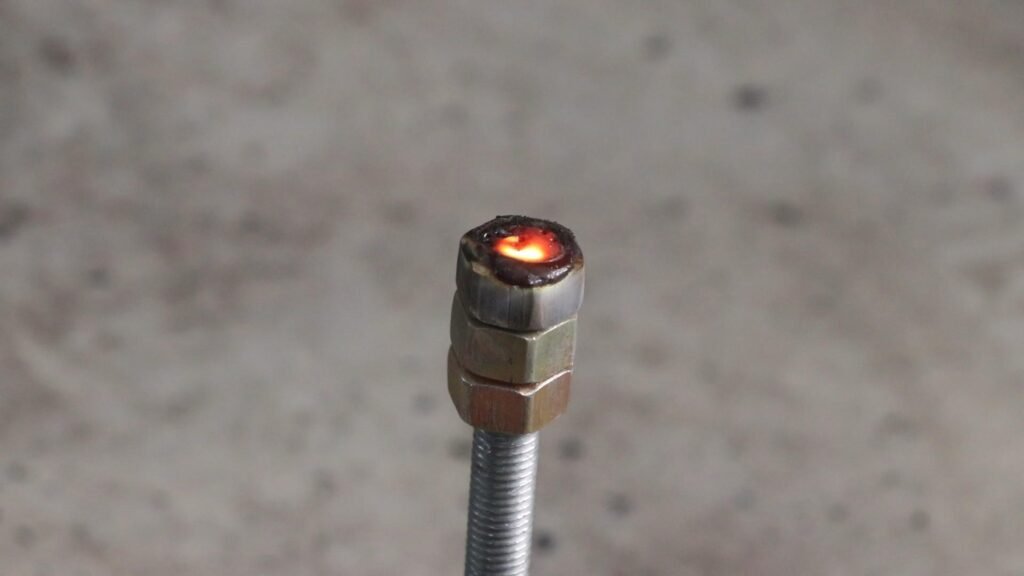
Attach this 12mm threaded rod with the moving jaw using of spring, washer, and cotter pin.
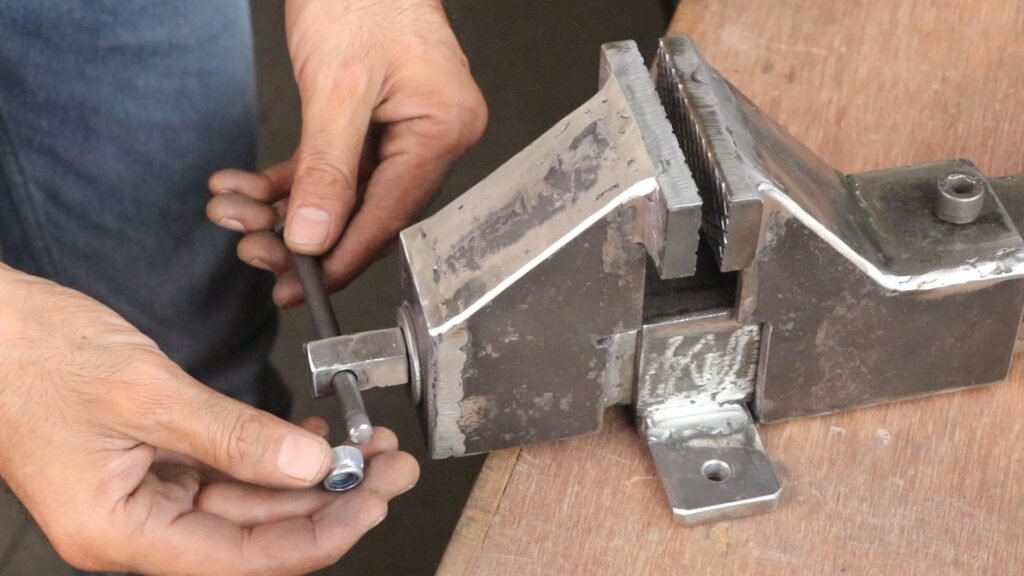
Also attach the 8mm half thread Bolt with locknut (5.5 inch length) to use as a handle.
Turning the handle will adjust the distance between the moving and fixed jaws.
7. Attach jaw grips:
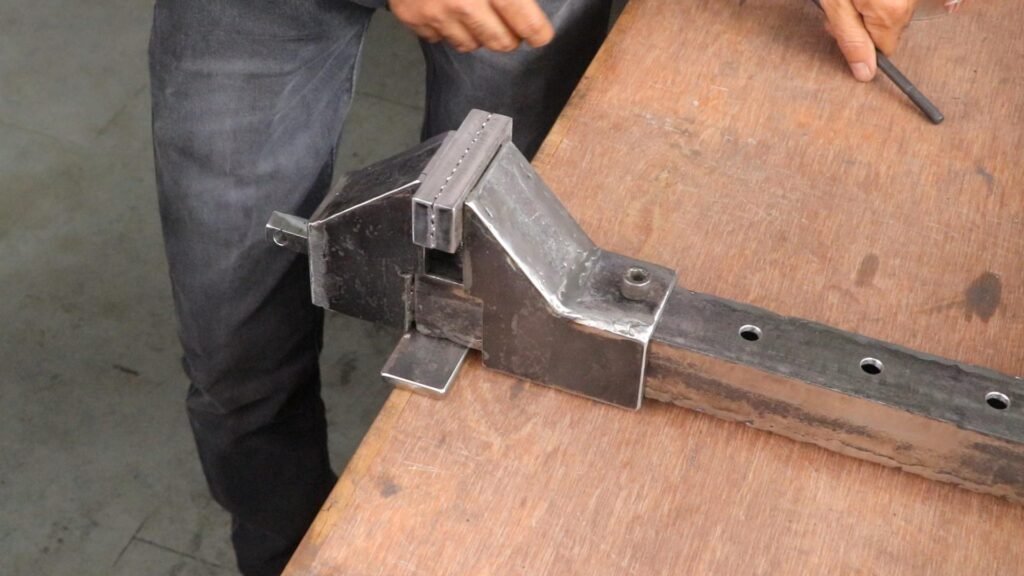
I have used 11mm thickness metal bars to make the grip of the jaws. Weld and attach these metal bars with the moving and fixed jaws.
8. Reinforce the Structure:
At the last I have attach the base metal bar with the screw for secure the position of the bench vise. All the parts of this bench vise are assembled so if required to repair some parts, it can be easy to repair.
If necessary, add additional L-angles or metal bars to reinforce the structure and prevent it from bending under pressure.
9. Finishing:
Paint or coat the bench vise to protect it from rust and corrosion.
For a more secure and durable bench vise, consider welding the components together instead of using bolts and nuts. However, this requires welding skills and equipment.
By following these steps, you can create a functional and customizable long metal bench vise that suits your specific needs.
