INTRODUCTION :
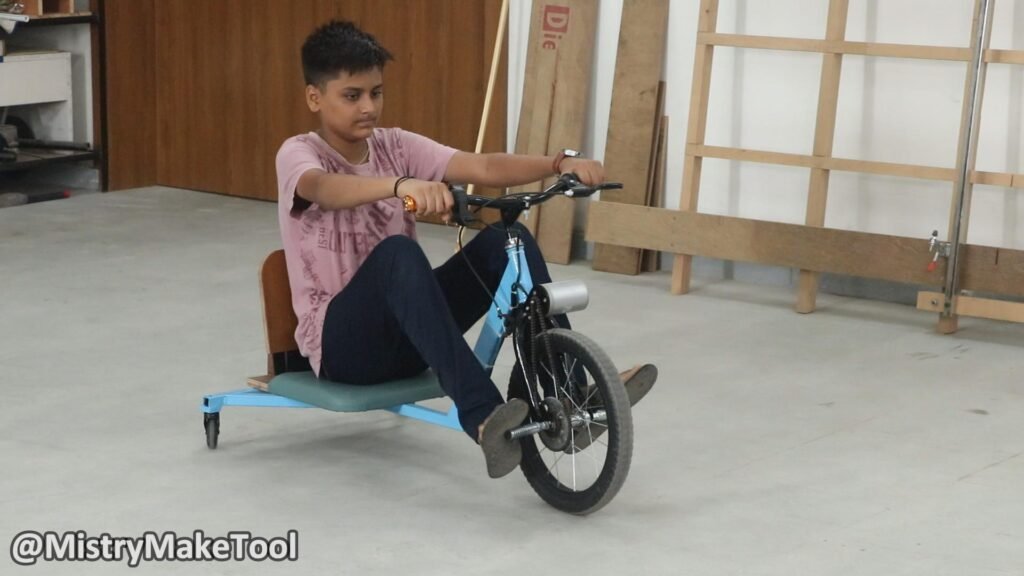
DIY Electric Drift Trike
Building an electric drift trike from an old bicycle and other salvaged materials is a challenging but rewarding DIY project. It requires a good understanding of mechanics, basic electrical systems, and welding/fabrication skills. Safety is paramount, so always wear appropriate personal protective equipment (PPE) and prioritize structural integrity and reliable braking.
Parts Used :
Old Bicycle:
- Only the front part is used. This will be the steering and front traction point. Look for a strong fork and a straight, well-maintained front wheel.
Chain And Sprocket: To transmit the power from motor to front wheel.
Handle
Metal Pipes/Tubing:
- 1 inch size square pipe and 1*2 inch size rectangle pipe.
- Square or rectangle tubing is ideal for the rear frame due to its strength and weldability. The specific dimensions will depend on your design and desired strength.
L- Angle channel- 1.5 inch length: To attach motor with the bicycle.
4mm Thick metal plate: To attach motor with the bicycle.
Electric Motor MY6812 24V, 150W, And 2750RPM:
- A DC brush or brushless motor (BLDC) with sufficient power. Motors designed for e-bikes, scooters, or small go-karts are good starting points.
Battery Pack: 24V and 8Ah Lithium-ion battery
- Lithium-ion batteries are common due to their energy density and lighter weight. Voltage (e.g., 24V, 36V, 48V) and Amp-hour (Ah) rating will determine power and range.
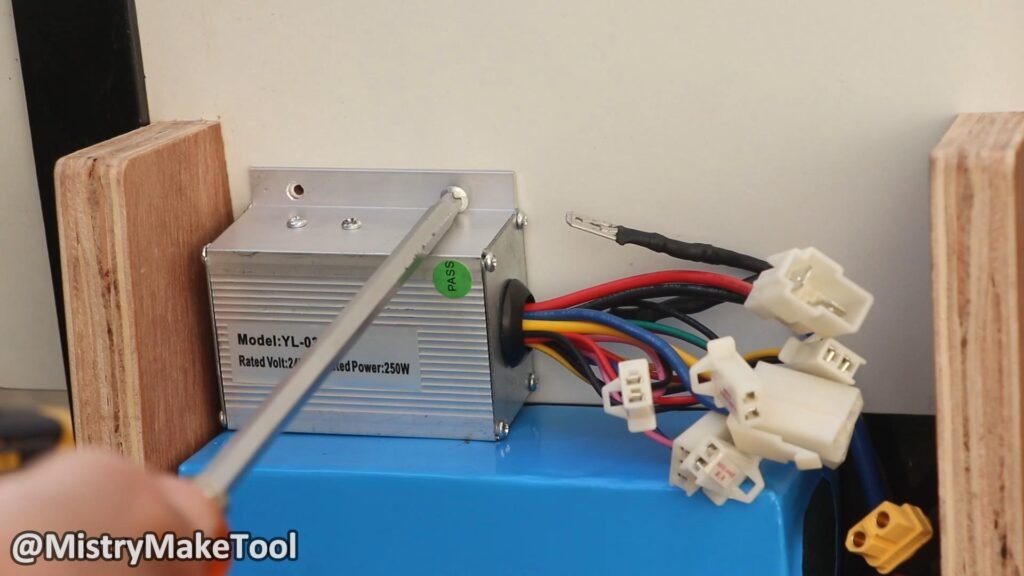
Motor Controller MY1016 24V And 250W:
- Matches the motor and battery voltage, controls motor speed via the throttle.
Sheet Metal 9 inch * 9 inch: To secure the battery and motor controller.
Throttle Kit With Key: A twist-grip throttle for speed control.
Battery charger: 24V 2Amps auto cutoff charger
Sprockets and Chain:
- To transfer power from the motor to the rear axle. You’ll need a motor sprocket and a larger sprocket, along with a compatible chain.
Wiring and Connectors:
- Appropriate gauge wire for the motor and battery, and secure connectors.
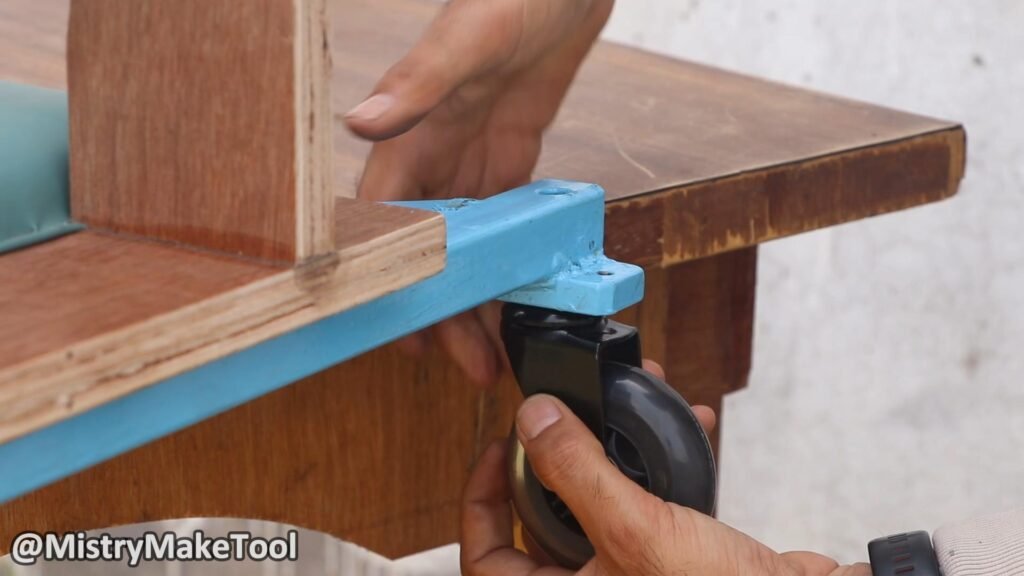
Castor Wheels:
- If you can find heavy-duty, robust castor wheels with a suitable bore for your axle, these can be a simpler option for the rear. However, they offer the best drifting characteristics.
Structure and Seating:
- Wooden Plywood Sheet: For the seat base.
- Foam Seat: To make a comfortable and secure seat.
- Fasteners: Various bolts, nuts, washers, or clamps.
- Seat cover
- 2 Nos. 30mm Metal strips 16 inch length
How to make :
Step 1: Disassemble the Old Bicycle
- I have used an old bicycle to make this drift trike bicycle. I purchased this bicycle from the scrap.
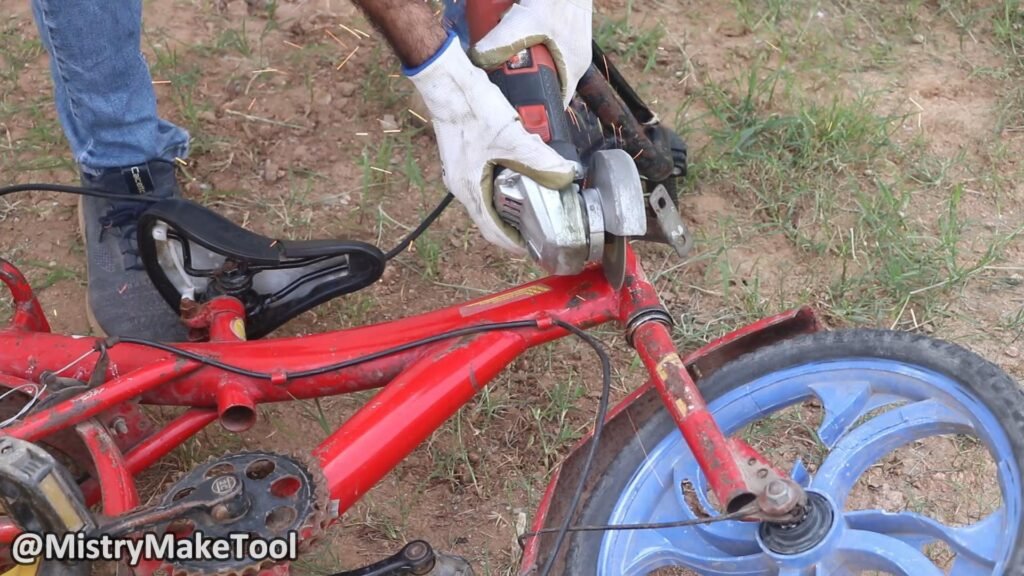
- I have used only front part of the bicycle. Cut the bicycle from the front side as shown in the image. Remove the other side of the bicycle, such as the rear wheel, chain, gears, and crankset, from the bicycle. I have used a portion of the main frame for the front section of the trike.
Step 2: Fabricate the Rear Frame
- Design: Sketch your trike’s dimensions. Consider rider height, desired wheelbase, and stability.
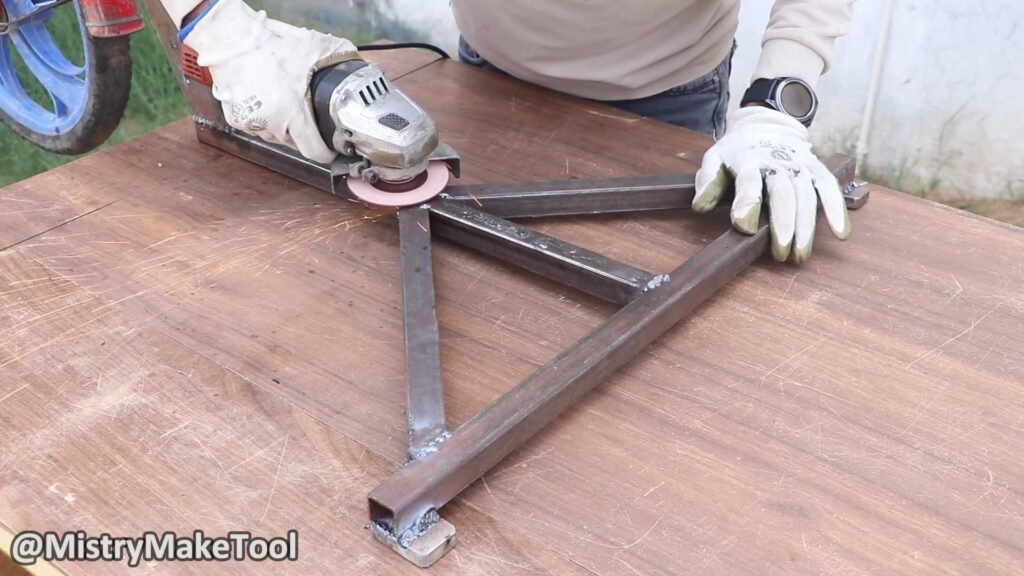
- Cutting Metal Pipes: Using an angle grinder with a metal cutting disc or metal cutting machine, cut the metal pipes to your desired lengths.
- I have used 1 inch size square pipes and 1 inch* 2 inch size rectangle pipes to make the main frame of the trike.
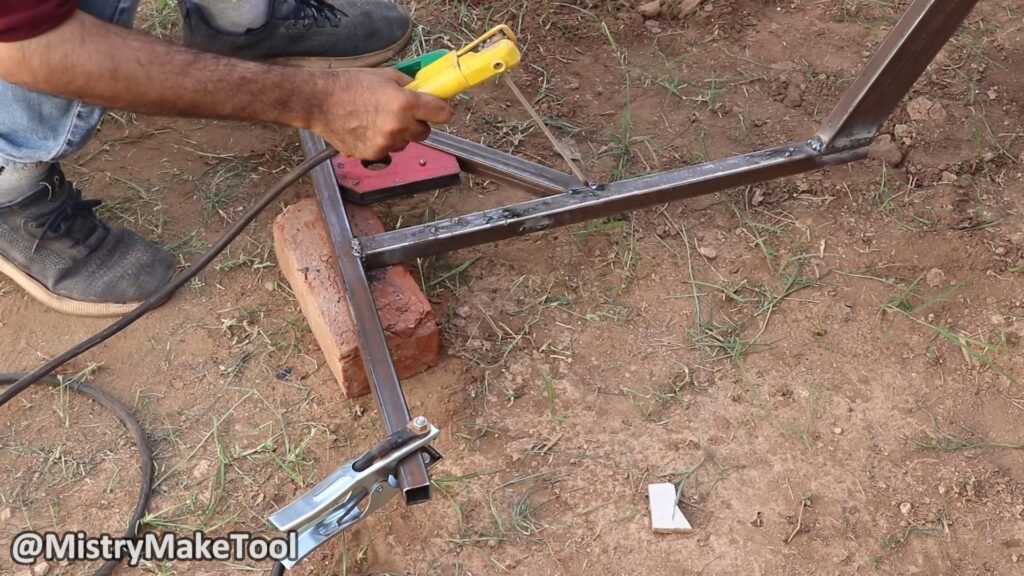
- Welding is the preferred method for strong, permanent joints. If you don’t have welding experience or equipment, consider finding a local welder, or use heavy-duty bolted connections with thick steel plates and gussets for reinforcement. However, welded joints are significantly safer and more durable for a motorized vehicle.
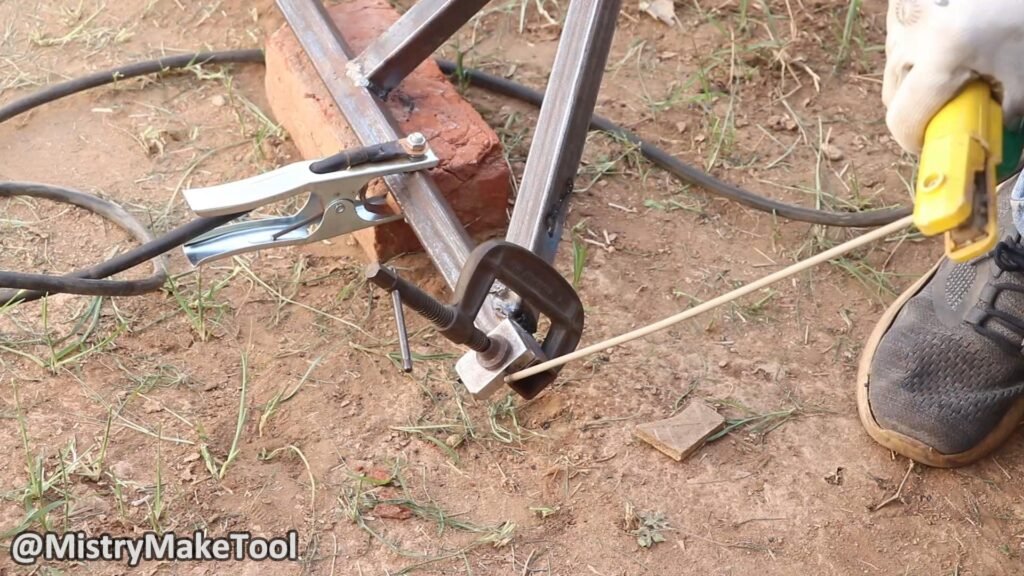
- Weld the all cutting main crossbar and side rails to form a stable shape. Ensure all angles are square and the frame is level.
Step 3: Paint the all frame part of the trike
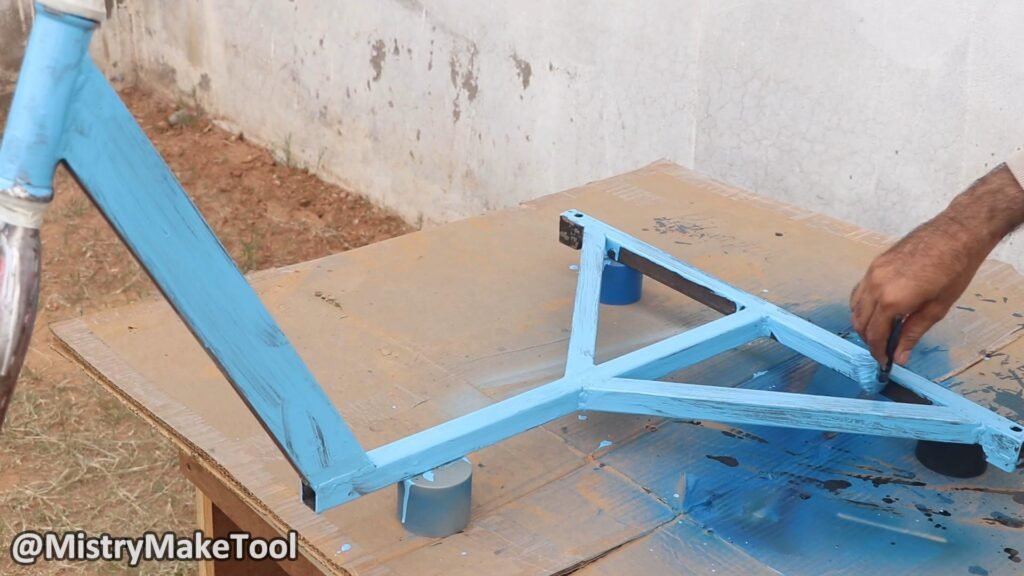
- Paint the metal parts of the trike for rust protection.
- Before installation of the electric connections, it is necessary to paint the frame body. I have used metal parts to make this trike, so it is necessary to paint it to save the metal parts from corrosion and increase the life of the trike.
Step 4: Handlebar and steering
- I remove the old handle because it is not suitable with the throttle that I have purchased. So I attach new handle.
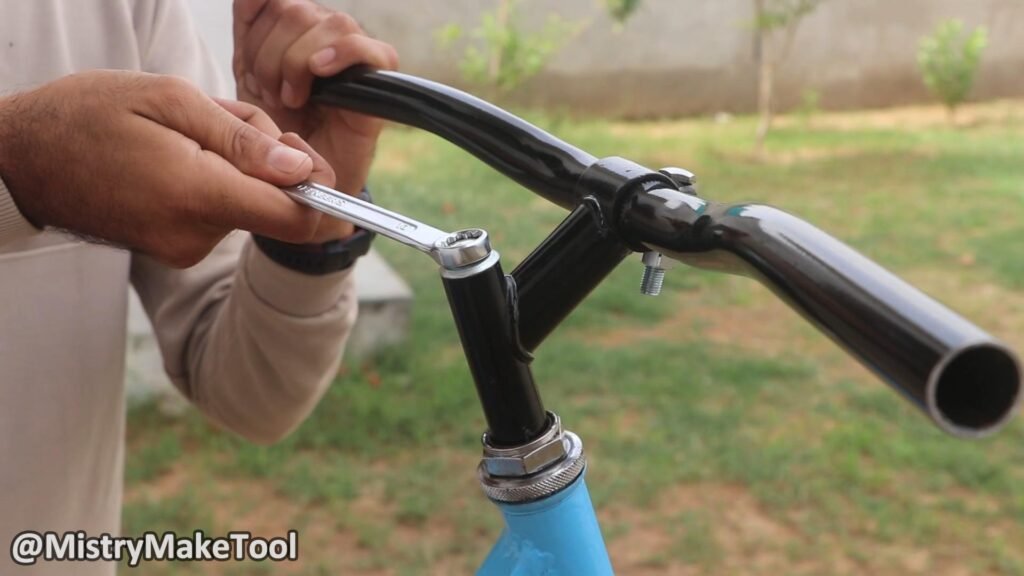
- Ensure the handlebars are securely attached to the fork and the steering mechanism (headset) operates smoothly.
Step 5: Install the Front Sprocket and Wheel
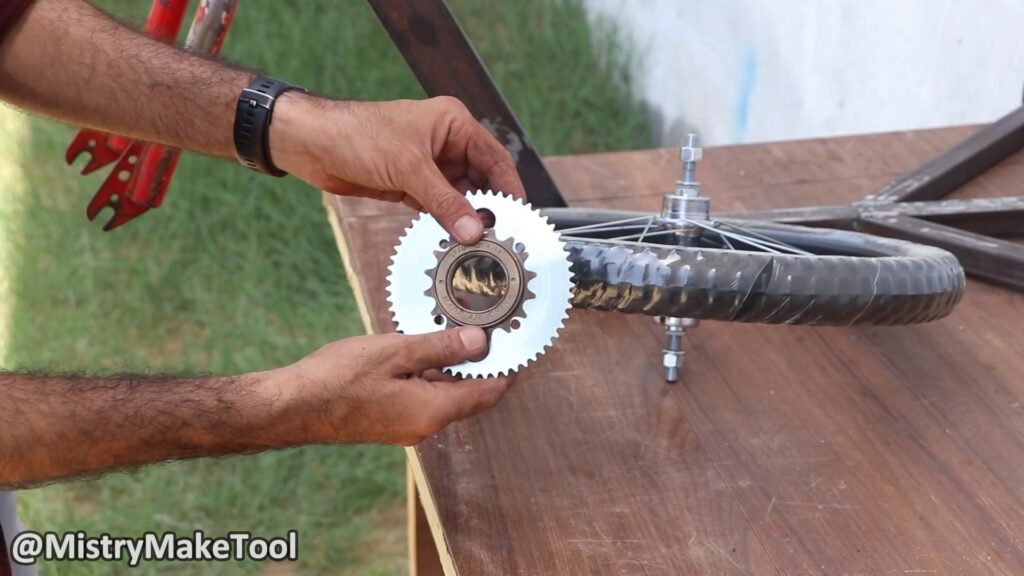
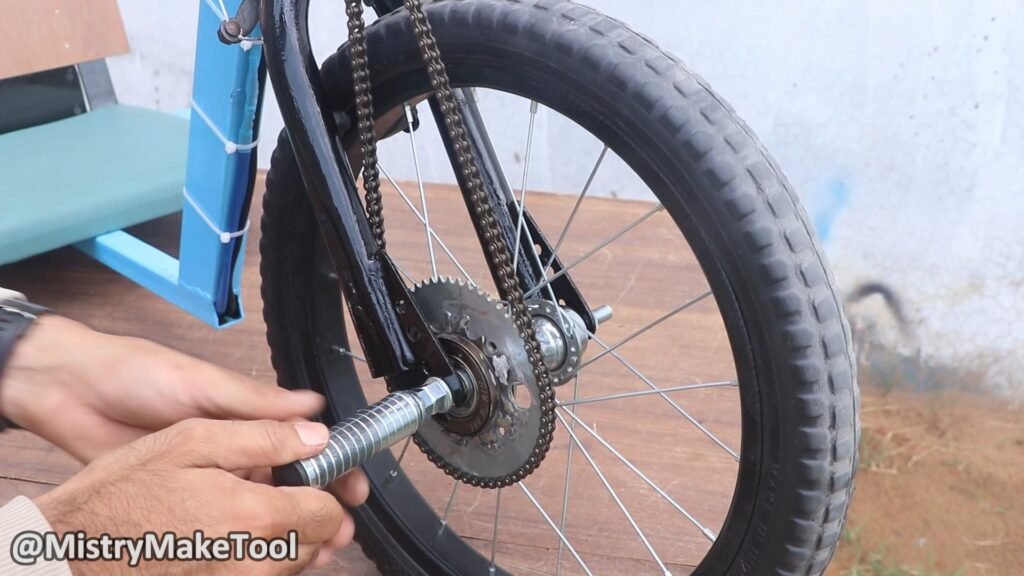
- Attach the large-size chain sprocket and free-wheel sprocket to the front wheel using welding work. Ensures that it is securely welded to the wheel.
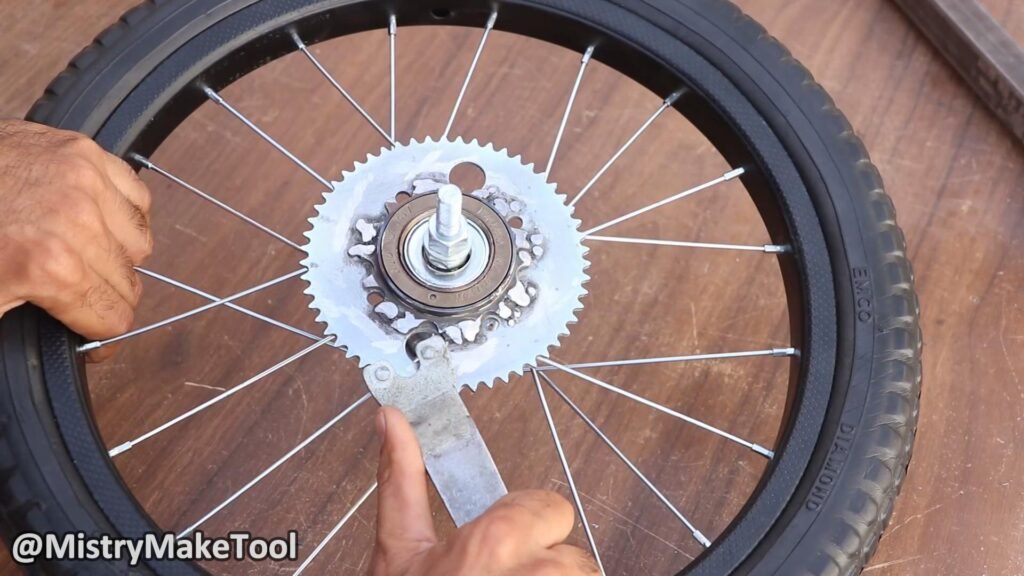
- Attach this front wheel to the front side wheel hub of the trike as shown in the image.
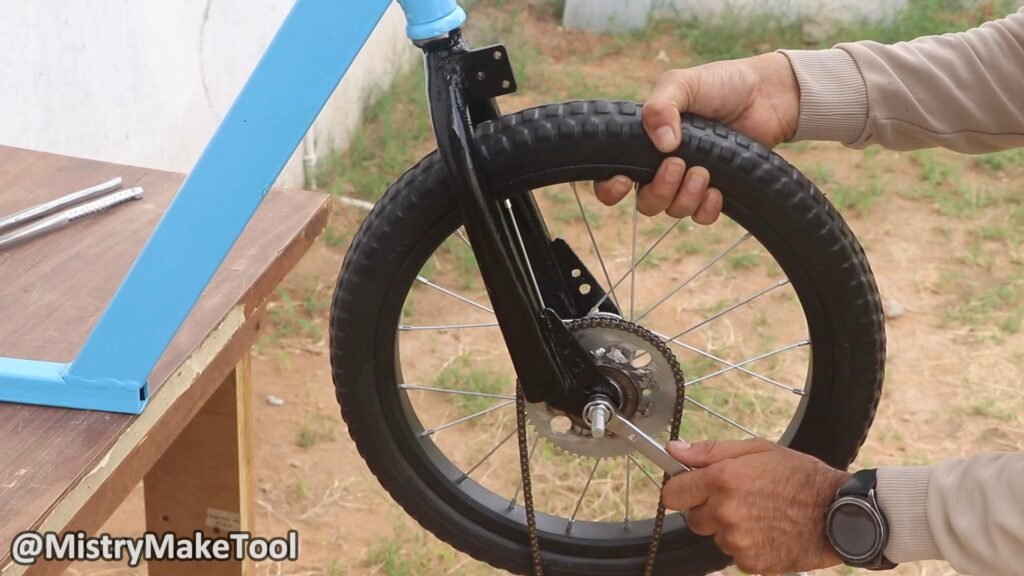
Step 6: Motor And Chain Installation
- I have used 1.5 inch long heavy L-Angle channel and 4mm thickness metal plate to mount the motor at the front side. First attach this L-angle on the front side wheel hub using welding, as shown in the image.
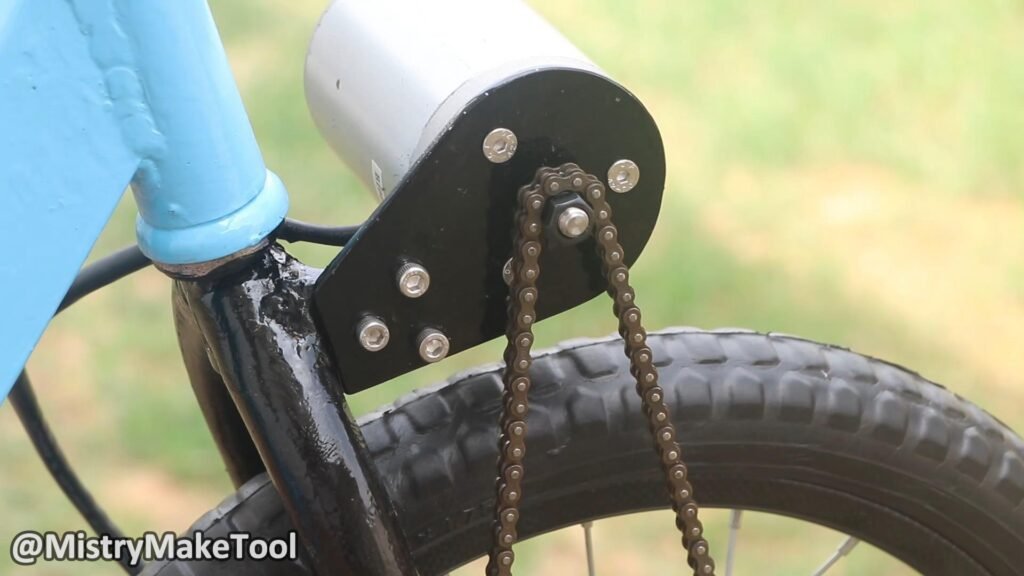
- Then after attach the 4mm thick metal plate on it using allenky screws.
- Mount the motor with this 4mm thick metal plate by using screws. The motor is MY6812 24V, 150W, And 2750RPM. Also install the chain with the motor and chain sprocket on the wheel. Connect the motor sprocket with the front wheel sprocket.
- Ensure proper chain tension – too loose, and it can derail; too tight, and it causes unnecessary wear. You might need a chain tensioner.
Step 7: Seat Mounting
- Cut the wooden plywood sheet to form a base for your seat.
- Cut the 2 nos. metal strips of 16 inch length. Bend them as shown in the image. Attach these both metal strips with the plywood sheets using screws.
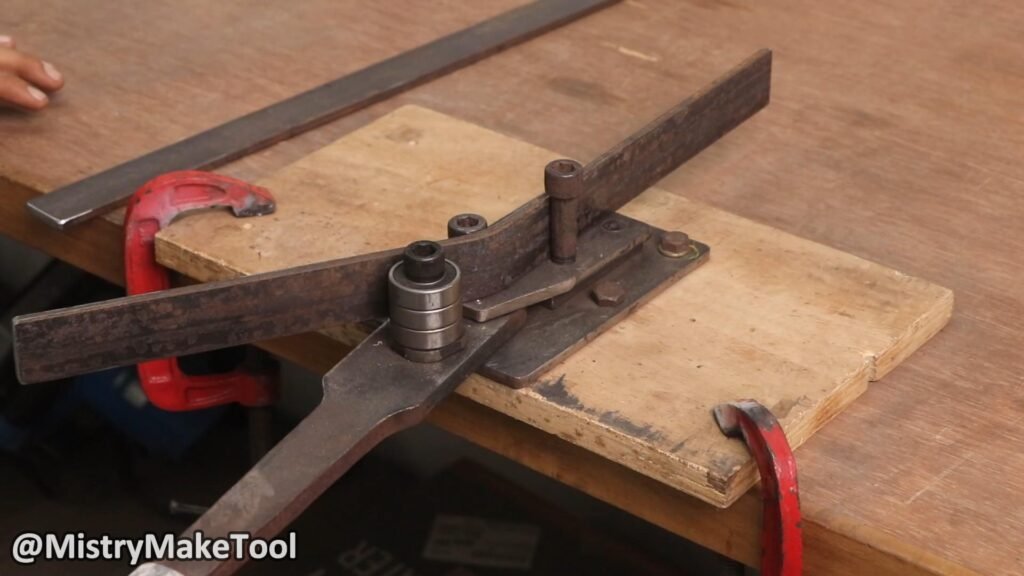
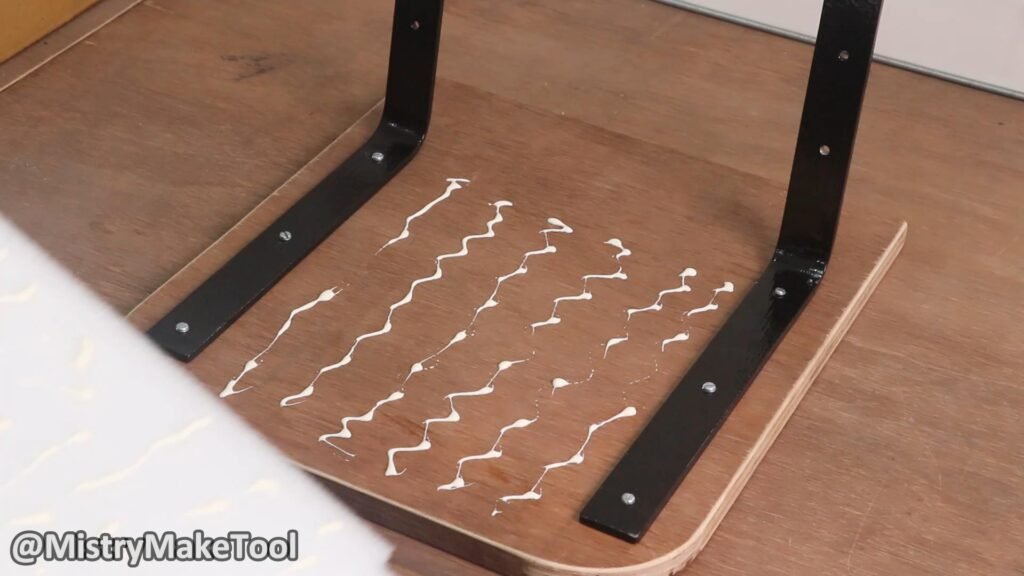
- Attach the foam to the plywood using glue. Also, attach the seat cover to it.
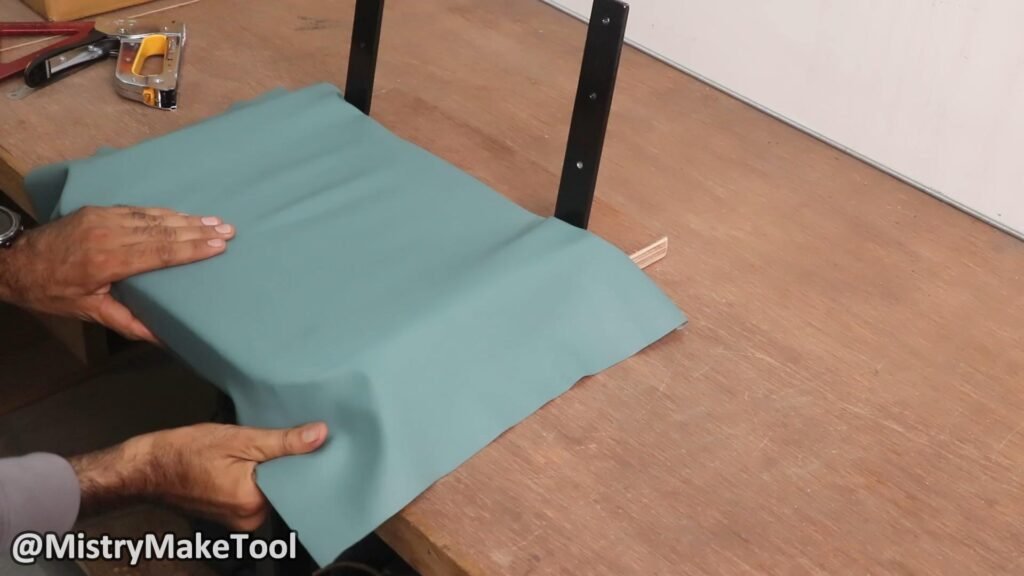
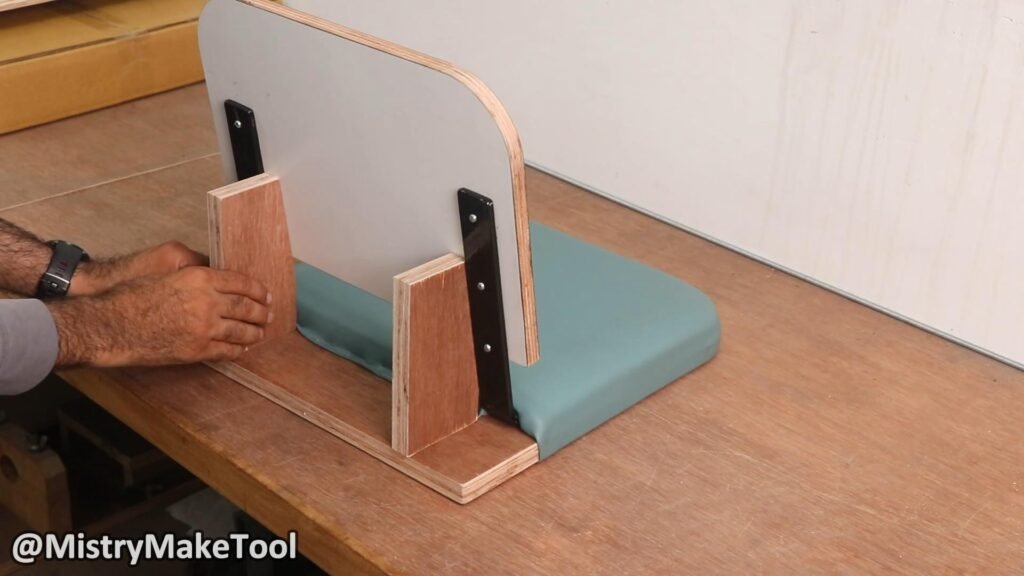
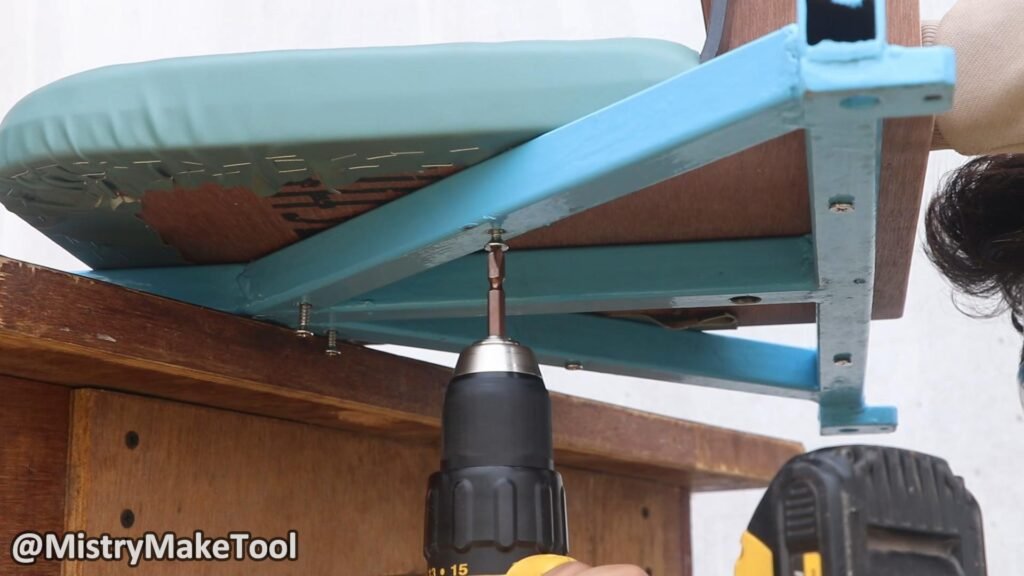
- Mount the seat securely to the Main frame of the trike using screws. Ensure the seat is positioned comfortably and allows for good balance.
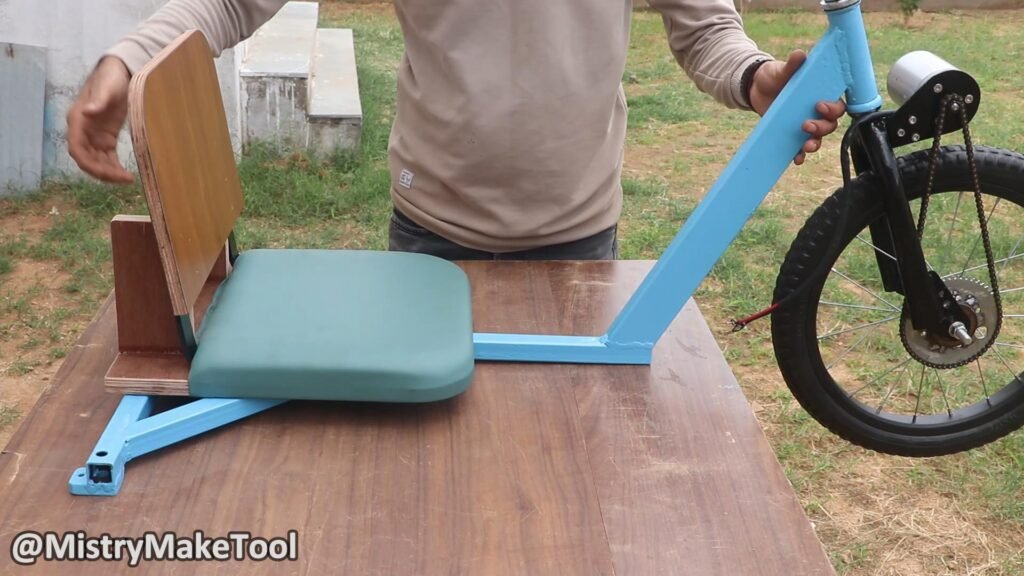
- Install the caster wheels on the rear side of the trike as shown in the image.
Step 8: Battery Housing
- Design a sturdy, waterproof enclosure for your battery pack. This can be made from your wooden plywood sheet, reinforced with metal brackets. I have used metal sheet of 9 inch* 9 inch size and plywood parts to make battery housing.
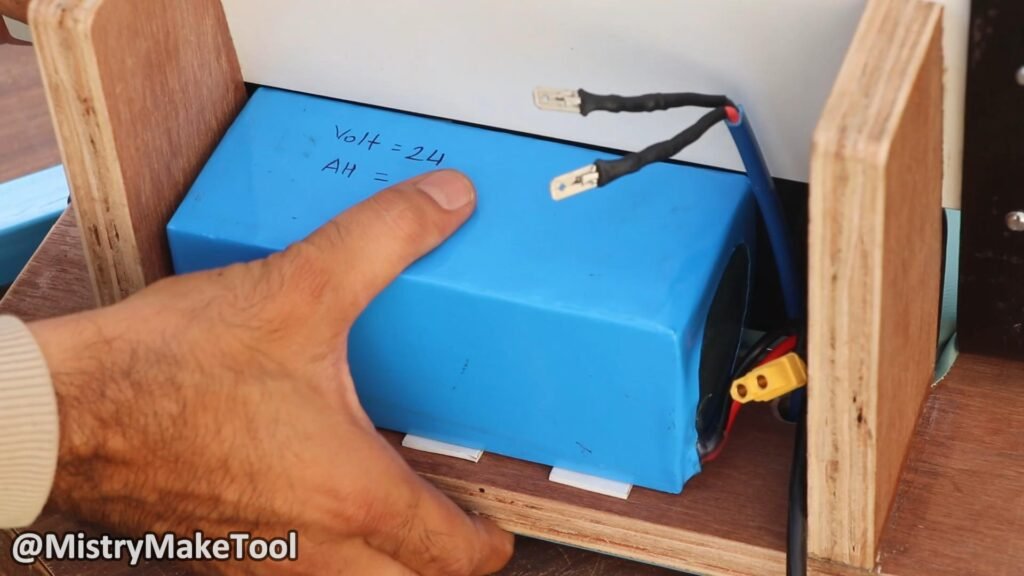
- Mount this enclosure securely to the trike frame, ideally in a central location to help with weight distribution.
- Install 24V and 8Ah Lithium-ion battery and Motor Controller MY1016 24V And 250W in the battery housing.
Step 9: Install Throttle, Wiring, and Brake
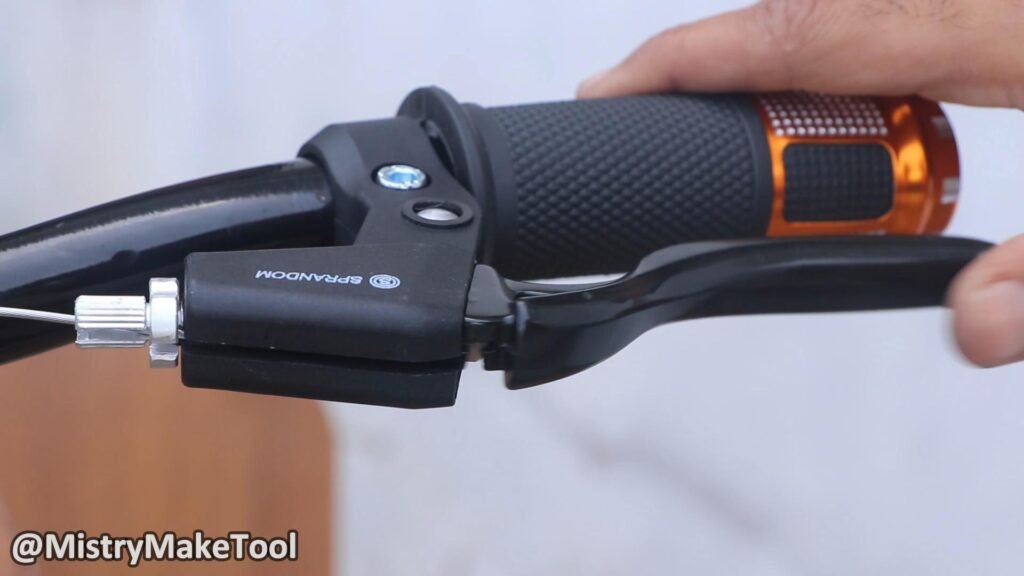
- Install throttle on the right side of the handle. Securely bolt the throttle kit on the handle.
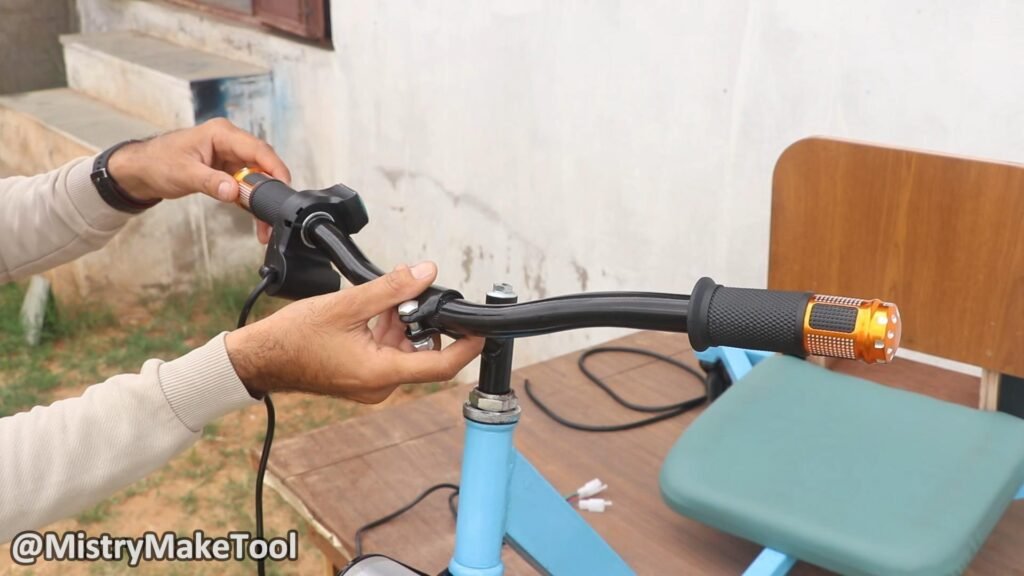
- Connect the throttle to the motor controller.
- Connect the battery to the motor controller. Connect the motor controller to the motor.
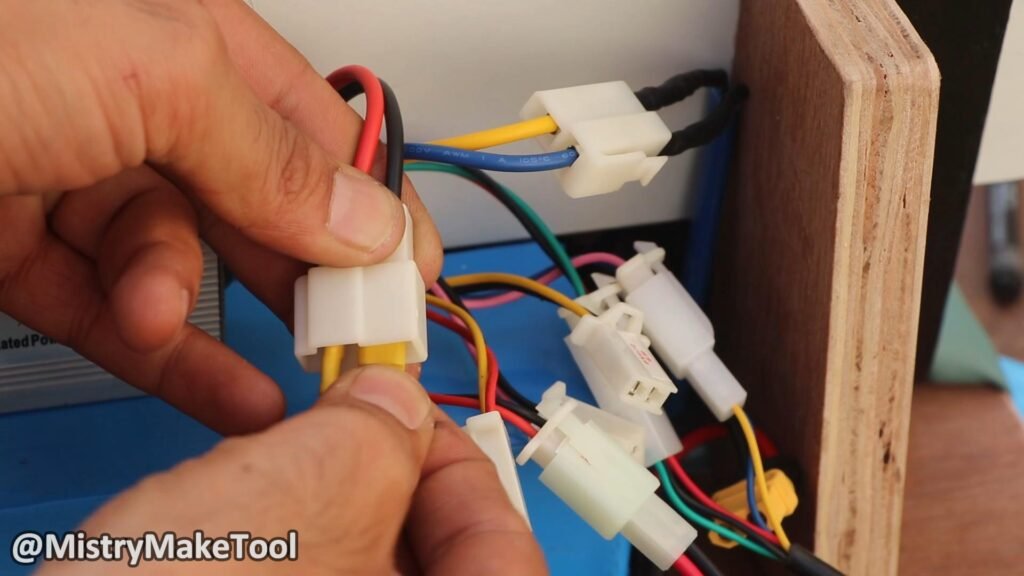
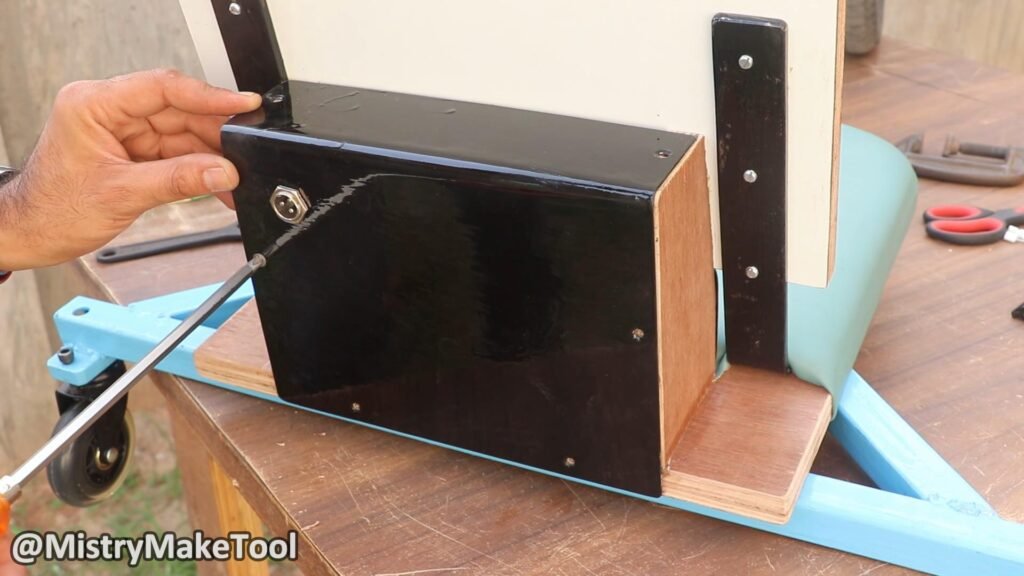
- Fix the wire position with the help of zip tie. Ensure all wiring is properly insulated, routed away from moving parts, and secured to prevent chafing or damage.
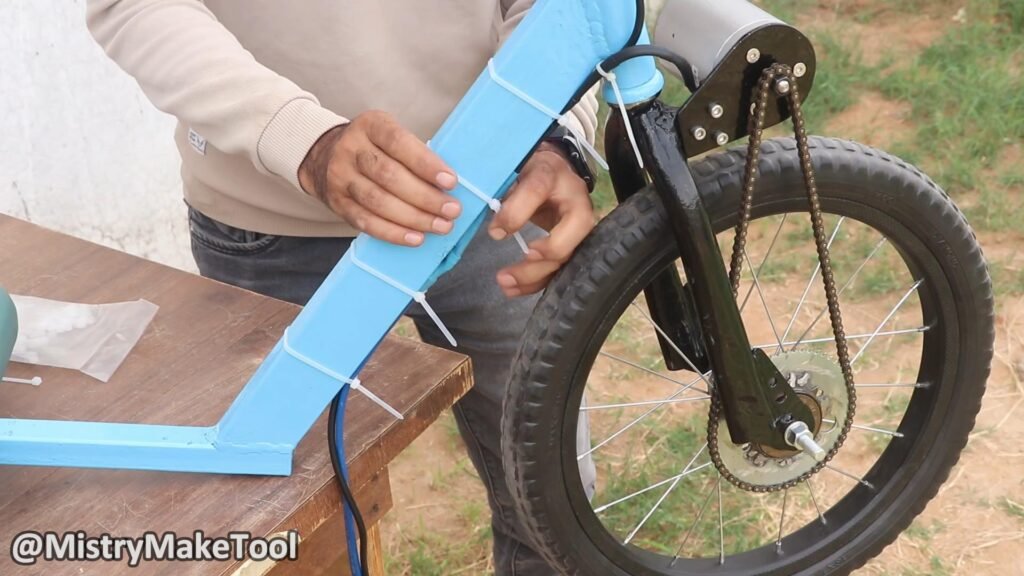
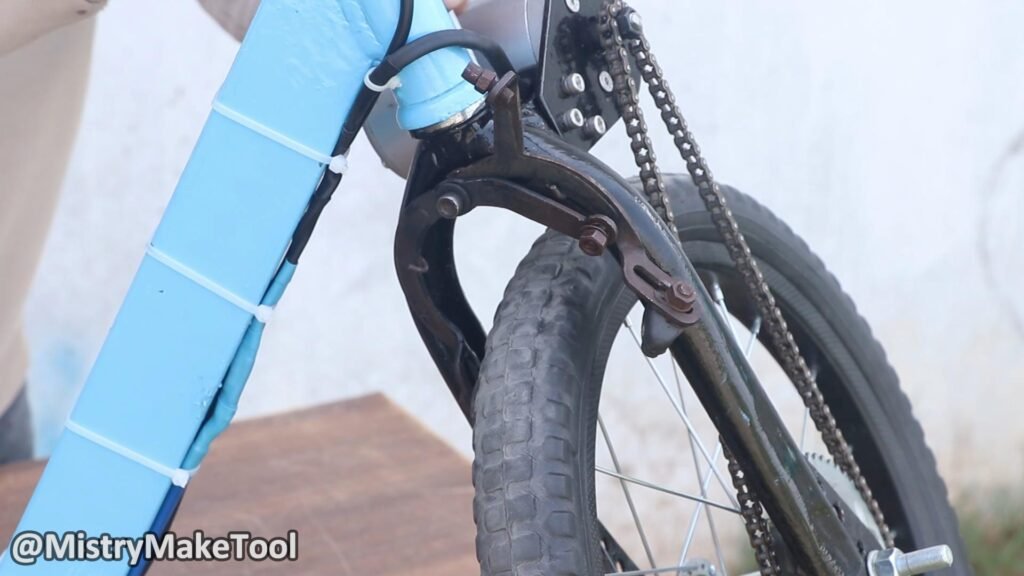
- Install the brake mechanism on the front wheel. I have used bicycle brake to easy use. Ensure the front brake from the bicycle is fully functional and easily accessible.
Step 10: Finishing and Testing
- Add foot pegs to the front frame for the rider’s feet to rest on while drifting.
- Sand down any sharp edges, clean metal surfaces, and consider painting the remaining parts for rust protection and aesthetics.
- Before riding, lift the rear of the trike off the ground and test the motor with the throttle. Ensure it spins correctly and the speed control works as expected.
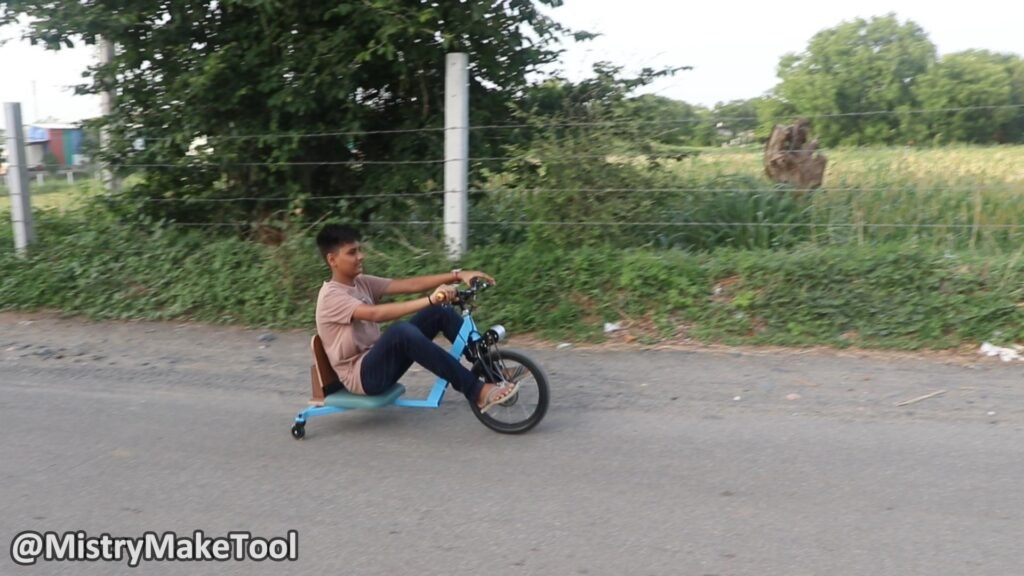
- Start with low speeds and gradually increase as you gain experience.
- Important Considerations:
- Weight Distribution: Aim for a balanced design. Too much weight on the front or back can affect handling and stability.
- Ground Clearance: Ensure adequate ground clearance to avoid scraping the frame on bumps or uneven surfaces.
- Component Compatibility: Double-check that your motor, battery, controller, sprockets, and chain are all compatible with each other.
- Maintenance: Regularly inspect all bolts, welds, chain tension, tire pressure, and electrical connections.
- Legality: Research local laws regarding electric vehicles and drift trikes. Some areas may have restrictions on where and how you can ride.
Building an electric drift trike is a complex project, but by breaking it down into these steps and prioritizing safety and quality construction, you can create a fun and exciting ride. Good luck!
