INTRODUCTION :
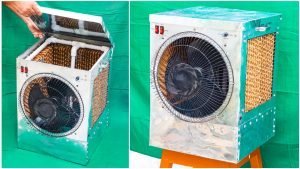
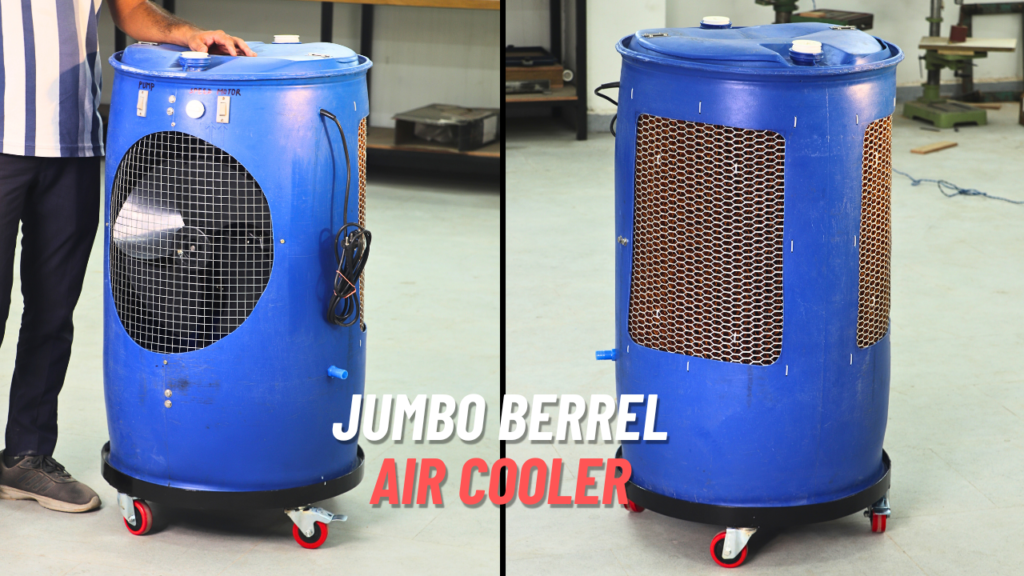
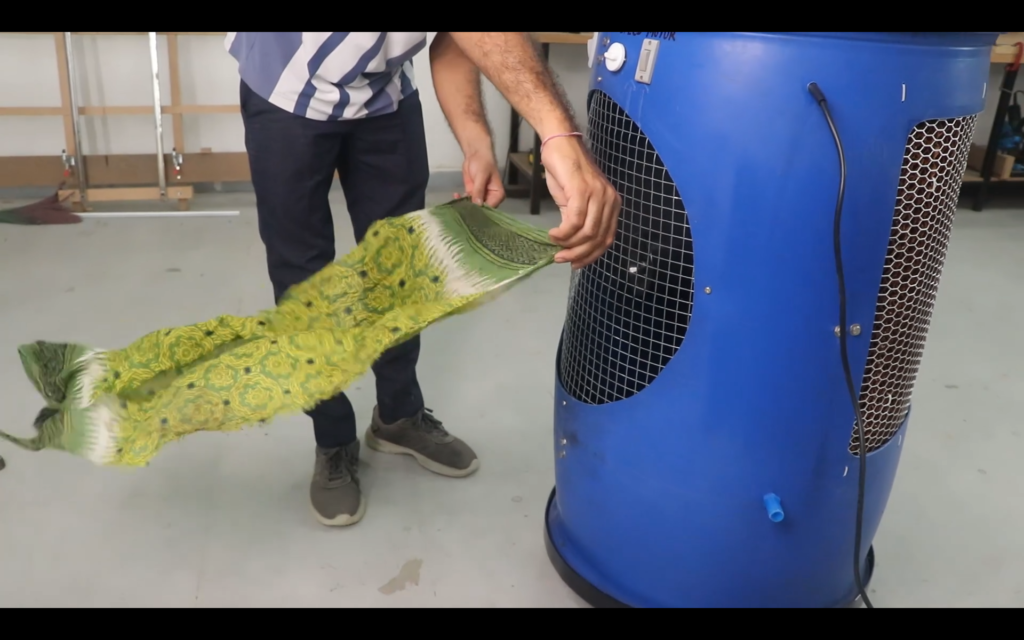
A drum cooler is a homemade produced evaporative cooling device that utilizes a large plastic drum as its primary structure to contain water and house the necessary components for cooling air. It works on the principle of evaporative cooling, where the evaporation of water absorbs heat from the surrounding air, thus lowering its temperature. A fan then circulates this cooler, humidified air.
The idea is to create an evaporative cooler (also known as a swamp cooler). As water is pumped and trickles down the honeycomb pads, a fan will draw air through these moist pads. The evaporation of water absorbs heat from the air, resulting in a cooler airflow.
Parts Used :
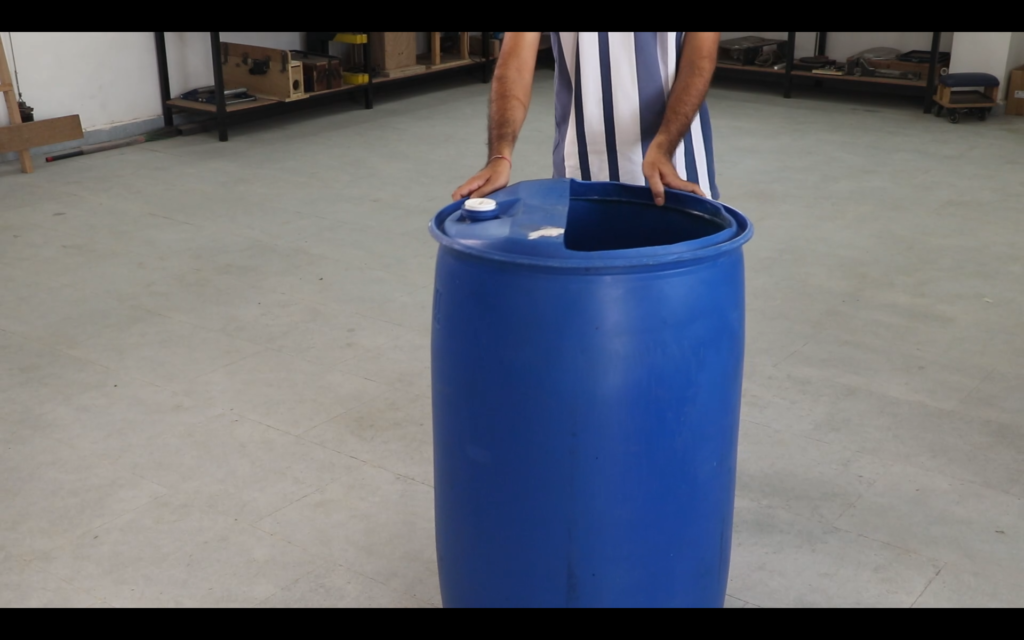
- Big Size Plastic Drum: Dimension is 23 Inch diameter and 36 inch height. This will serve as the main housing for your cooler, holding the water and components.
- 16 Inch Plastic Fan: To draw air into and push it out of the cooler.
- 2 Nos. Honeycomb Cooling Pads: 15inch* 18inch size. This porous material will be wetted with water, providing a large surface area for evaporation. Size it to fit the side openings you’ll create in the drum.
- Aluminum Net (or Mesh): Size is 36inch* 21inch. To support the honeycomb pad and prevent it from sagging or being sucked into the fan.
- Motor (for the fan): An electric motor to power the plastic fan. Ensure it’s compatible with your power source (AC or DC) and has sufficient torque for the fan size.
- Pump (submersible): A small submersible water pump to circulate water from the bottom of the drum to the top of the honeycomb pad.
- 20 Inch Diameter Iron Net (or Mesh): To create a protective grill over the fan opening, preventing accidental contact.
- Electric Wire: To connect the motor, pump, and switches to the power source. Ensure you use appropriate gauge wire for the current draw.
- Switches:
- On/Off Switch (for the entire unit): To control power to both the fan and the pump.
- Switch for Pump: To independently control the water pump. This allows you to use the fan for ventilation without cooling.
- 4 Nos. Metal Strips: 2 Nos. 16inch and 2 Nos. 11inch. To fabricate a support structure for the motor and fan assembly.
- Speed Regulator (for the fan): To control the airflow by varying the speed of the fan motor. Choose one compatible with your motor type.
- PVC Pipes and Fittings (optional but recommended): For directing water from the pump to the top of the honeycomb pad.
- Fasteners (screws, bolts, nuts, zip ties): For securing various components.
- Metal Strips:– To make the Stand for the cooler.
- 4 Nos. wheels For Cooler Stand
How to make :
1. Preparing the Plastic Drum:
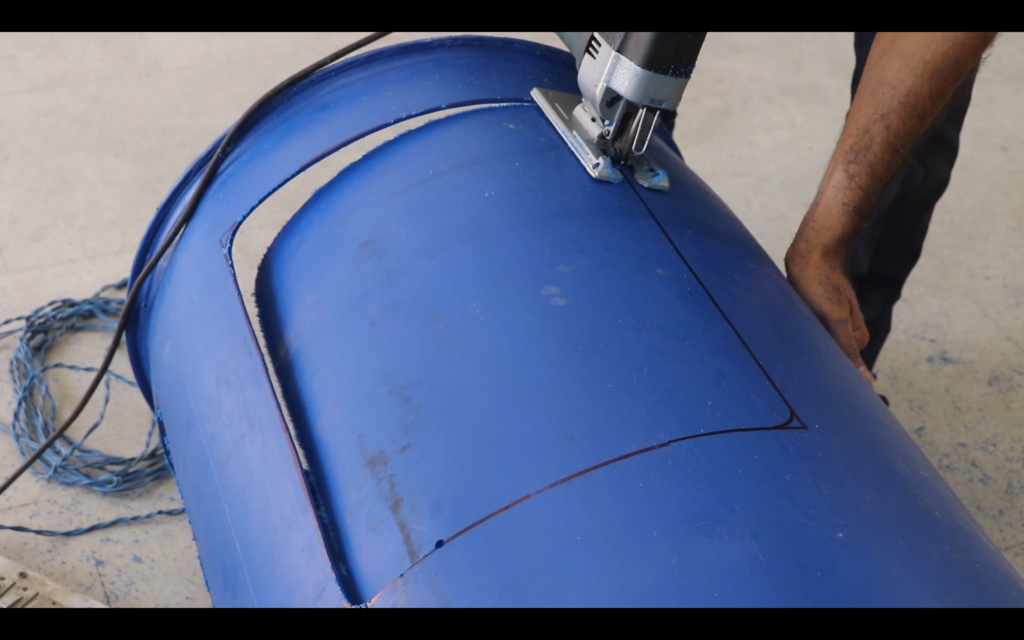
Cut Fan Opening: Decide where you want the airflow to exit. Cut a circular or square opening in the drum large enough to accommodate your plastic fan. I cut it of 18 inch diameter.
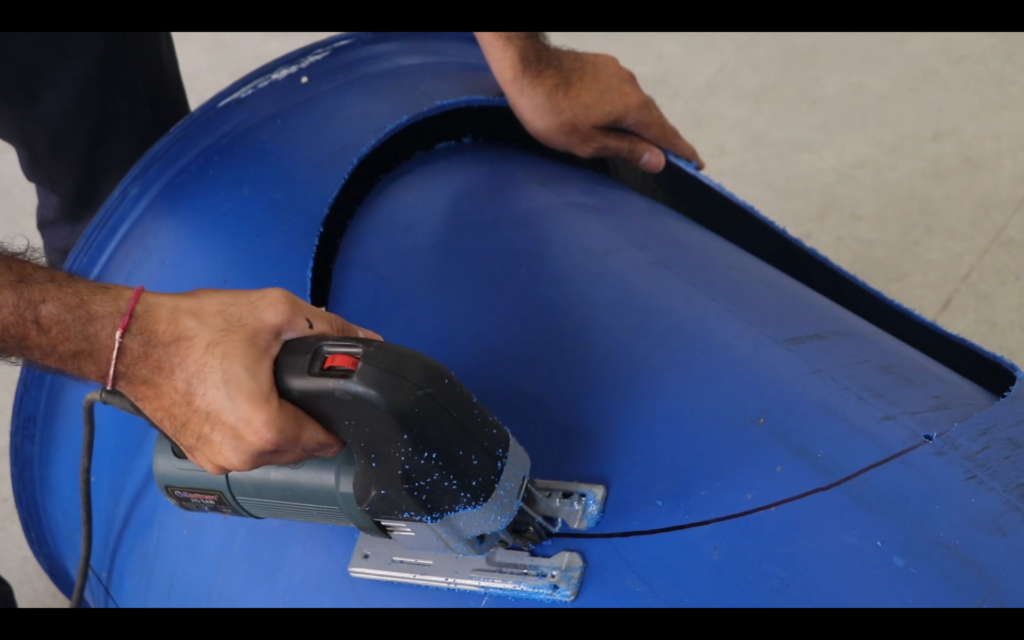
Cut Honeycomb Openings: On the sides of the drum opposite or adjacent to the fan opening, cut one or more rectangular openings to fit your honeycomb pads. Cut size of both sides is 13inch* 16inch. Ensure these openings are slightly smaller than the pads so they can be secured.
2. Creating the Motor and Fan Mount Support:
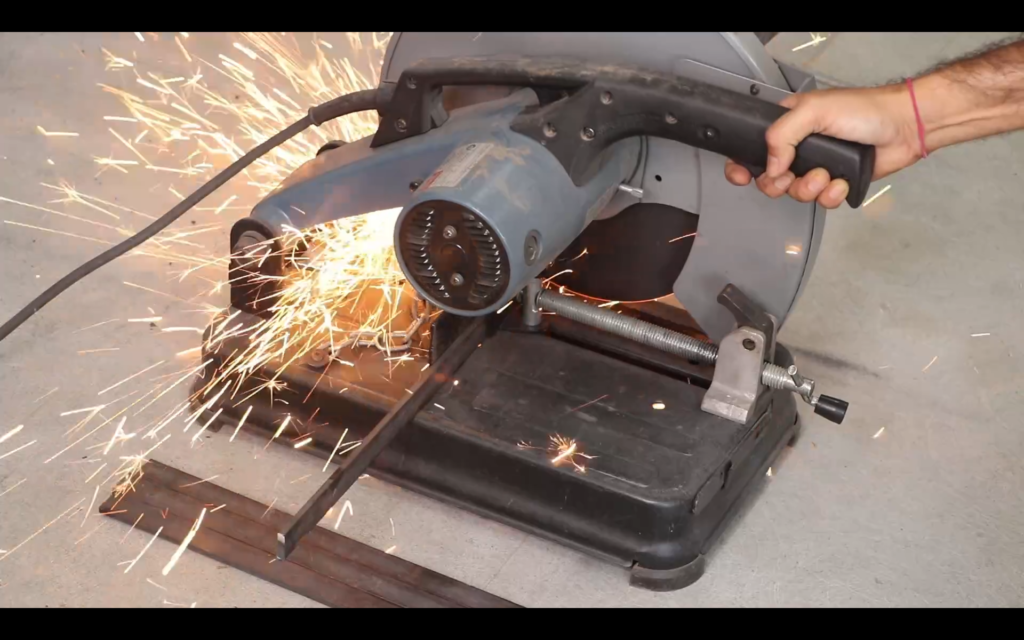
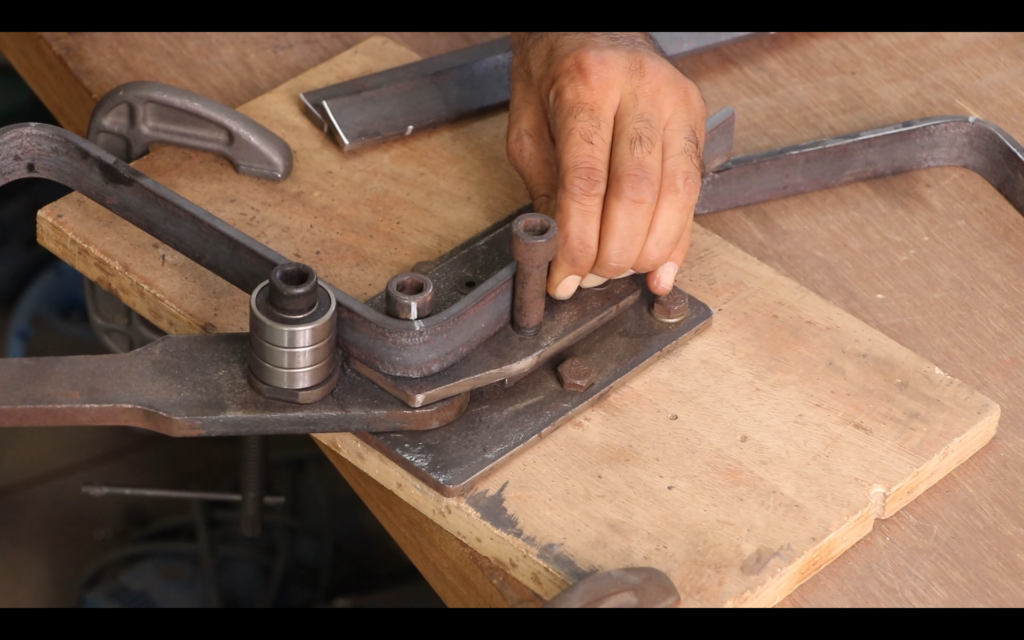
Using the metal strips, fabricate a sturdy support structure for the motor. Cut the strips of 16 inch and 11 inch, each size of 2 pieces. Bend these strips as shown in the image. Color this structure for corrosion resistant.
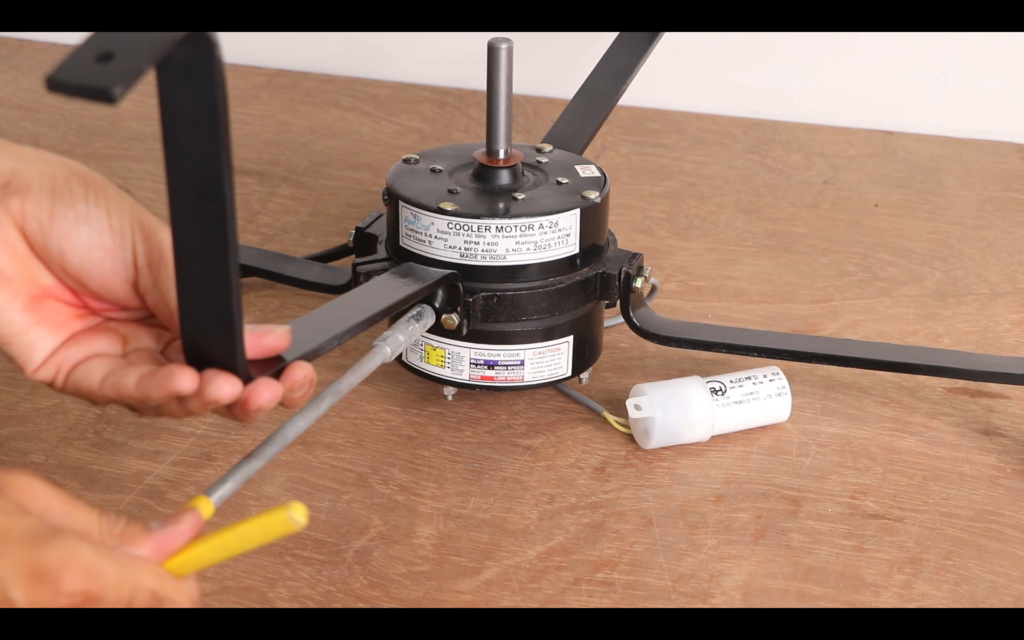
Attach all this metal strips with the motor. This structure should allow you to securely mount the motor behind the fan opening.
3. Installing the Fan Assembly:
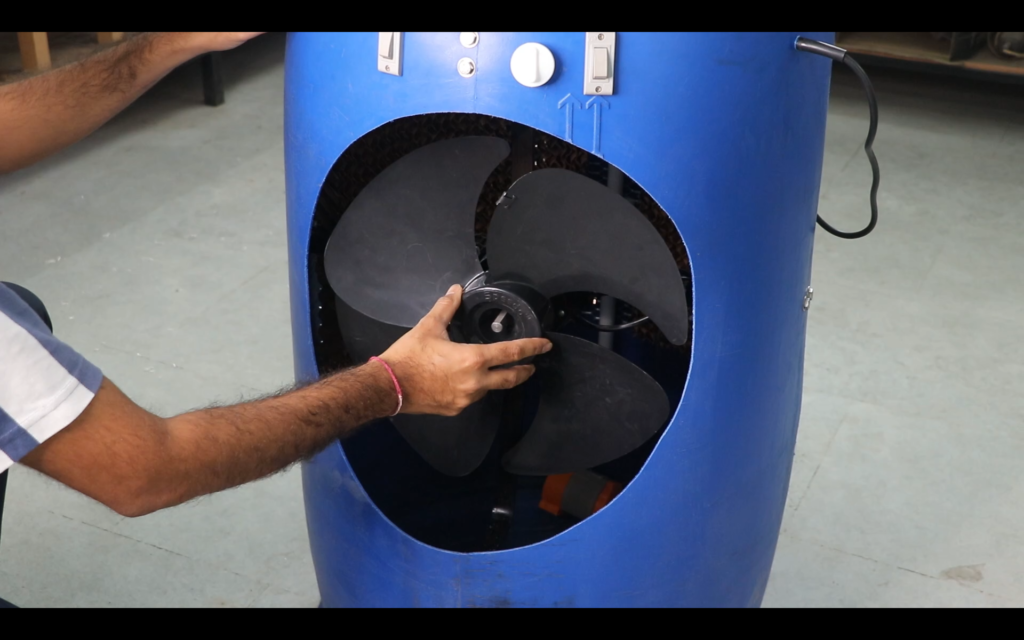
Position the motor and fan assembly over the fan opening you cut in the drum.
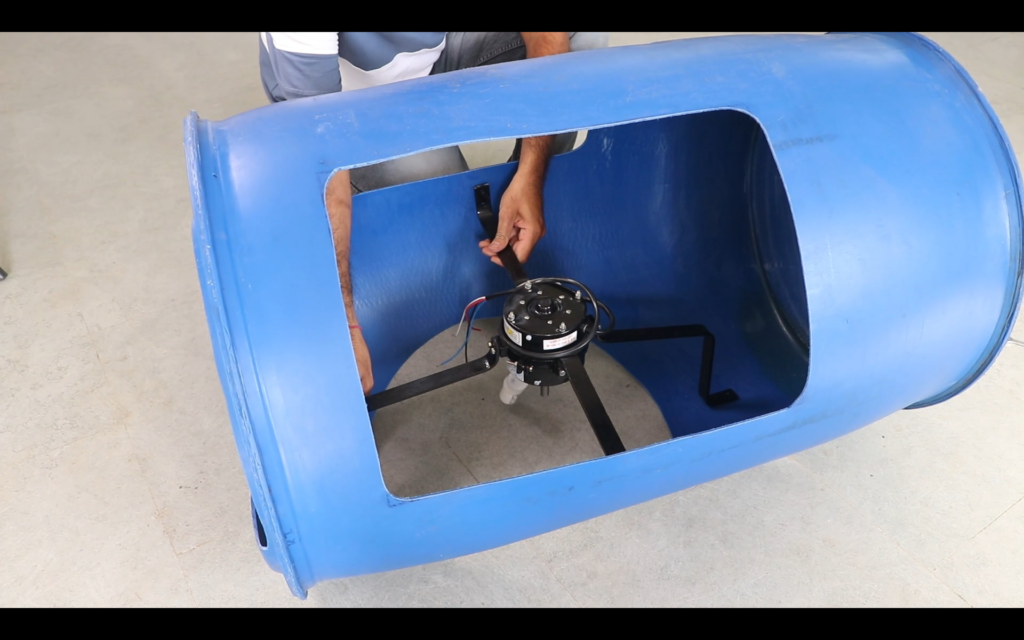
Secure the metal support structure to the drum using screws or bolts. Ensure it’s firmly attached and doesn’t vibrate excessively.
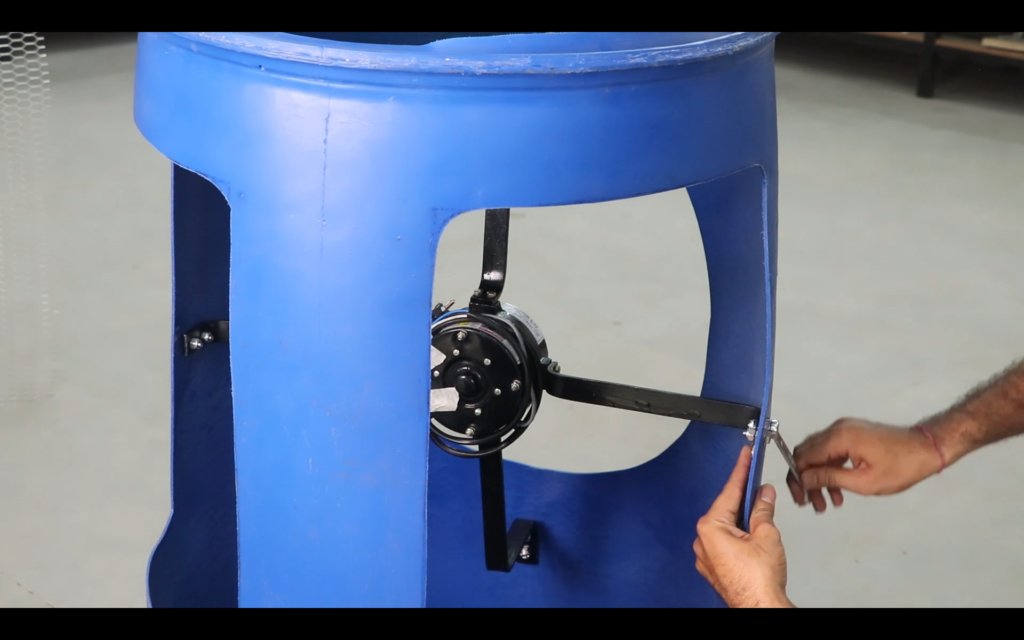
4. Installing the Honeycomb Pads:
Cut the aluminum net (or mesh) slightly larger than the honeycomb openings. I have used 36inch* 21inch size aluminum net.
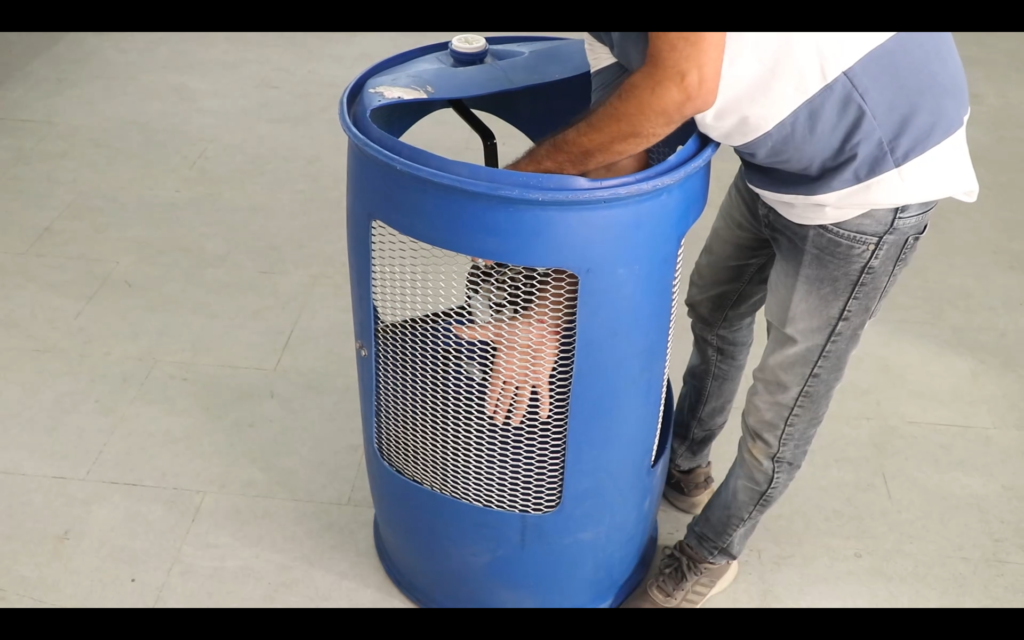
Place the aluminum net over the inside of the honeycomb opening. Attach this net with the drum using zip tie.
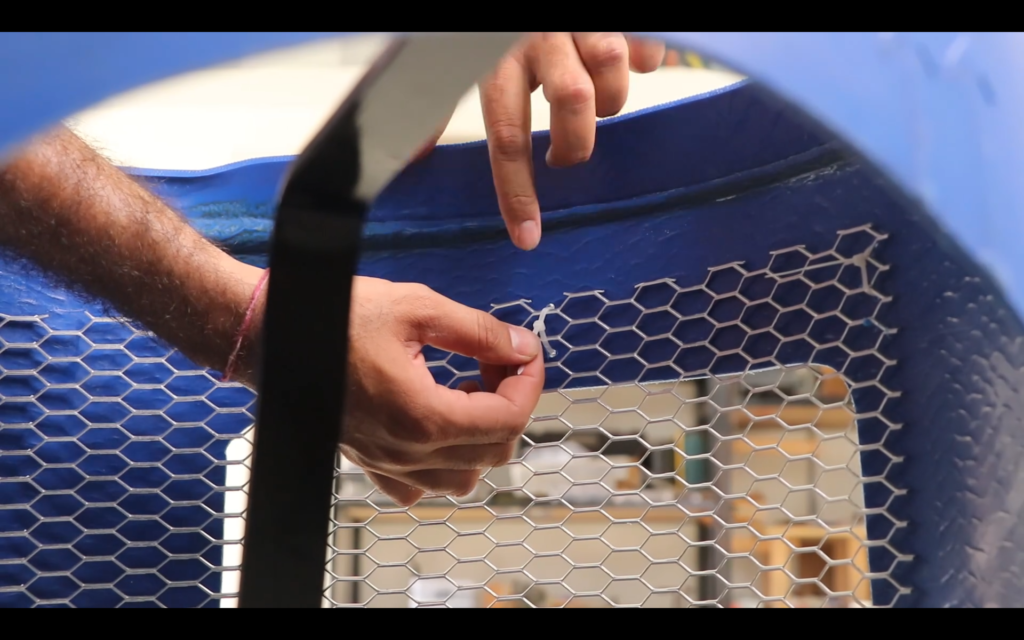
Insert the honeycomb pad into the opening, pressing it against the aluminum net and attach it using a zip tie. The net will provide support and prevent the pad from being sucked in wards by the fan.
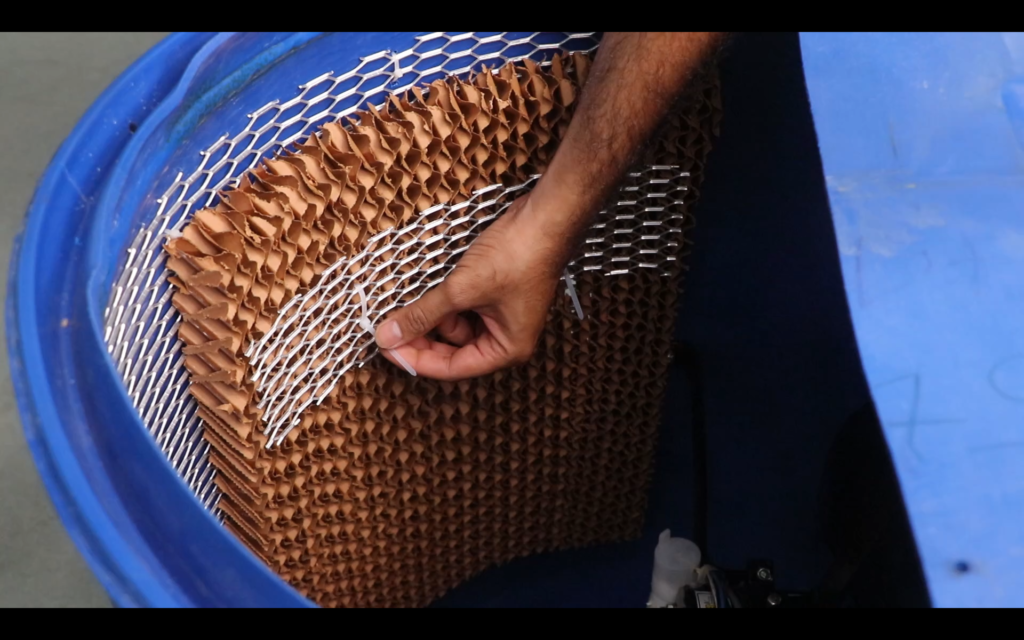
Secure the honeycomb pad in place. You might use additional strips of plastic to create a frame around the opening to hold the pad firmly.
5. Setting up the Water Circulation System:
Place the submersible pump inside the plastic drum at the bottom.
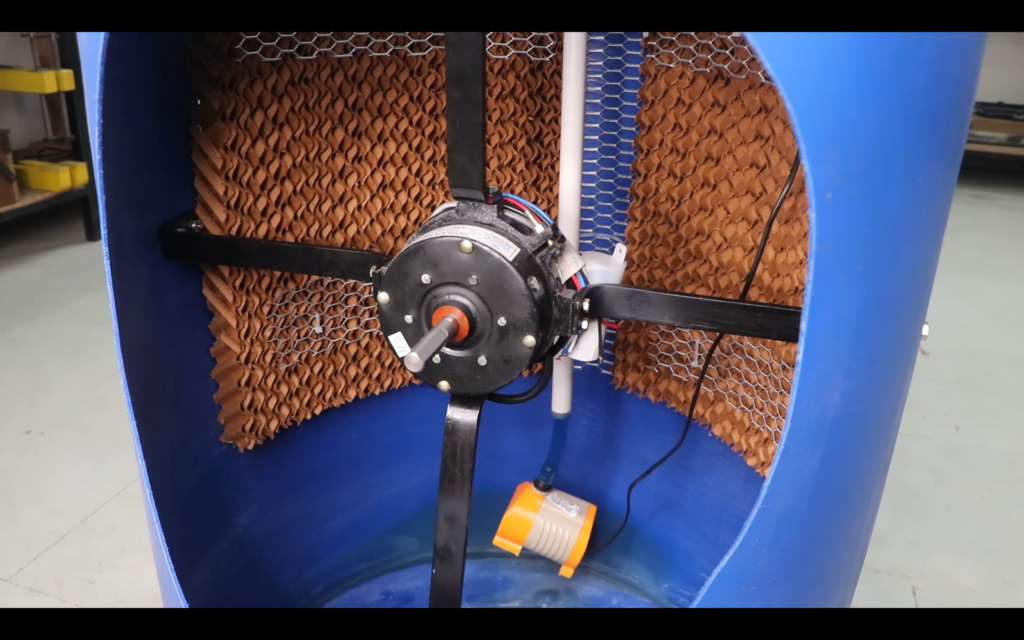
Connect a pipe to the outlet of the pump. Run this pipe up to the top of the honeycomb pad.
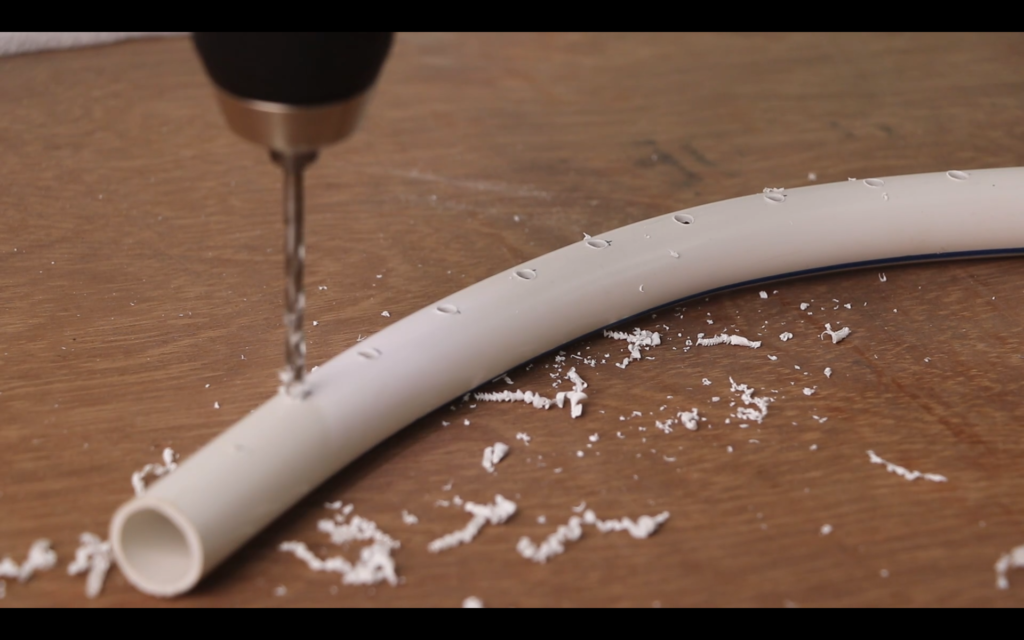
Bend the other pvc pipe as per the drum and attach this pipe at the top of the honeycomb pad to evenly distribute water across the entire surface. This could involve a simple close-ended pipe with small holes drilled along its length, or a more sophisticated drip system. Ensure the water will flow down the honeycomb pad due to gravity.
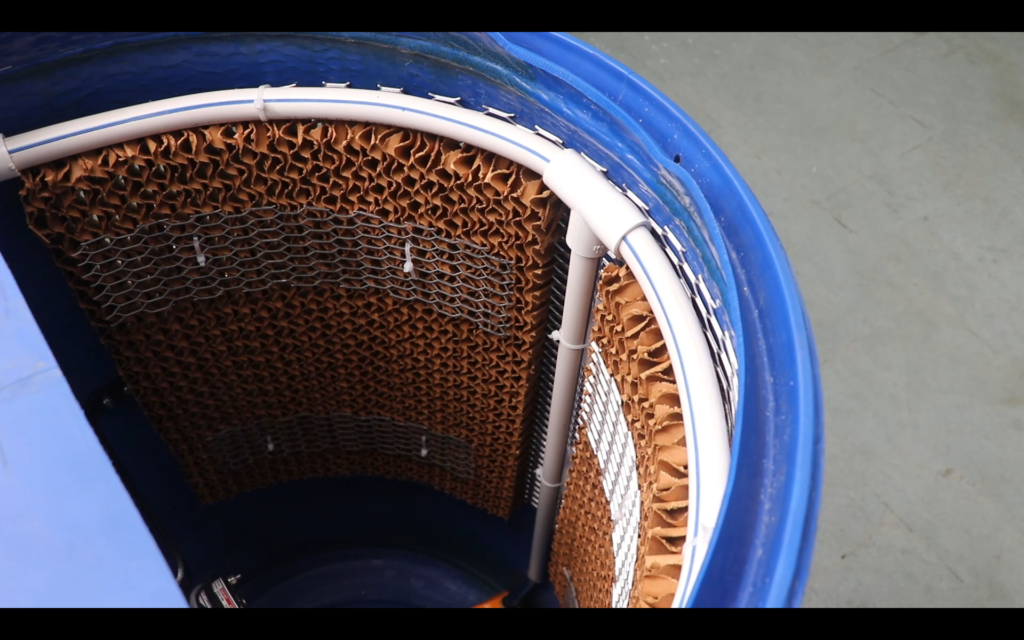
6. Wiring the Electrical Components:
Caution: If you are not comfortable working with electricity, it’s highly recommended to seek help from someone who is qualified.
Drill small holes near the top and bottom of the drum to pass the electrical wires for the fan, pump, and switches.
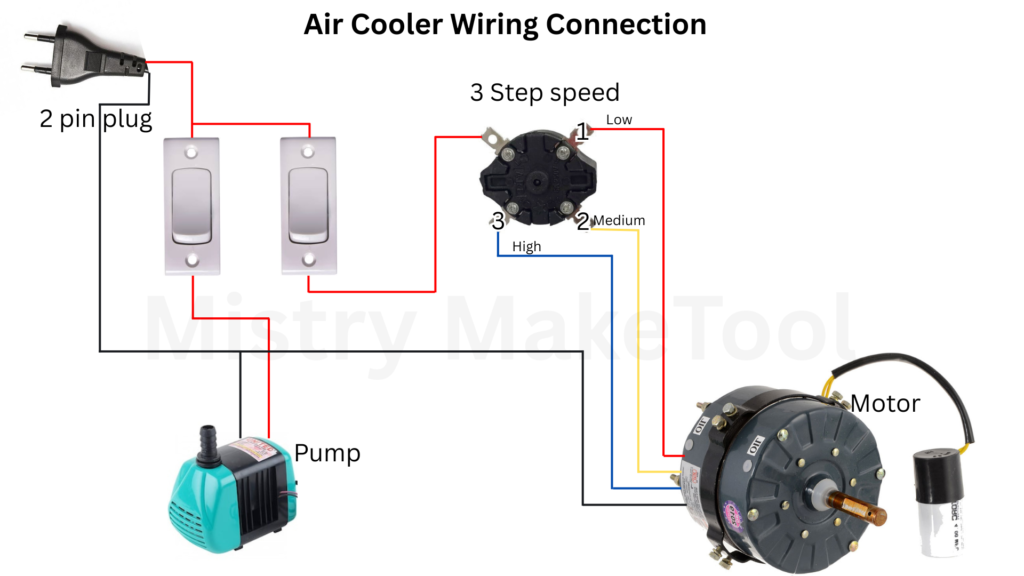
Mount the on/off switch, the pump switch, and the speed regulator on a convenient location on the drum’s exterior. Connect the power source to the on/off switch.
From the on/off switch, wire the power to the fan motor (through the speed regulator) and to the pump switch. Connect the pump to the pump switch.
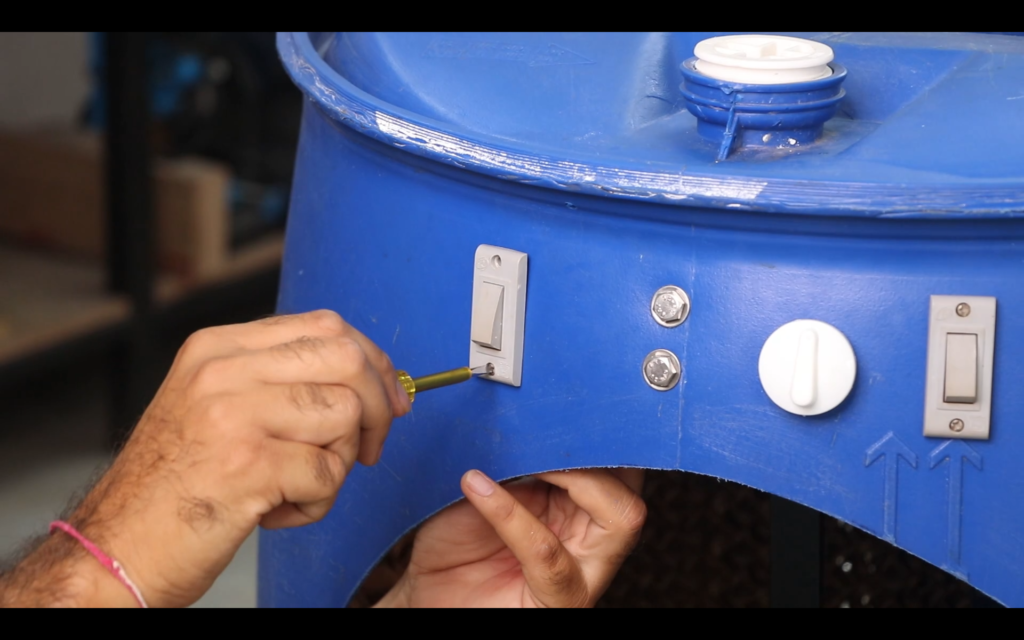
Ensure all electrical connections are secure and properly insulated. Use appropriate wire connectors and follow safety guidelines.
7. Installing the Fan Grill:
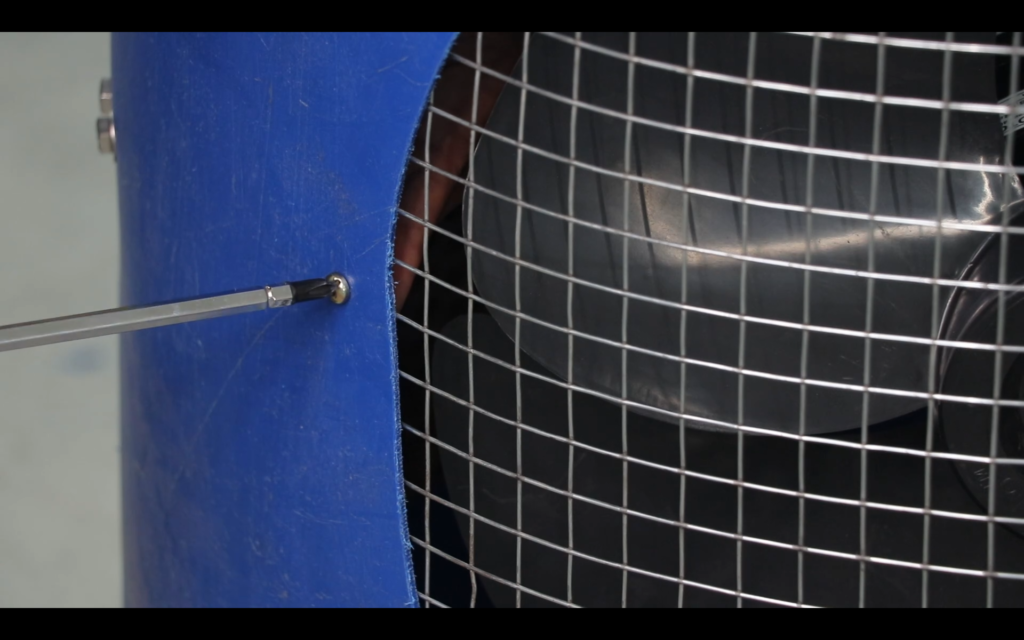
Cut the iron net to a size of 20 inch diameter that covers the fan opening on the inside of the drum.
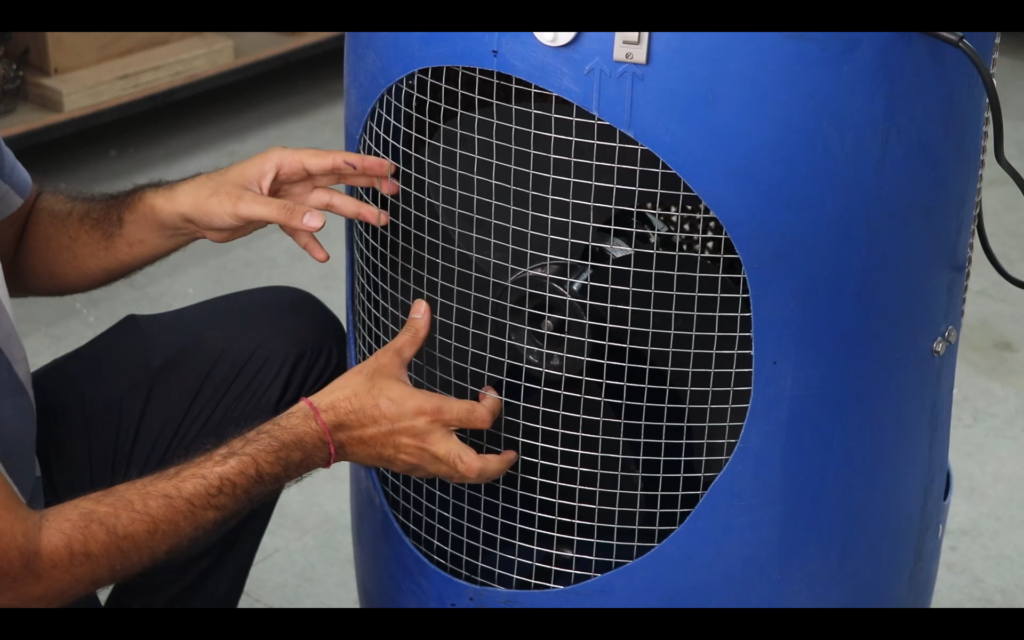
Securely attach the iron net over the fan opening using screws or other suitable fasteners. This will prevent accidental contact with the moving fan blades.
8. Sliding Stand For Cooler:
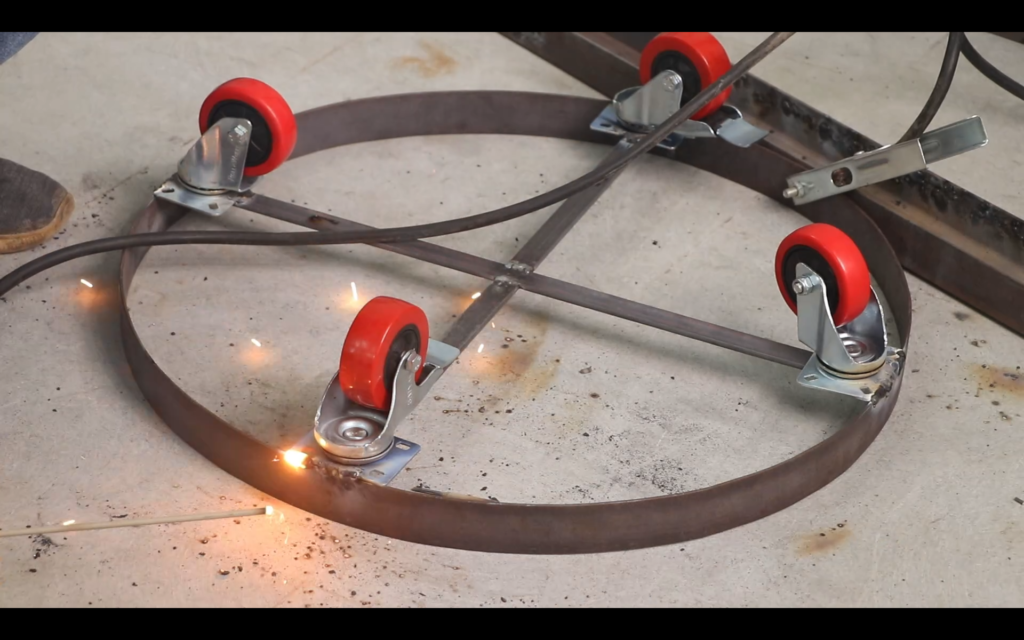
Next and last step is to make a stand for cooler. This stand is made from metal strips. Attach the 4 nos. bearing wheel with stand with the welding work. Color this stand for longer life and for corrosion resistant.
9. Final Assembly and Testing:
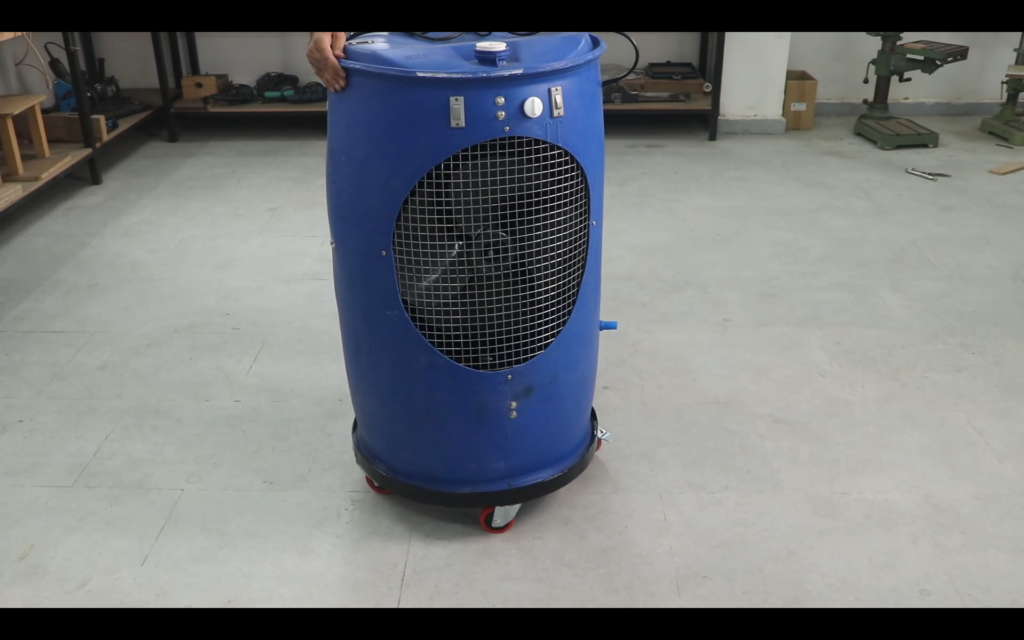
Ensure all components are securely mounted and all wiring is properly connected and insulated.
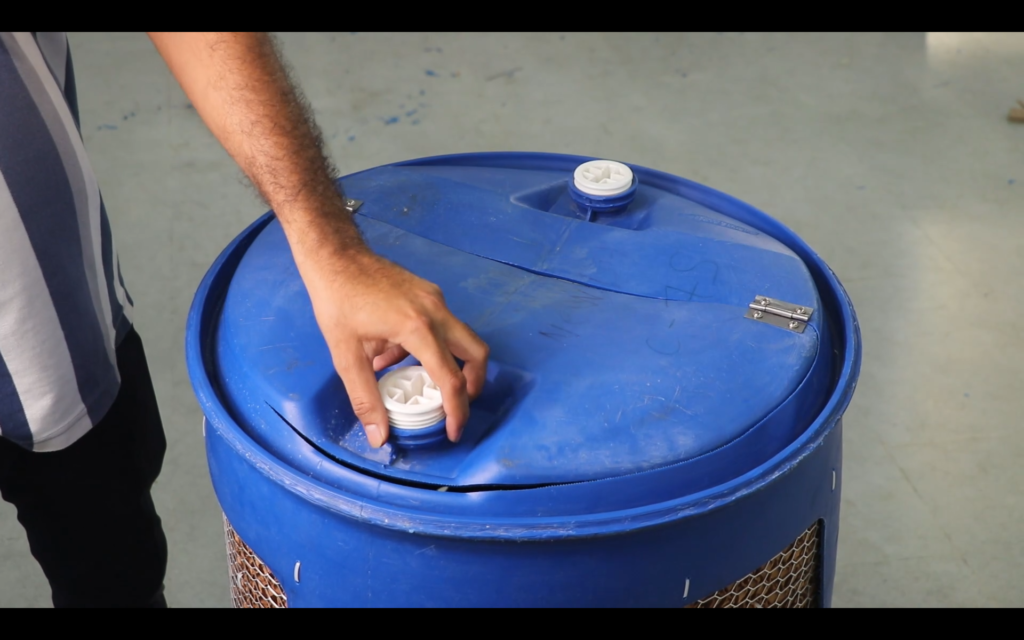
Fill the plastic drum with water to an appropriate level (do not overfill). The water level should be high enough for the submersible pump to operate correctly.
Turn on the main power switch. Turn on the pump switch. Check if water is being pumped up and distributed evenly over the honeycomb pad(s). Adjust the distribution system if necessary.
Turn on the fan. Check if air is being drawn through the wet honeycomb pads and a cooler airflow is coming out of the fan opening.
Experiment with the speed regulator to adjust the airflow as needed. Check for any leaks and seal them with silicone sealant if necessary.
Total Cost To Make This Cooler:
Drum – RS. 700
Motor – RS. 1200
Pump – RS. 180
Fan – RS. 200
Honeycomb – RS. 330
Switch, Regulator, Wire – RS. 120
Aluminum Net – RS. 300
Metal Fan Net – RS. 100
Metal Strip For Structure – RS. 100
Cooler Stand With Caster Wheel – RS. 650
Important Considerations and Safety Precautions:
- Electrical Safety: Always disconnect the power source before working on any electrical components. Ensure all wiring is done correctly and safely. If you are unsure, consult a qualified electrician.
- Water Level: Regularly check the water level in the drum and refill as needed. Running the pump dry can damage it.
- Ventilation: Use the cooler in a well-ventilated area. Evaporative coolers increase humidity.
- Maintenance: Regularly clean the drum, pump, and honeycomb pads to prevent the buildup of algae and mineral deposits.
- Stability: Ensure the plastic drum is placed on a stable and level surface to prevent it from tipping over.
- Material Compatibility: Ensure the materials you use are compatible with water and will not corrode or degrade quickly.
This detailed guide should help you in building your DIY cooler. Take your time, follow the steps carefully, and prioritize safety throughout the process. Good luck with your project!

