Table of Contents
INTRODUCTION :
Angle grinder belt sander attachment :
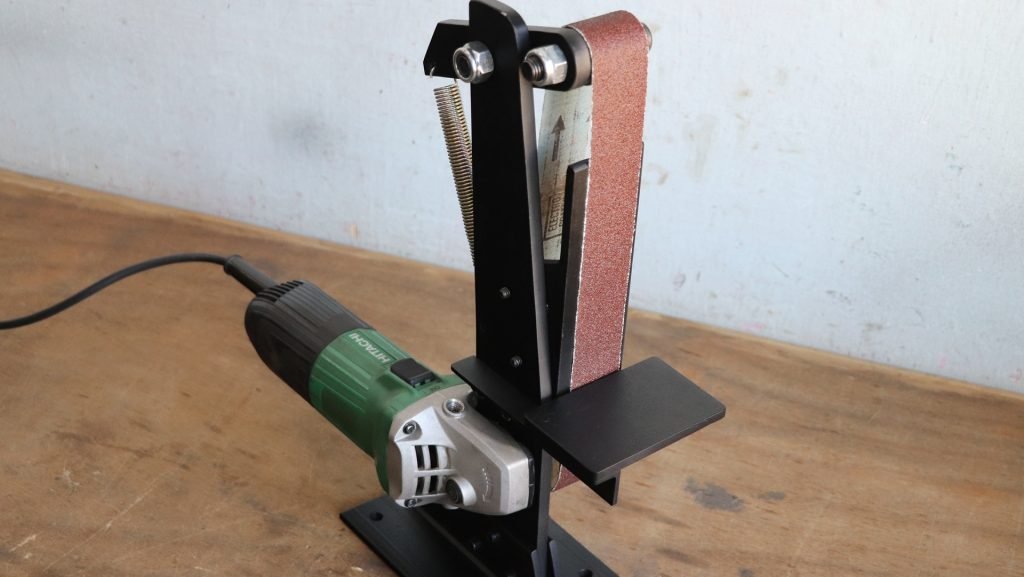
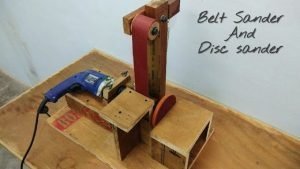
A Angle grinder belt sander attachment is a sander used in shaping and finishing wood and metal materials. It consists of an electric motor that turns a pair of drums on which a continuous loop of sandpaper belt is mounted. Belt sanders are two types, one is handheld and moved over the material and the second is stationary (fixed), where the material is moved to the sanding belt. Fixed belt sanders are sometimes mounted on a workbench, also stationary (fixed) belt sanders are often combined with a disc sander machine.
Angle grinder belt sander attachment can have a very aggressive action on wood and metal. Belt sanders are normally used only for the beginning stages of the sanding process, or used to rapidly remove material of the workpiece. Sometimes they are also used for removing paints or finishes from wood and metal. Fitted with fine-grit sandpaper, a Angle grinder belt sander attachment can be used to achieve a completely smooth surface of the workpiece.
Stationary (fixed type) belt sanders are also used for removing non-ferrous metal, such as aluminum. Non-ferrous metals tend to clog grinding wheels, quickly making them useless for grinding soft materials. Because of the small grooves in the sanding paper are opened up as they go around the arc of the drive wheel, belt sanders are less prone to clogging.
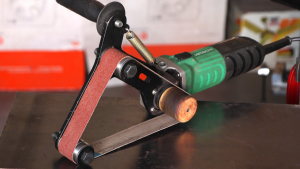
In this post I show you how to make a angle grinder belt sander attachment. This angle grinder powered belt sander is very effective and useful. It is used for wood and metal material in my workshop.
Parts Used :
- 2 nos. 2” L-section angle for base (6” length)
- 2” L-section angle for belt support (7” length)
- 8mm metal plate for a main pillar (2.5” width and 15” length)
- 5mm metal plate for workpiece support (4”*2.5”)
- 1” L-section angle used for slide the workpiece support (5” length)
- 10mm metal plate for spring and bearing support (1.25” width and 5.5” length)
- Spring (5” length)
- 3 nos. 6201RS bearings
- Wooden round block (55mm diameter and 40mm thickness)
- 10mm nut for wooden round block (20mm length)
- Sanding belt (26” length)
- ½ Allenkey bolt with locknut (3” length)
- ½ allenkey bolt with locknut (2” length)
- 3 nos. 5/16 allenkey bolts (1” length)
- 3 nos. ¼ allenkey bolts (20mm length)
- 2 nos. ¼ allenkey bolts (12mm length)
- 2nos. 3/16 allenkey bolts (5mm length)
- Angle grinder
How to make :
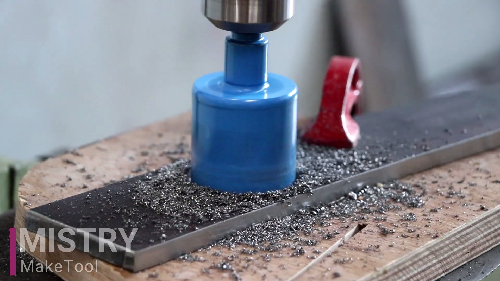
The first step is to cut a 55mm wooden round block from a 40mm thick wooden block using of 55mm hole saw cutter. So, the dimension of the round wooden block is 55mm diameter and 40mm thickness.

The next step is, drill a 16mm hole on this wooden round block and 10mm nut is fixed in this hole using glue.
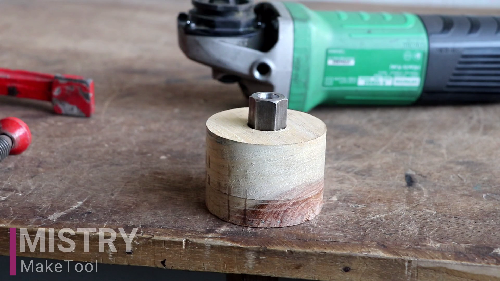
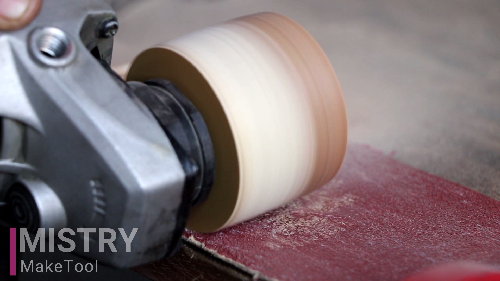
This wooden round block has a flat side face, turns this flat side face to the curved side face using an angle grinder and sandpaper, as shown in the image.
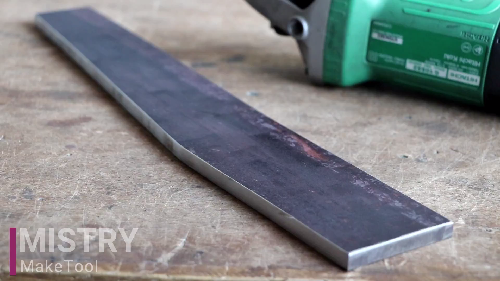
The next step is to make the main pillar. I have used an 8mm metal plate (2.5” width and 15” length) to make the main pillar of the belt sander machine. Cut this 8mm metal plate (2.5” width and 15” length) in the shape shown in the image.
Drill a 45mm hole on this main pillar metal plate using of 45mm hole saw cutter and also drill four other small holes for screws, as shown in the image.
The next step is to make a base of the belt sander machine. I have used 2 nos. 2” L-section angle for base (6” length). Also I have used a 10mm metal plate for spring and bearing support (1.25” width and 5.5” length), cut these all parts in the shape as shown in the image, and drill holes for proper assembly.

The next step is assembling all this cutting parts. Attach the main pillar with the base using of 3 nos. 5/16 Allen key bolts (1” length).

Also attach angle grinder with the main pillar. I have used slightly longer screws for proper fitting of the angle grinder with the main pillar.

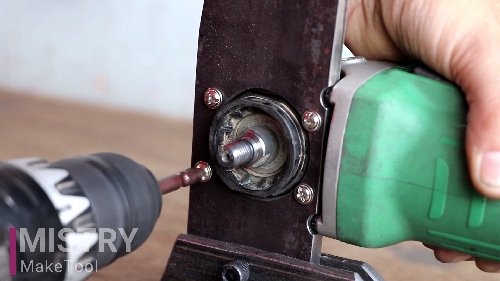
Attach bearing and spring support metal plate with the main pillar using ½ Allen key bolt and locknut (2” length).
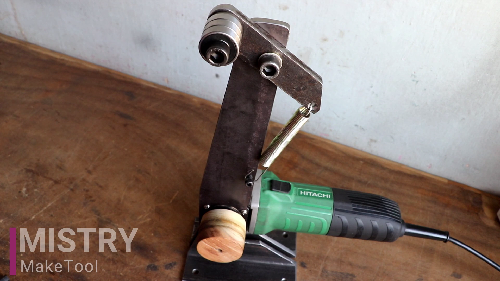
Also attach 3 nos. 6201RS bearings with this metal plate using ½ Allen key bolt and locknut (3” length) and 5” long spring, as shown in the image.
Next, attach 2” L-section angle (7” length) for sanding belt support. The shape of the sanding belt support is shown in the image.
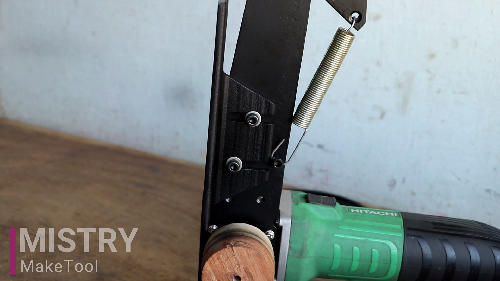
The next step is to attach a workpiece support metal plate. I have used a 5mm metal plate (4”*2.5”) for workpiece support and 1” L-section angle (5” length) used to slide the workpiece support. The workpiece support plate has a mechanism to slide forward and backward.
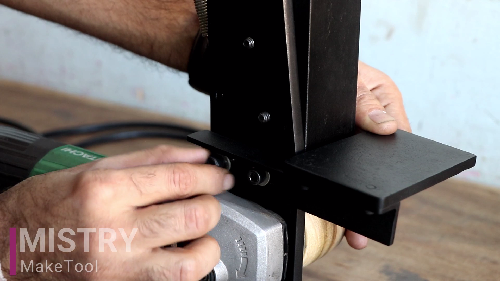
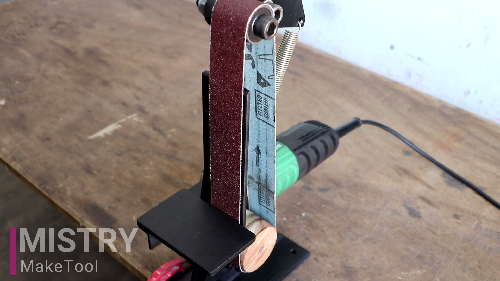
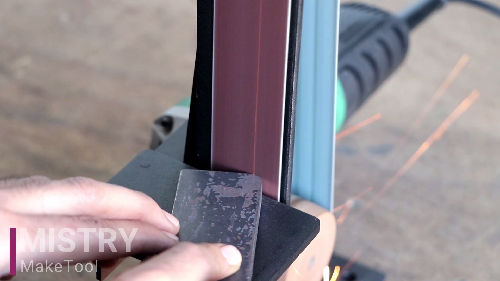
And at the last, attach the sanding belt (26” total length). Now the angle grinder belt sander attachment is ready to use.



I like your work very much! Of all the works you did, belt sander is the best! I wanted to buy one . This is my what’s app number 8415958947. Please help me out!
De los mejores trabajos que he visto. Simple y robusto. Mis felicitaciones. Desde Buenos Aires. Argentina