INTRODUCTION :
Angle Grinder Belt Sander Attachment For Pipe :-
A belt sander is a sander used in shaping and finishing wood, metal, and other materials. It consists of an electric motor that turns a pair of drums on which a continuous loop of sanding paper is mounted. There are different types of belt sanders. Belt sanders may be handheld and moved over the material, or stationary (fixed) type, where the material is moved to the sanding belt. Stationary belt sanders are sometimes mounted on a workbench.
Angle grinder belt sander attachment can have a very aggressive action on wood, metal, and other materials. Belt sanders are normally used only for the beginning stages of the sanding process or used to rapidly remove material from the objects. Sometimes they are also used for removing paints or finishes from wood and metal. Fitted with fine-grit sandpaper, an Angle grinder belt sander attachment can be used to achieve a completely smooth surface of the objects.
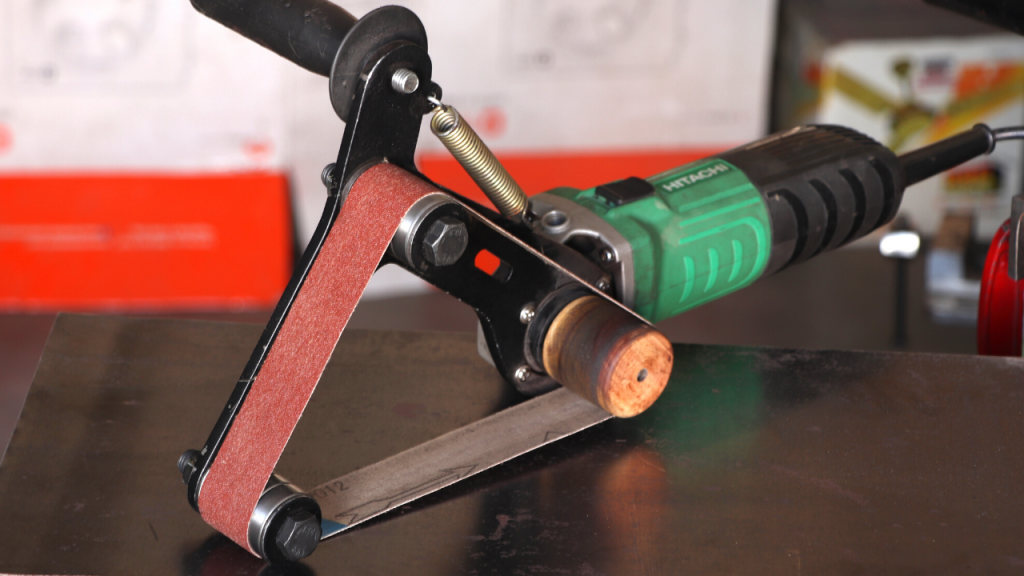
A belt sander is generally used for the flat surface smooth surface of the workpiece. For round shape, we need a different belt sander, called a belt sander for pipe or tube. In this post, I show you how to make a belt sander attachment for pipe powered by an angle grinder. It is very difficult to produce good results on round objects with an angle grinder with a sanding disc, for this, a flexible belt sander is needed. A belt that’s flexible and can contour to the shape of the object to be sanded is ideal.
This is an excellent belt sander to sand pipe or tubing and a round-shaped workpiece to eliminate welded seams to make it look as though it was a solid piece of material. Generally, straight tubing doesn’t conform to what we want to build, or we need to join two ends together to make extra length – necessitating a tool such as this. The faster the speed of the sanding belt, the smoother the finish of the workpiece. A 50 grit belt on this tool can achieve a finish similar to the 120 grit hand sanding process simply by sanding it with a great amount of speed.
Parts Used :
Metal plate 8.5 inch*4 inch (6mm thickness)
Metal plate 6 inch*2.5 inch (8mm thickness)
2 nos. 12mm half threaded bolts with nuts (70mm length)
8mm half threaded allenky bolt with locknut (25mm length)
Spring (75mm length)
8 nos. 6201 Bearings
Washers
Wooden roller 45mm diameter
10mm long nut (32mm length)
Sanding belt 30mm width and 600mm length
5mm countersunk allenky bolt for spring support (15mm length)
Angle grinder
Angle grinder handle
Araldite glue
How to make :
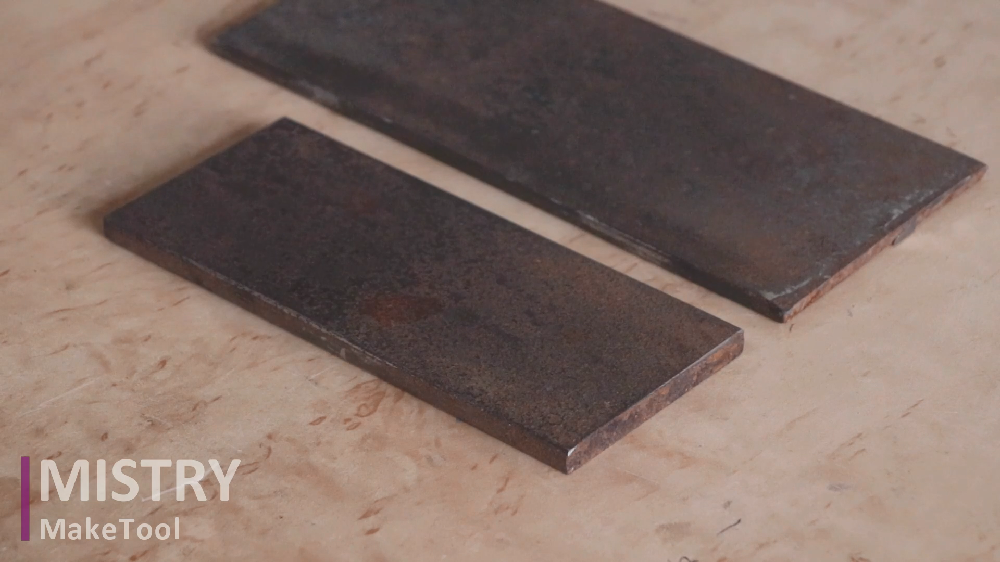
I have used two metal plates to make this belt sander attachment. One is the 8mm thick plate and the other is a 6mm thick plate. The 8mm plate will be supported with the angle grinder.

Cut the 8mm plate in the shape like, as shown in the image. Drill a 45mm hole with the 45mm hole saw cutter. All drills and thread sizes are shown in the image.


Also cut the 6mm thick plate in the shape like, as shown in the image.
I have used 4+4 Bearings of 6201 numbers. In this, the four bearings are used as one roller. So, to make two rollers, I have used 8 bearings.

To attach these bearings with a 6mm plate I have used 2 nos. 12mm half threaded bolts with nuts (70mm length).
I have used the wooden piece to make the main roller. The diameter of the main roller is 45mm.
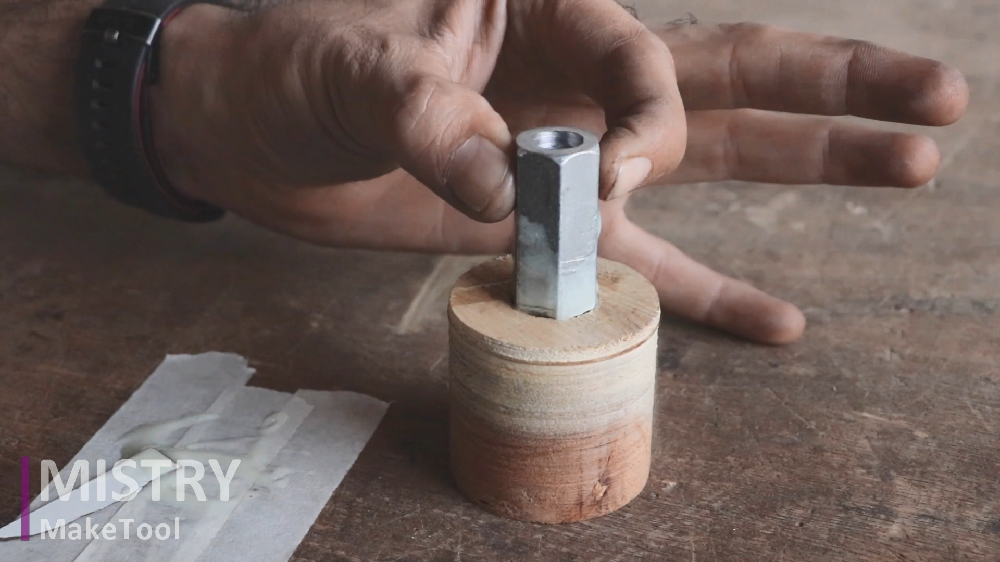
Drill a hole and attach the 10mm long nut (32mm length) in this hole with the Araldite glue. This roller will be attached to the angle grinder spindle, to give power to the sanding belt.
I have painted the metal parts with black color.

Assemble all the parts of the belt sander. Attach handle and spring also.
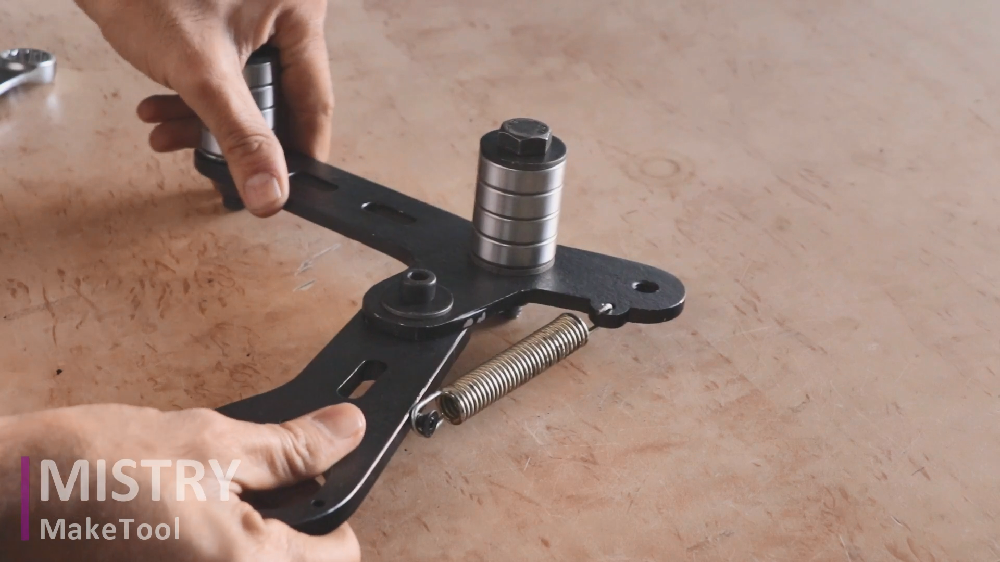
Attach this assemble part with the angle grinder using screws, as shown in the image.


At the last, attach the sanding belt. Now, the belt sander attachment is ready to use. It’s perfectly worked.


