INTRODUCTION :
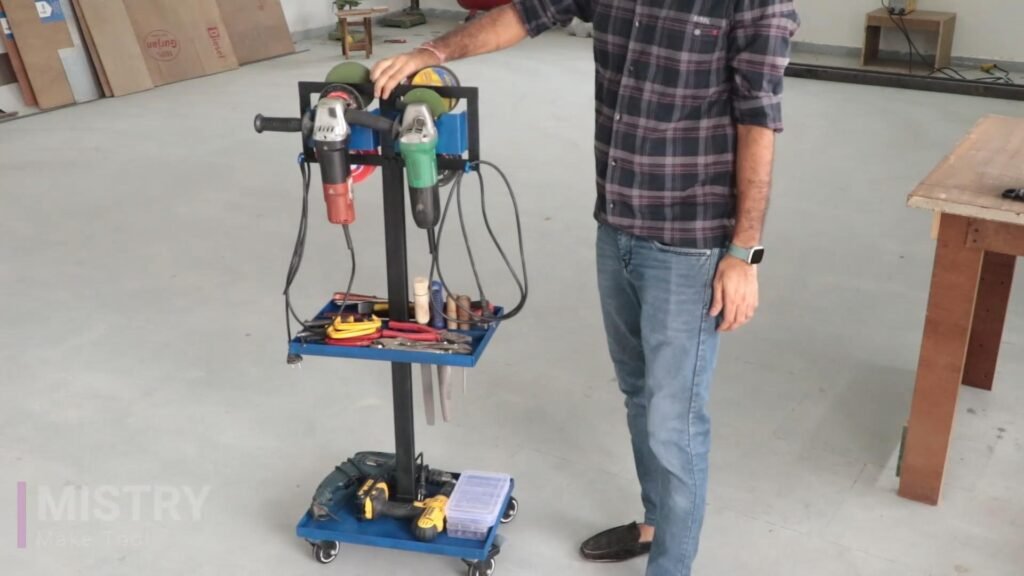
A sliding powertool storage rack is a great way to organize your workshop and keep your angle grinders, drills and other hand tools readily accessible. Unlike a fixed rack, a sliding storage rack allows you to easily pull the grinder out for use and then push it back in for storage. This can be helpful in tight spaces or when you need to access other tools stored with the grinder.
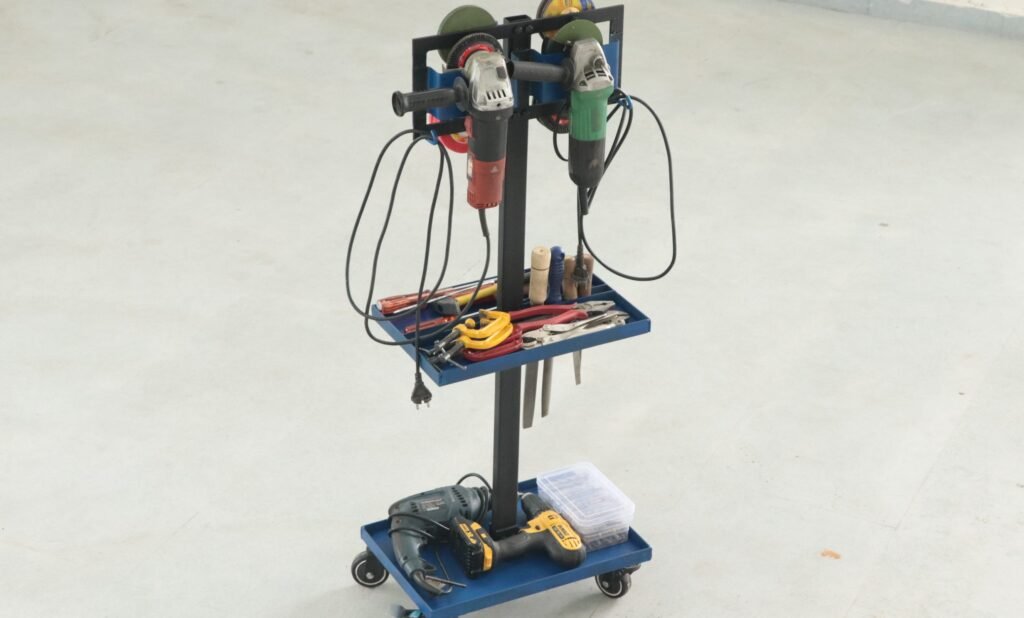
This storage rack is designed to keep angle grinders, drills, and tools neatly stored and easily accessible. It is help save space in workshops and garages.
Benefits of a Sliding Angle Grinder Storage Rack:
- Saves Space: By sliding the grinder storage rack, you can maximize your workspace.
- Improves Organization: Keeps your grinder and other grinding tools, drills and tools organized and easy to find.
- Protects Tools: Prevents your grinder and discs from getting damaged by being knocked over or tossed around.
- Increases Safety: Having a designated storage location reduces the risk of tripping over tools or wires.
Here’s a detailed description of a sliding angle grinder and tool storage rack:
Components:
- Base: The base is typically made of sturdy metal and is mounted to the sliding wheel. It is used to store the drill machine and drill bits.
- Sliding wheel: Four sliding wheel of 3 inch size are attached to the base, allowing the grinder holder to slide.
- Grinder Holder: This is a bracket that securely holds the angle grinder.
- Disc and tool holders: You can incorporate additional hooks, shelves, or pegboards on the rack to store grinding discs, wrenches, safety glasses, and other grinding accessories.
Tools:
- Welding machine
- Drill and drill bits
- Metal saw
- Angle grinder
- Sheet metal bender
- Tape measure
- Marker
Parts Used :
- Rectangular metal bar (45mm*20mm) 40-inch length
- 2 Nos. 1-inch size L-angle for base (18-inch length)
- 2 Nos. 1-inch size L-angle for base (12-inch length)
- Sheet metal for base rack (12-inch*18-inch)
- 2 Nos. 1-inch size metal bar for base (11-inch length)
- 4 Nos. 1-inch size L-angle for tool storage rack (16-inch length)
- 2 Nos. 1-inch size L-angle for tool storage rack (11-inch length)
- 2 Nos. sheet metal for tool storage rack (5-inch*16-inch)
- Sheet metal for the grinder holder (3.5-inch*21-inch)
- 2 Nos. metal bar for grinder holder (1-inch*15-inch)
- 3 Nos. metal bar for grinder holder (1-inch*15-inch)
- 2 Nos. 2-inch size L-angle
- 5/16 hooks
- 5/16 nuts and bolts
- 4 Nos. 3-inch size sliding wheel
How to make :
Design: Sketch a design for your rack, considering the size of your grinder, drills, desired storage space for discs and other tools, and available workspace.
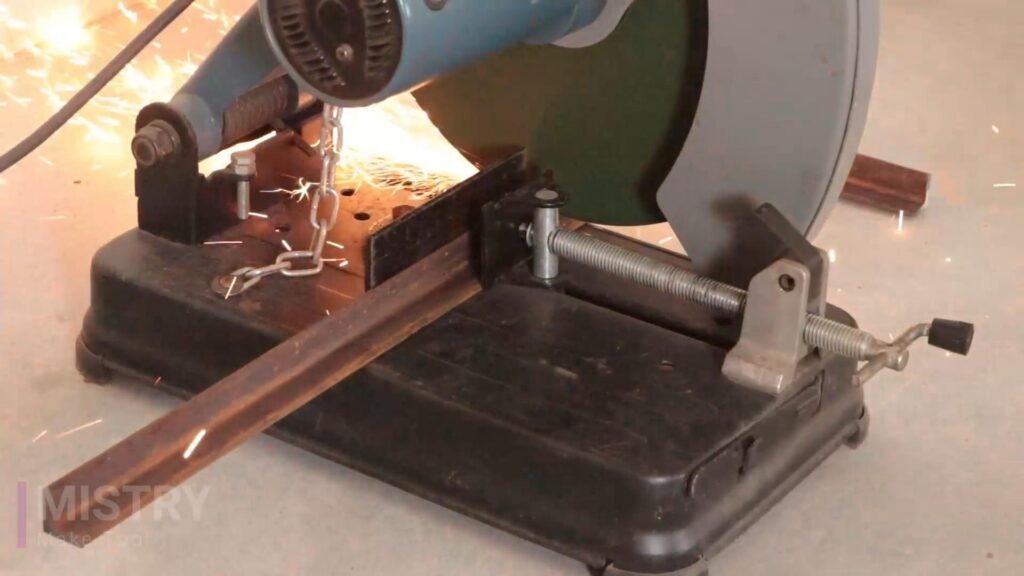
Cut the Metal: Cut the metal bars to the desired lengths for the base, racks, and grinder holder.
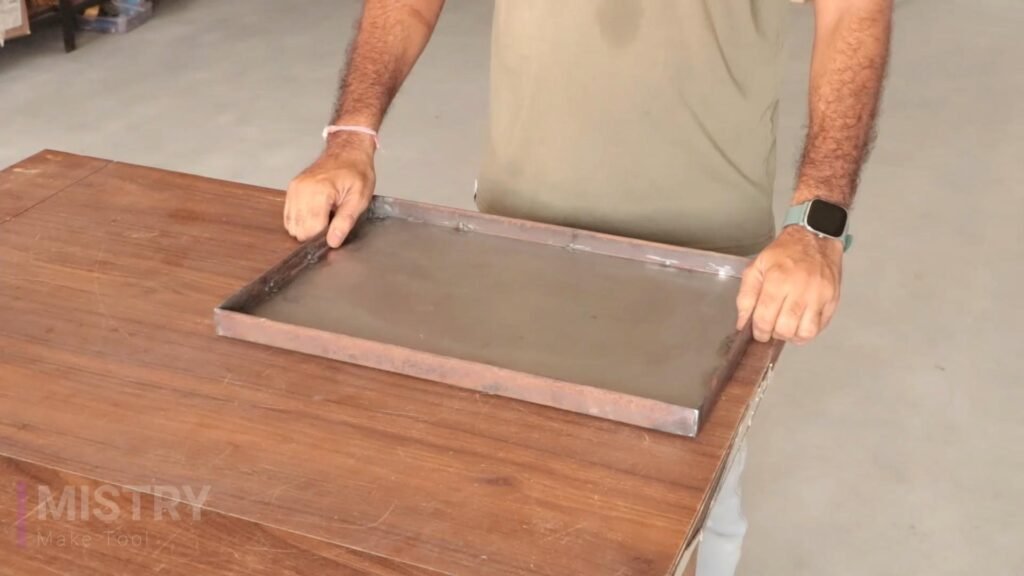
Assemble the Base: Weld or securely clamp the metal bars together to form the base frame.
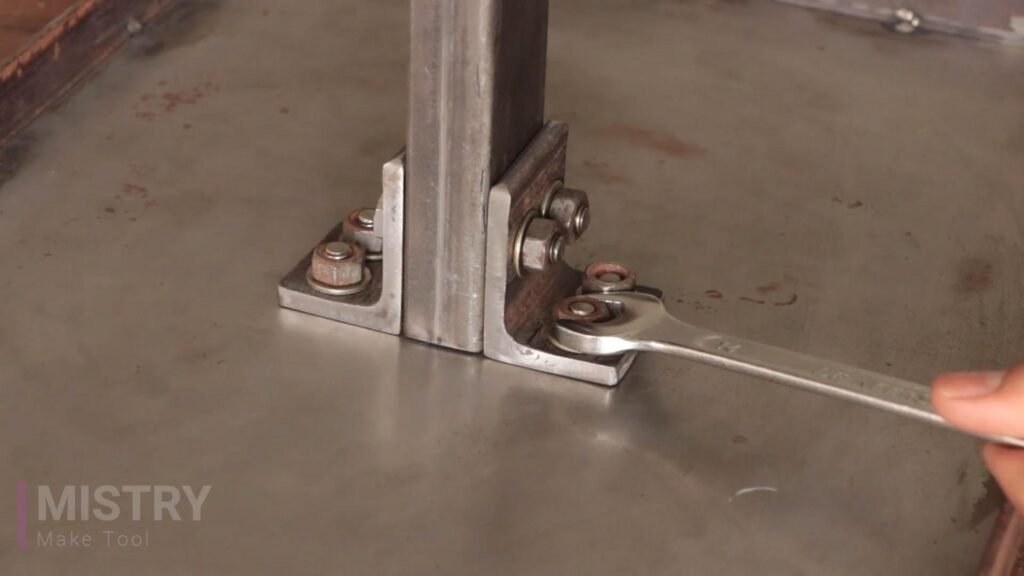
Attach the Rectangular metal bar: Attach the Rectangular metal bar (45mm*20mm) 40-inch length. You can weld them or use nut bolt to for better finish. I have used 2 nos. 2-inch size L-angle and nut-bolts to attach it with the base.
Assemble the Tool Storage Rack:
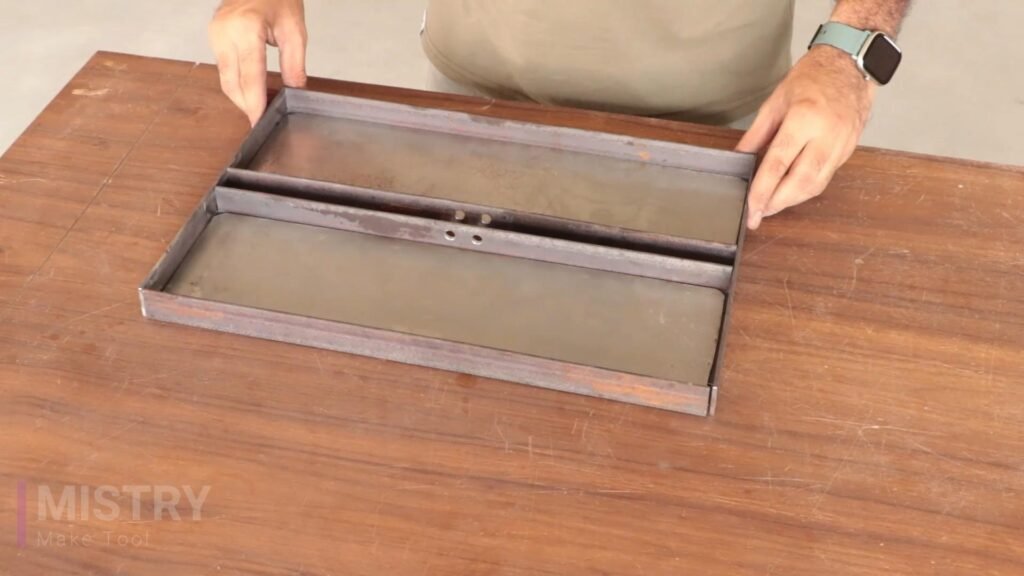
Attach this tool storage rack frame with the rectangular bar by using buts and bolts.
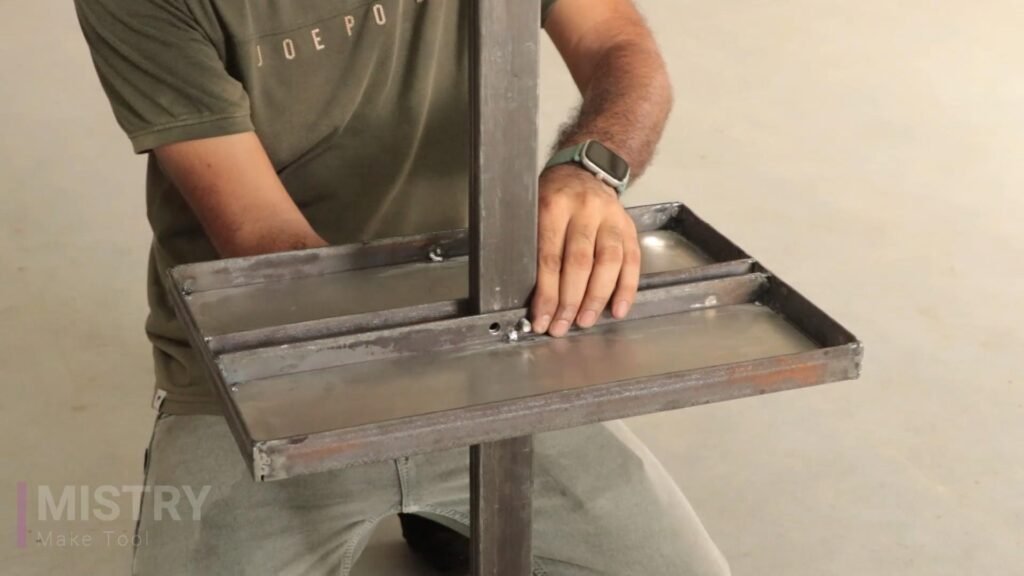
Make the Grinder Holder: Cut and bend the sheet metal to create a bracket that securely holds your grinder.
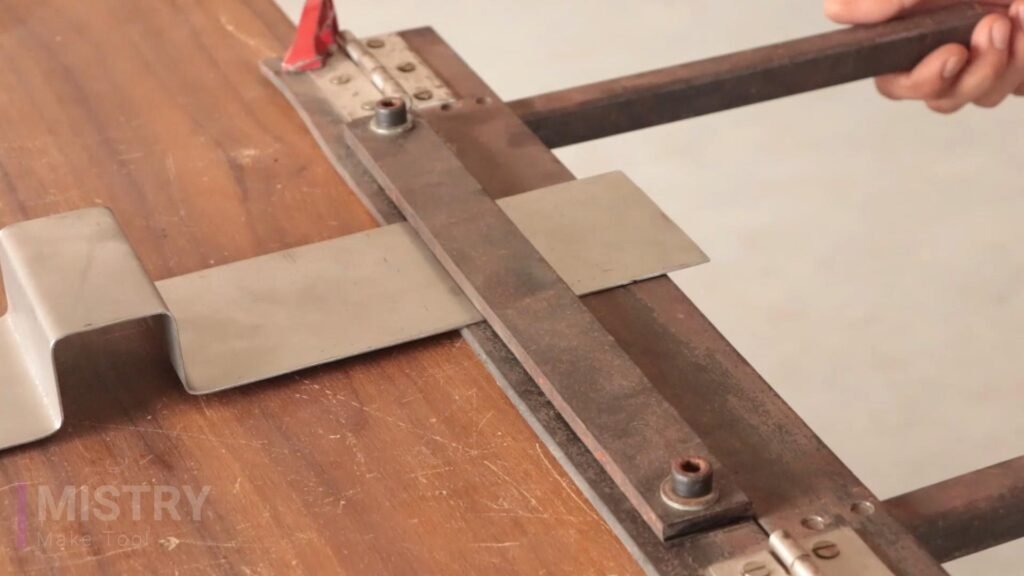
Drill holes and make threads to mount the hooks in the frame.
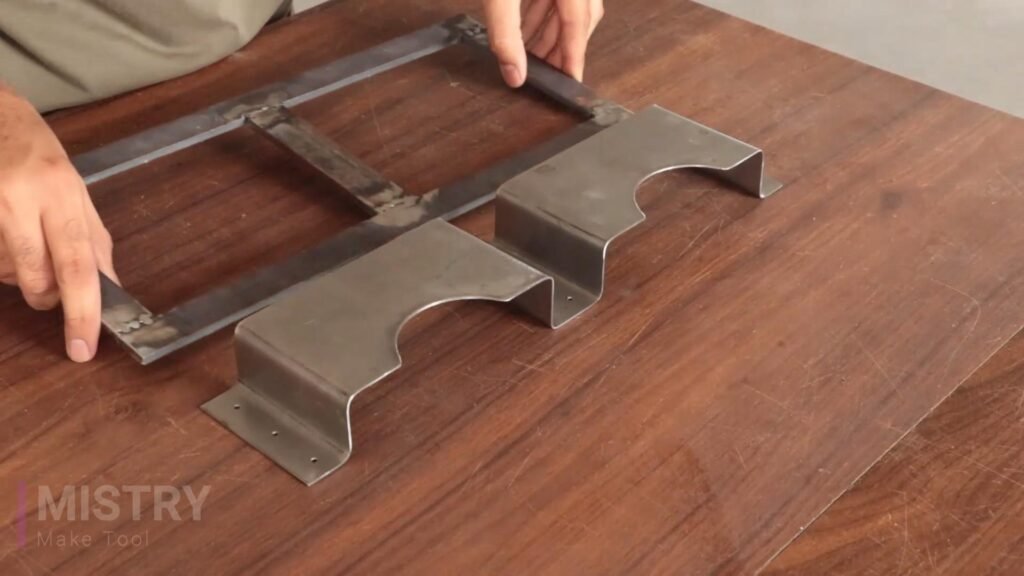
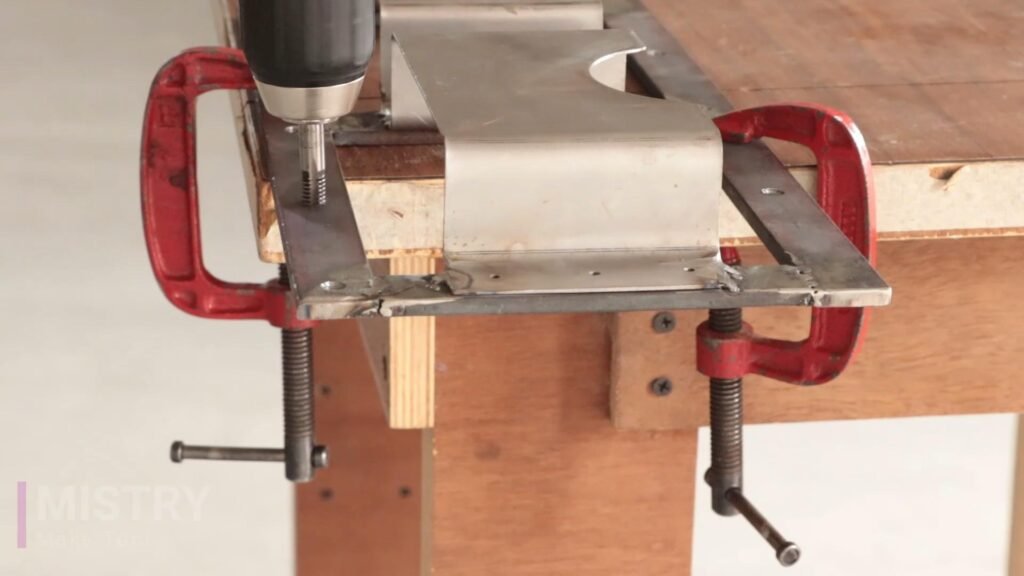
Attach the Grinder Holder: Mount the grinder holder to the rectangular bar using nuts and bolts.
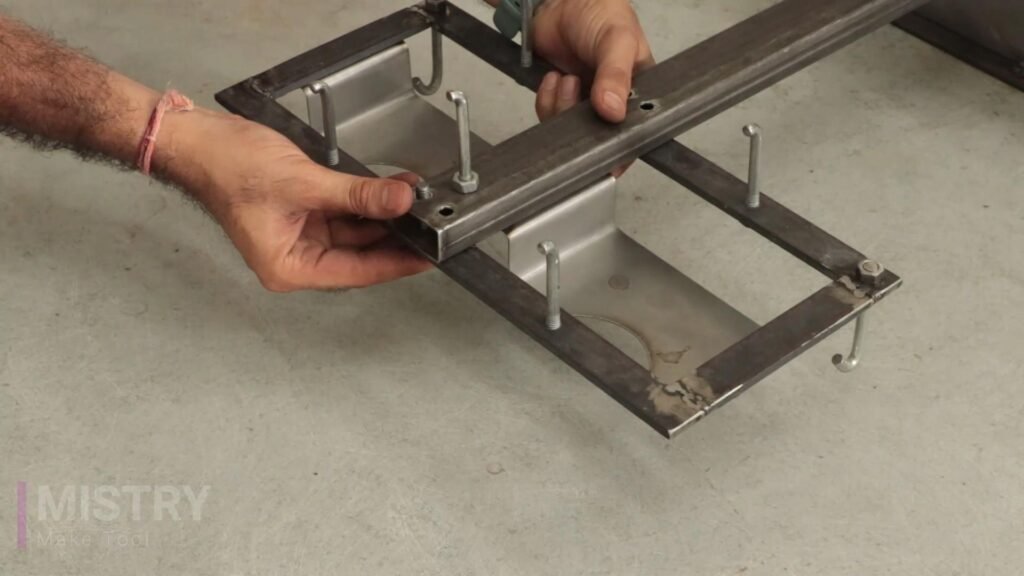
Optional Tool Holders: Add hooks, shelves, or pegboard to the rack for additional tool storage.
At the last attach the 3–inch sliding wheel to the base.
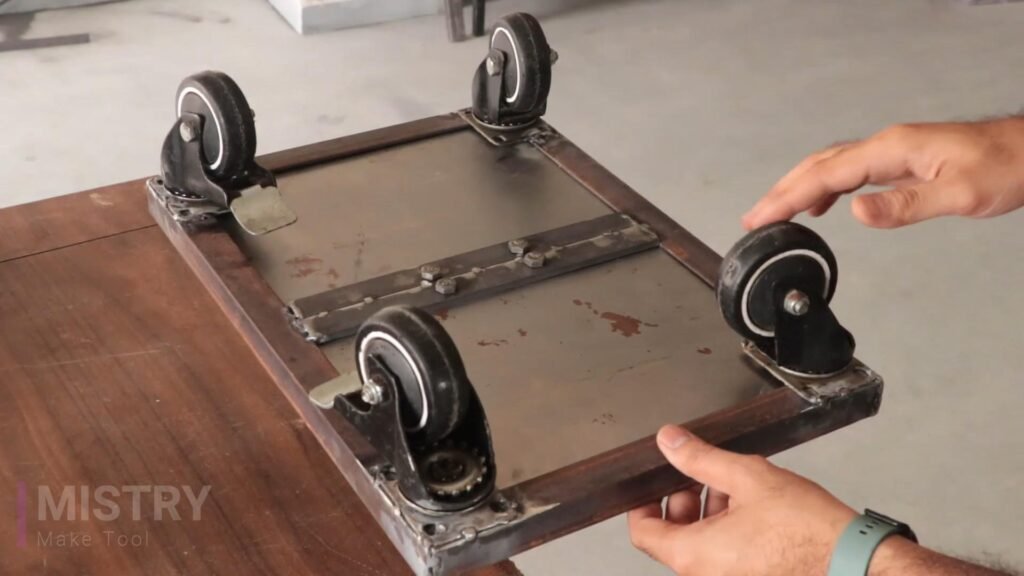
Painting: Paint the rack for a finished look and to protect the metal from rust
