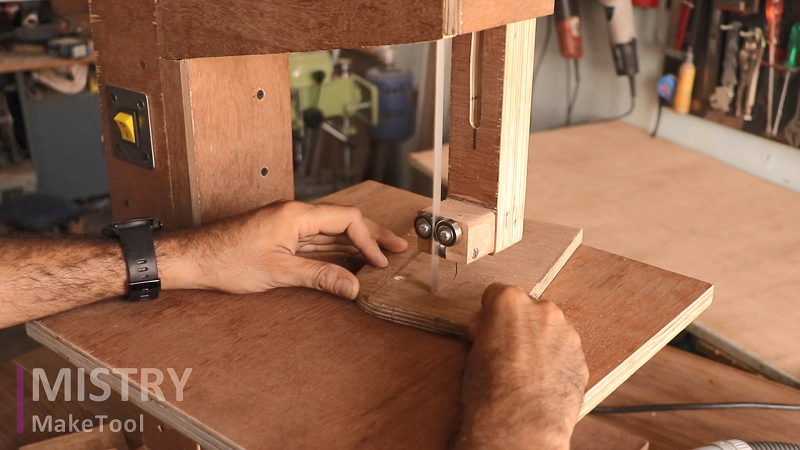
INTRODUCTION :
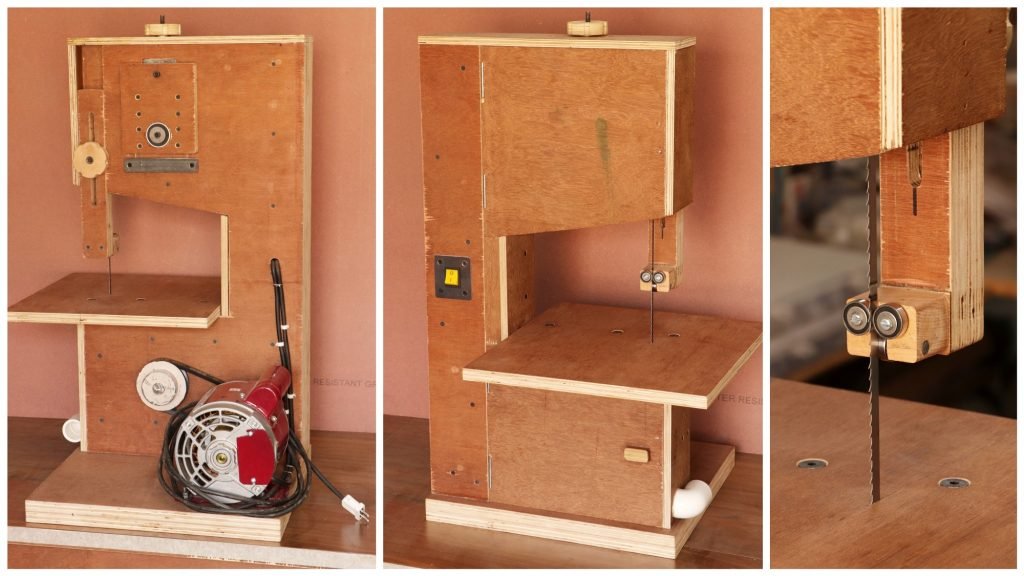
DIY Mini Band Saw Machine :-
A band saw is a power saw with a long, sharp band saw blade consisting of a continuous band of toothed metal stretched between two or more wheels to cut variety of material. They are principally used in woodworking and metal working, but may also cut a variety of materials. Advantages include uniform cutting action on work piece as a result of an evenly distributed tooth load, and the ability to cut irregular shapes like a jigsaw machine. The minimum cutting radius of a curve is determined by the width of the band and its kerfs. Most of the band saws have two wheels rotating in the same plane, one of which is motor powered, although some may have three or four to distribute the cutting load. The band saw blade itself can come in a variety of sizes and tooth pitches, which enables the machine to be highly versatile and able to cut a wide variety of work piece materials including wood, metal and plastic.
In this post I show you how to make band saw machine. It’s completely made of plywood to make the assembly easier. This band saw machine is perfect for small or medium-sized DIY and woodworking projects. It has compact design and practically it is very useful for diy and small projects. The entire frame is made from plywood so it is easy to build by joining pieces of plywood together. Also installation of bearings and balancing of the wheels is easy on this machine.
Parts Used :
2 Pieces of plywood 16”*14.5” for base (19mm thickness)
3 Pieces of plywood 28”*4” for main pillar (19mm thickness)
3 Pieces of plywood 28”*15” for main frame (19mm thickness)
2 Pieces of plywood 11”*10” to make doors (19mm thickness)
2 Pieces of plywood 11”*1.75” to make slide support for band saw blade (19mm thickness)
4 pieces of plywood round 9” diameter (wheel pulley) (12mm thickness)
Band saw blade 1575mm length and 9mm width (4TPI)
Electric motor ¼ HP
20mm diameter shafting 4” length
20mm diameter shafting 5” length
V-belt pulley 2.5*1*A (Motor pulley)
V-belt pulley 3.5*1*A (Machine pulley)
5 Nos. bearings 607 for band saw blade support
4 Nos. bearings 6004 for shafting support
4 Nos. 2” hinges for doors
2 Nos. magnets
2 Nos. wooden knobs
3 Nos. 8mm D-nut
3 Nos. 8mm CSK bolts (30mm length)
1” Elbow pipe
4 Nos. 5/16 bolts with nuts and washers (2” length) for motor support
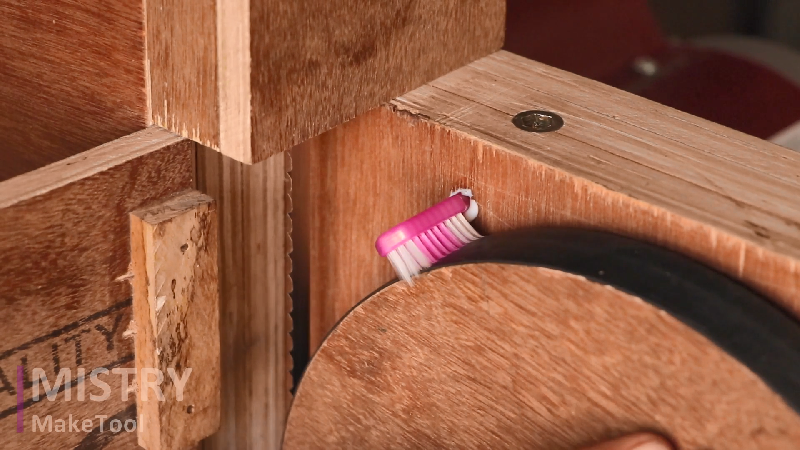
Brush for cleaning wheel pulleys
Metal piece 5”*1” and 5mm thickness
2 Nos. 6mm allenky bolts (1” length)
Screws and washers
How to make :
The first step is to make a frame for this band saw machine. I have used Plywood to make the frame and all the structures of the machine.
Cut the plywood in the desired dimensions and shapes as shown in the parts used section. To make a base, I have used 2 Pieces of plywood 16”*14.5” (19mm thickness). Join these 2 pieces of plywood with fevicol glue.

The next step is to make two-wheel pulleys. Cut the four 9-inch diameter plywood pieces by using a trimmer guide, as shown in the image. To make the wheel pulley, I have used 12mm thickness plywood. Two plywood pieces can make one wheel pulley.
Make a slot on 3 Pieces of plywood 28”*15” for the main frame (19mm thickness), as shown in the image. Now, attach all these plywood pieces by using glue and screws.

It is time to make a top wheel tensioning mechanism. This will be a very simple and effective system. Cut the rectangle block from the top side of the main frame. Attach plywood piece on this block by using screws, as shown in the image.


Drill a 45mm hole on this rectangle block and also on the bottom side of the main frame, to secure the 6004 shaft bearings. Make sure these bearings are parallel.
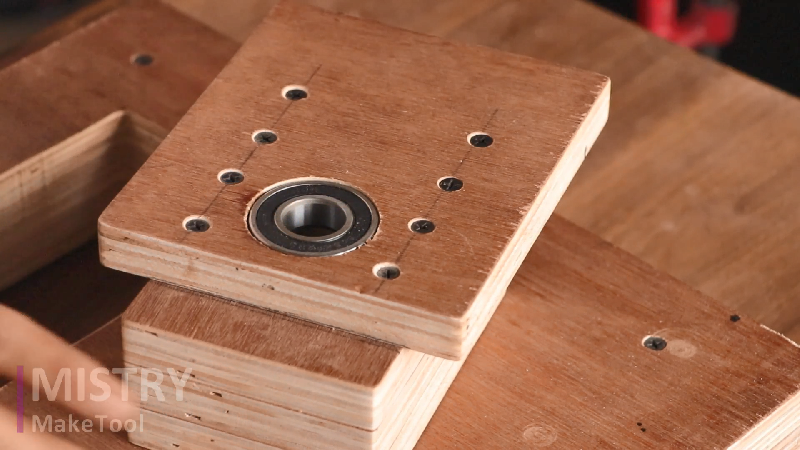
Attach a 10mm bolt to the rectangle block. It helps to get tension on the top wheel Attach Metal pieces 5”*1” and 5mm in thickness, to secure the position of the block.

Attach the main frame with the base part by using glue and screws.
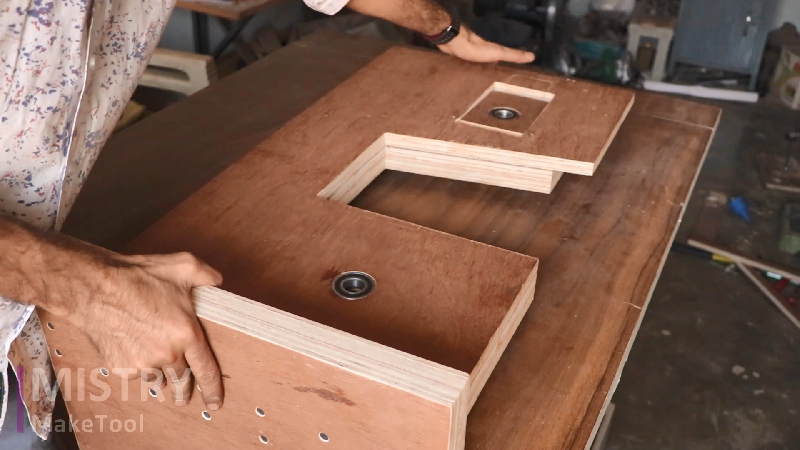
Next, attach the wheel pulley and 20mm diameter and 5” long shafting with the bottom bearing of the main pillar, and other side attach the 3.5*1*A V-belt pulley.

Attach the 2.5*1*A pulley on the motor. Attach this motor on the base by using 4 Nos. 5/16 bolts with nuts and washers (2” length). Attach V- belt also.
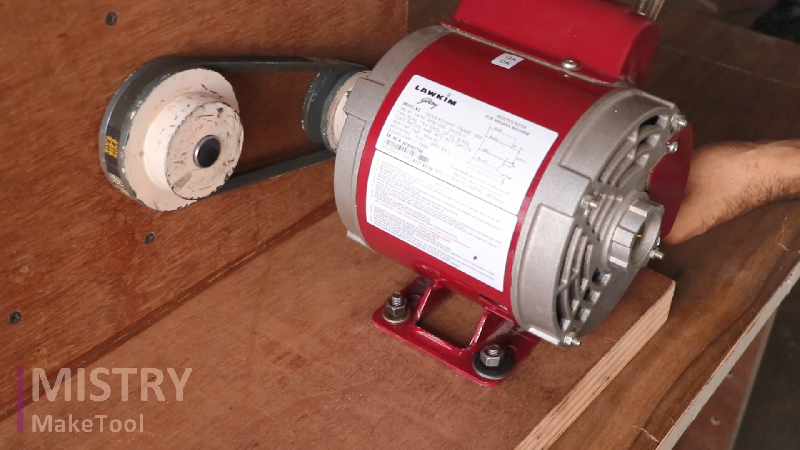
Attach the bicycle rubber tubes on both wheel pulleys by using glue.

Attach the other wheel pulley and shafting on the top bearing of the main pillar. Secure the position of this shafting by using a 6mm Allen bolt.

Now attach the band saw blade on the wheel pulleys. The tension mechanism also perfectly works in my case. The tracking of the blade looks great. No matter how much I tension the blade it stays mostly around the middle. That indicates that the frame is rigid and has very little flex.

Make the main pillar by using 3 Pieces of plywood 28”*4 (19mm thickness). Attach this main pillar with the main frame.
I have attached some other plywood parts for proper safety.
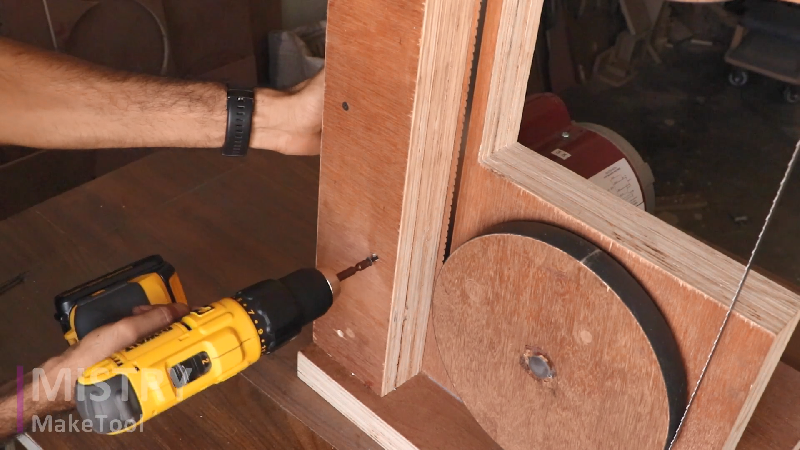
Attach 2 Nos. 607 bearings on the bottom side of the main frame to guide the band saw blade.
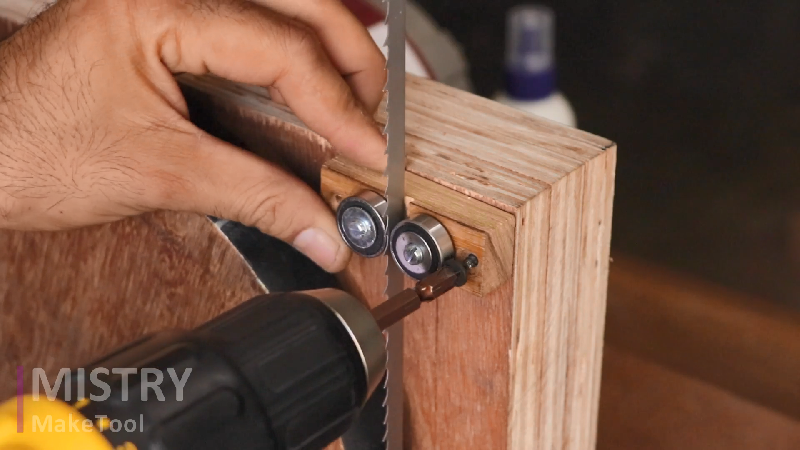
Attach doors on one side of the main frame. Doors are attached by using 2” hinges. It covers the blade and wheel pulley part for safety purposes.

Also, attach the magnets.
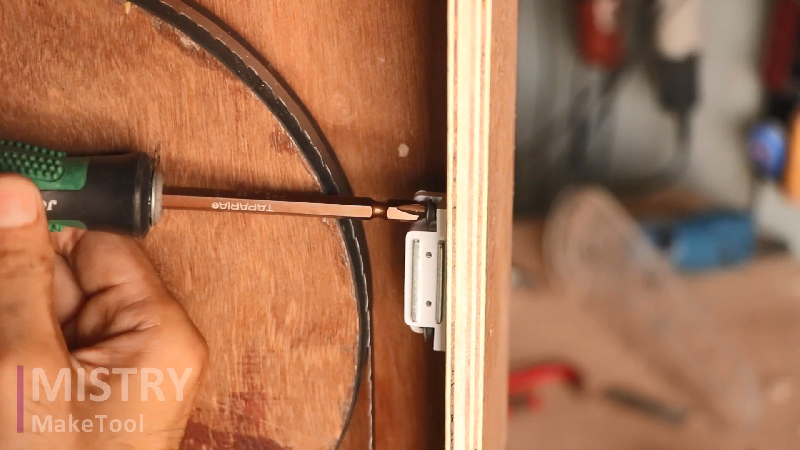
The next step is to make a slide part to support and guide the band saw blade. I have used 2 Pieces of plywood 11”*1.75” (19mm thickness) to make slide support for the band saw blade.
Make a slot on this sliding support part. Attach wooden block and 607 bearings on this part.
Make a slot on the top side of the main frame to attach the slide support part. Now attach this whole slide support part with the main pillar by using D-nuts, bolt, and wooden knob.

Attach the table plywood for workpiece.

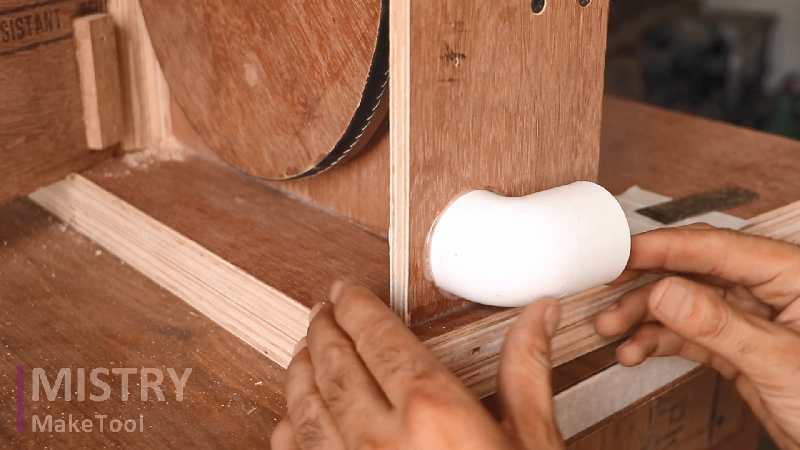
Attach 1” Elbow pipe on the bottom of the main frame. This elbow pipe is used for vacuuming the dust by a vacuum cleaner.
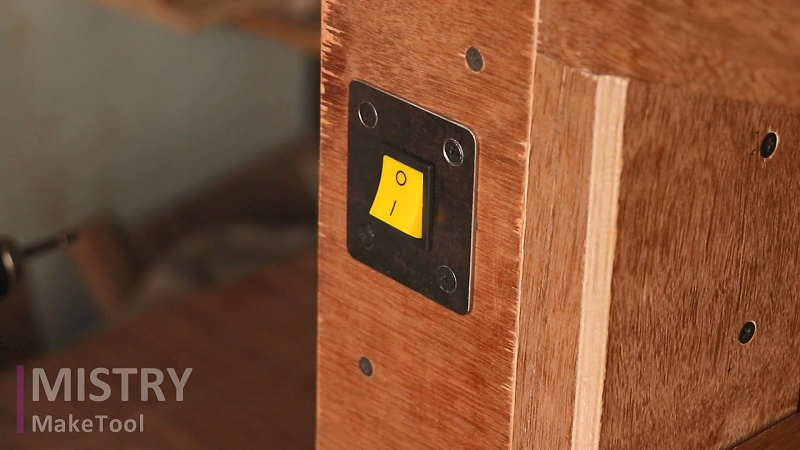
And at the last attach the On-Off Switch.

Now, the band saw machine I ready to use.
