INTRODUCTION :
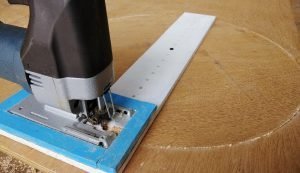
Almost every woodworker comes across a project where he needs to cut a perfect circle. Whether you’re building a custom speaker enclosure for your car or home or building a round table, having the right tools to cut perfect circles can make a big difference. There are many pre-made circle cutting jigs available on the market, but they are fairly expensive, and many of them don’t have a very large maximum radius.
You could rough out the circle with a jig saw machine then use a template and a flush-trim bit on your mini router machine to clean it up. Or you could use a jig on the band saw to cut a circle. These all work to a degree but aren’t as easy to use or as accurate as a hand-held mini router machine with circle guide.
A mini router or trimmer is a hand power tool that a worker uses to rout an area in relatively hard material like wood or plastic. Routers are mainly used in woodworking, especially cabinetry. Routers are typically handheld or fastened cutting end-up in a router table.
Cutting a circle out of wood is usually done with a jigsaw machine and takes a very steady hand. A trimmer or mini router is more precise way to cut perfect circle, but it takes some time to set up a jig. Circle Guides are designed with details to make it easy to rout perfect, smooth circular cutouts.
Parts Used :
- Metal piece 15”*1” (5mm thickness)
- Metal piece 3.75”*1” (5mm thickness)
- 2 Nos. ¼” allenky bolts (0.5” length)
- 5/16” allenky bolt (1” length) and fly nut
- Trimmer machine
How to make :
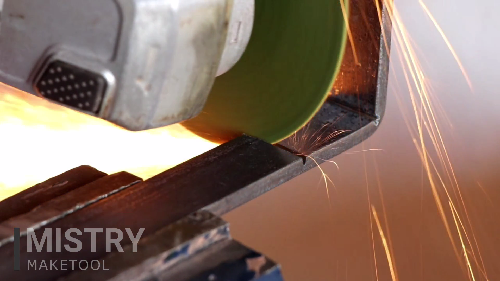
I will show you how I made a precise circle cutting jig using metal pieces, and a few bolts.Design and construction of this circle cutting guide is very simple and very effective to use. I have used metal pieces to make this circle cutting guide, no other complex parts required. I have used two metal pieces of 15”*1” and 3.75”*1” (5mm thickness) size. So, first step is cut the perfect size of the metal pieces as mention above.
Now, bend the metal piece of 3.75”*1” size as shown in the image.
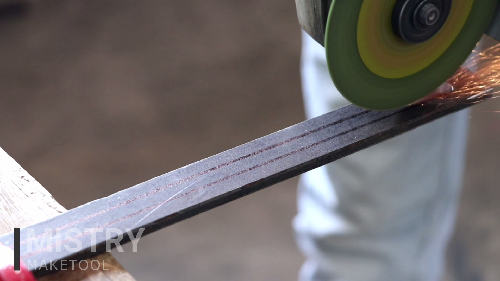
Next step is, make slot on both the metal pieces by using of angle grinder and flat 2nd cut file as shown in the image.

Attach both the metal pieces by using of 2 Nos. ¼” allenky bolts, as shown in the image.

Take a 5/16” allenky bolt and cut the head of the bolt. pass this bolt in to the slot of the metal piece and attach it by using of fly nut and round metal piece as shown in the image.
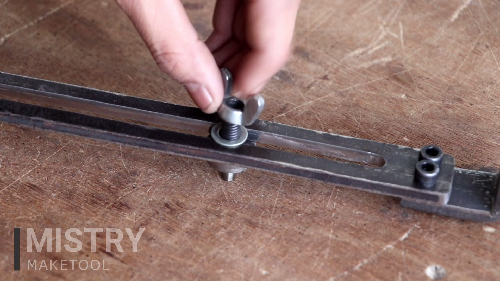
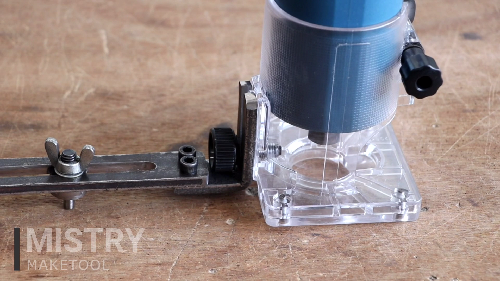
And at the last, attach the trimmer machine with the circle cutting guide. Now, this circle cutting jig is ready to use.
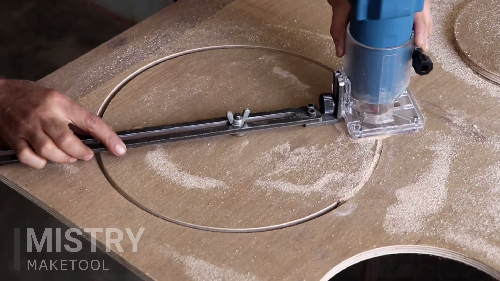
Please practice shop safety, especially when working with power tools. Take all necessary safety precautions, and also don’t use any tools or procedures you’re unfamiliar with or uncomfortable using.


